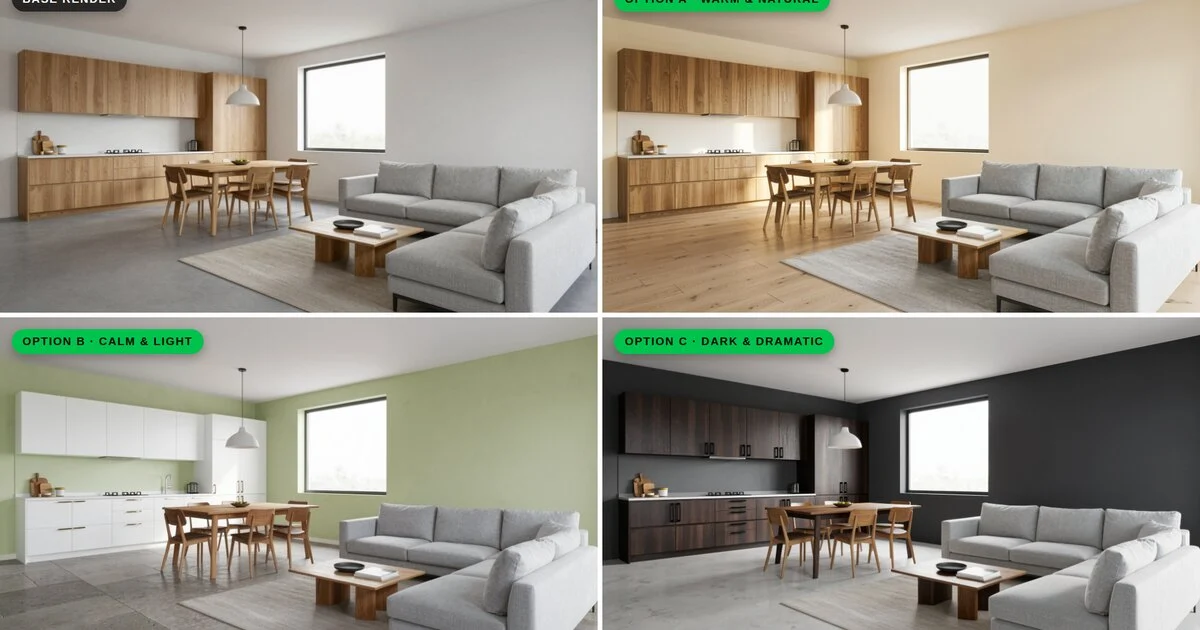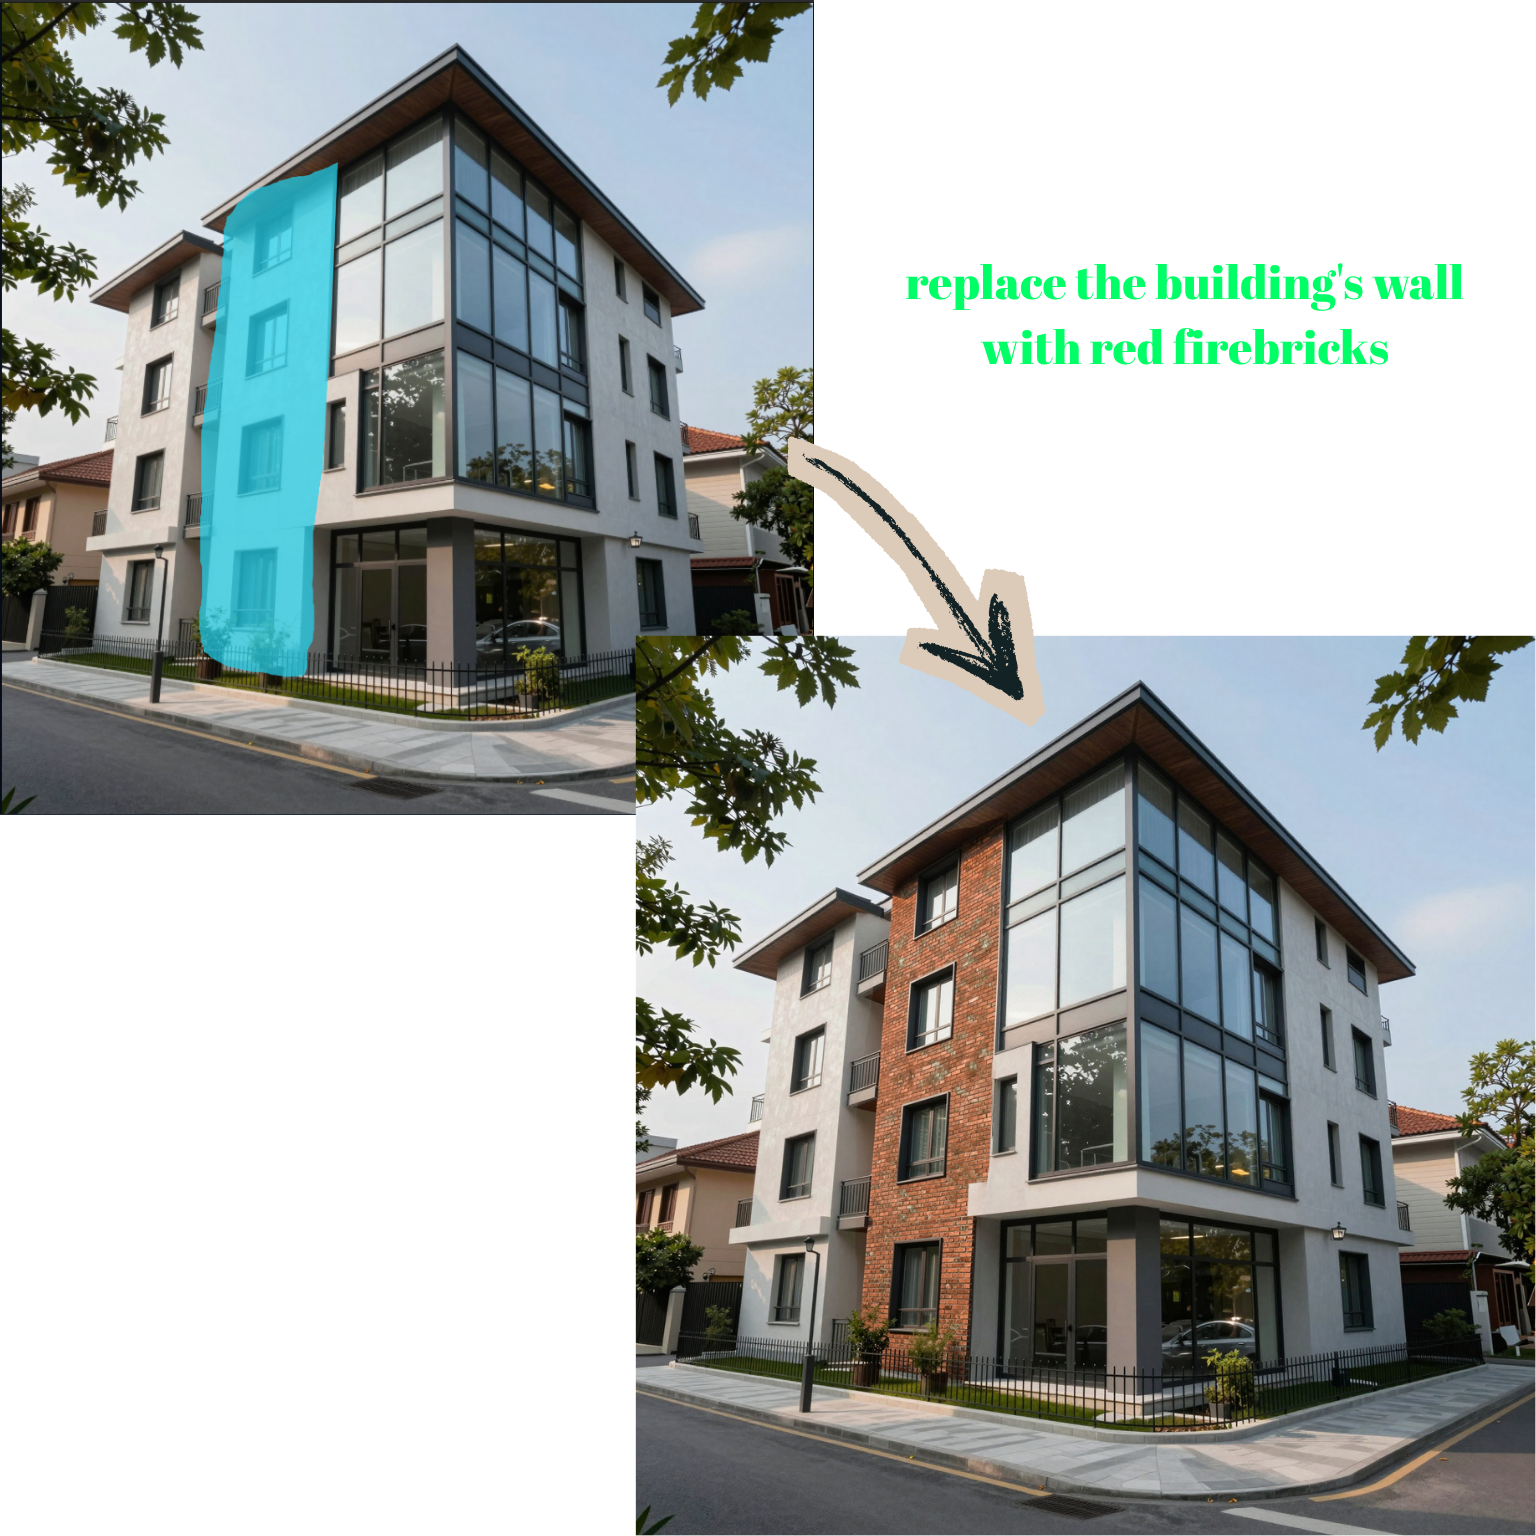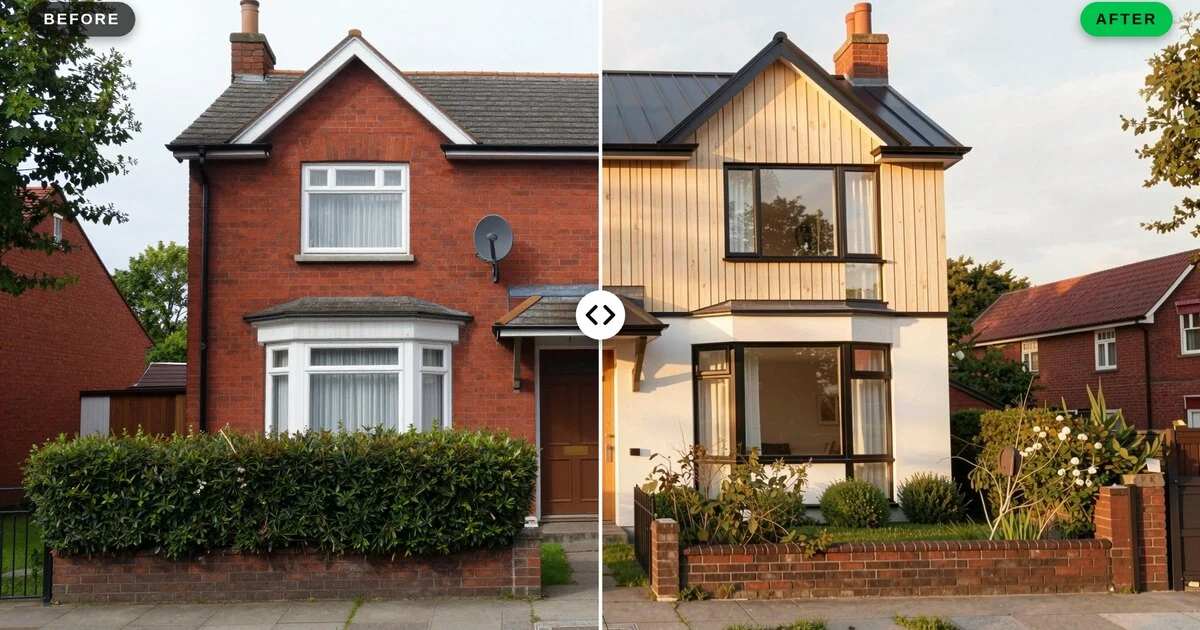
AI RENDERING GUIDE
How to Visualize Facade Cladding and Exterior Material Options With AI
Published 8 min read
Brick or timber? Anthracite window frames or white? A dark roof or a light one? Facade decisions shape how a building is seen from the street for decades, yet clients are usually asked to make them from a few small samples and a single render. When they hesitate, the next step is often another round of modelling and rendering, or a decision made with more guesswork than anyone would like.
AI render editing gives you a faster way to answer “What would it look like in…?”. You keep one approved exterior view and produce several versions of it, each with a different cladding, frame or roof scheme, then show them side by side. In this guide you will learn how to prepare a good base view, how to plan facade options, how to change exterior materials one element at a time and how to present the results so the client can decide.
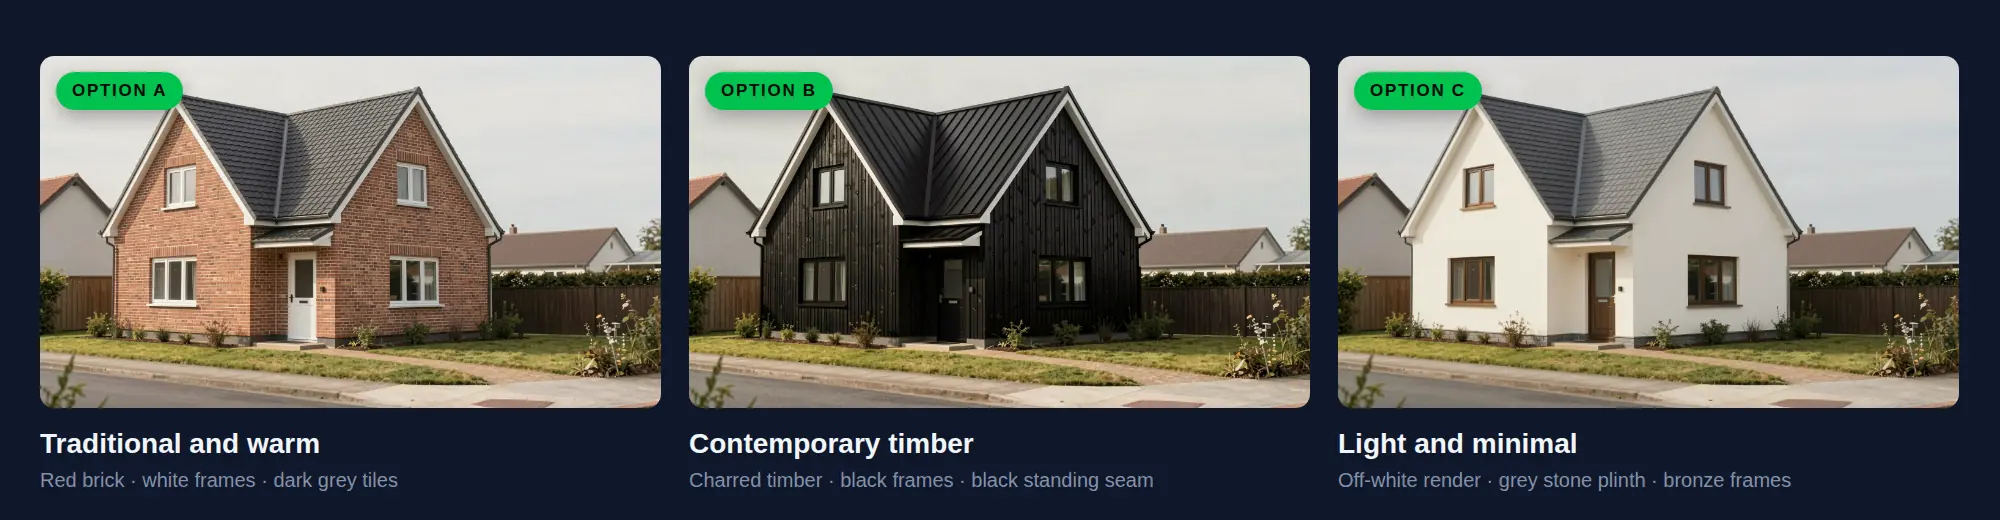
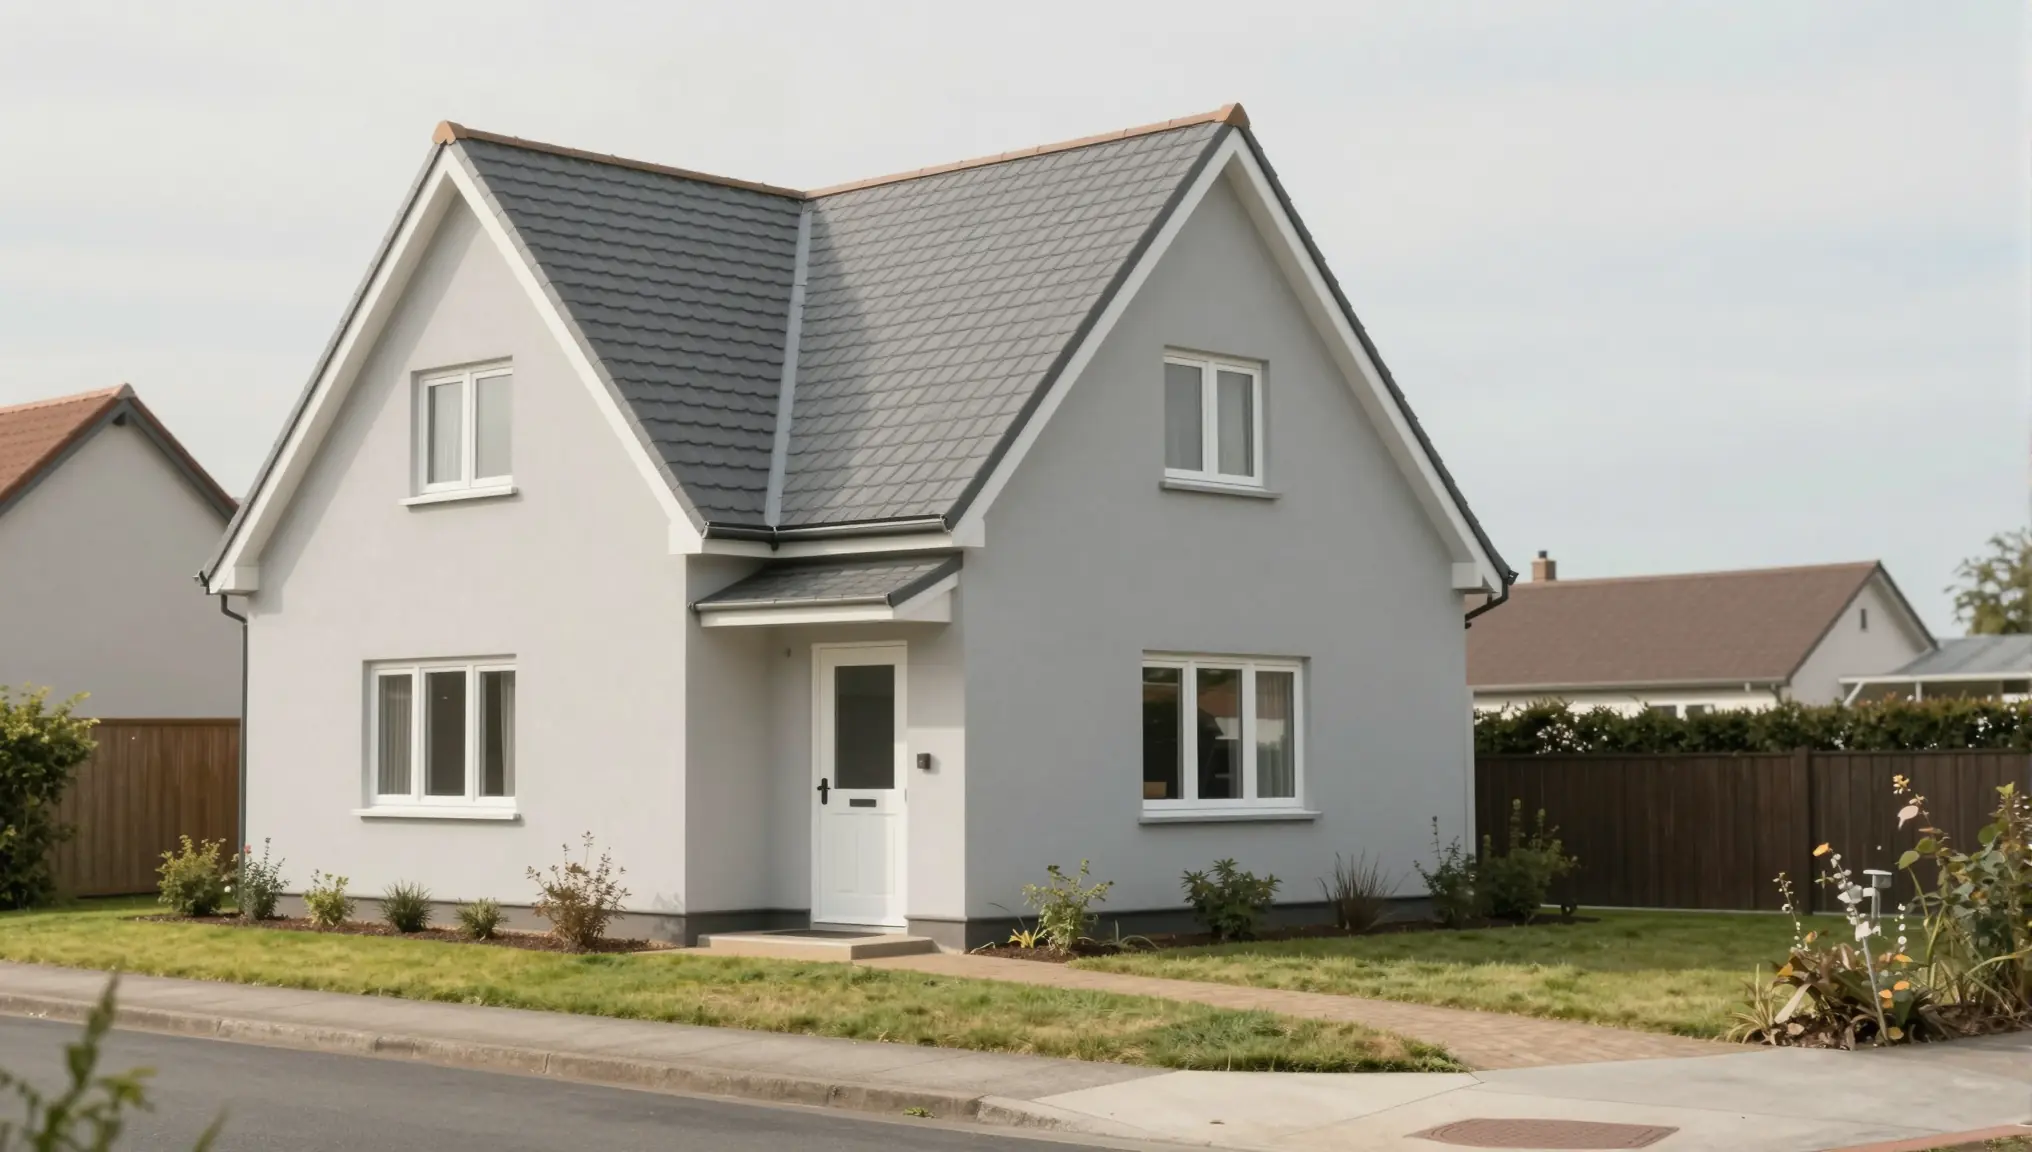
Every image in this guide was made in QUVIAI. The neutral base view was generated with the text-to-image tool; every option was then created from it with AI render editing, using the prompts shown below.
Why Visualize Facade Options as Renders?
- Facades are judged at full scale. A brick sample in the hand looks very different from a whole elevation in daylight. Seeing the complete facade reduces surprises on site.
- Exterior choices work as a set. Cladding, frames, roof, fascias and paving all affect each other. Renders show the combination, not just the individual parts.
- Planning and neighbours matter. Showing the facade in context helps the client think about how the building sits on its street.
- Each option is quicker than a re-render. You edit the existing image instead of rebuilding materials in your 3D model for every variation.
Step 1: Choose the Right Base View
All options are built on the same image, so choose it with care.
- Show the main elevation clearly. A slightly angled street-level view usually works better than a flat front elevation, because it shows depth, shadows and the roof.
- Include context. Some ground, planting and the edge of the neighbouring buildings make the facade easier to judge.
- Keep the base materials neutral. Simple, mid-tone surfaces make every change easy to see.
- Agree the massing first. Openings, roof shape and proportions should be settled before material options. Otherwise you are comparing two things at once.
Your base image can come from several sources. A screenshot of a model view works well: QUVIAI offers free AI render plugins for popular modelling tools, and our guide to rendering a 3D model or BIM view covers the rest. You can start from a perspective sketch with Sketch → Render, from an elevation drawing (AutoCAD guide), or from a photo of an existing building if the project is a refurbishment (renovation guide).
Step 2: Plan the Options Before You Generate
Random variations make a meeting harder, not easier. Decide in advance what you are comparing.
- Limit yourself to two to four options. More than four becomes difficult to compare.
- Give each option an idea. For example “Traditional and warm”, “Contemporary timber”, “Light and minimal”.
- List the elements that change. Main cladding, base or plinth, window and door frames, roof, fascias and gutters, front door, paving.
- Decide what stays fixed. If the roof is already agreed, keep it the same in every option.
- Describe materials in words. “Hand-made red brick, flush joints, slight colour variation” is more useful than “brick”.
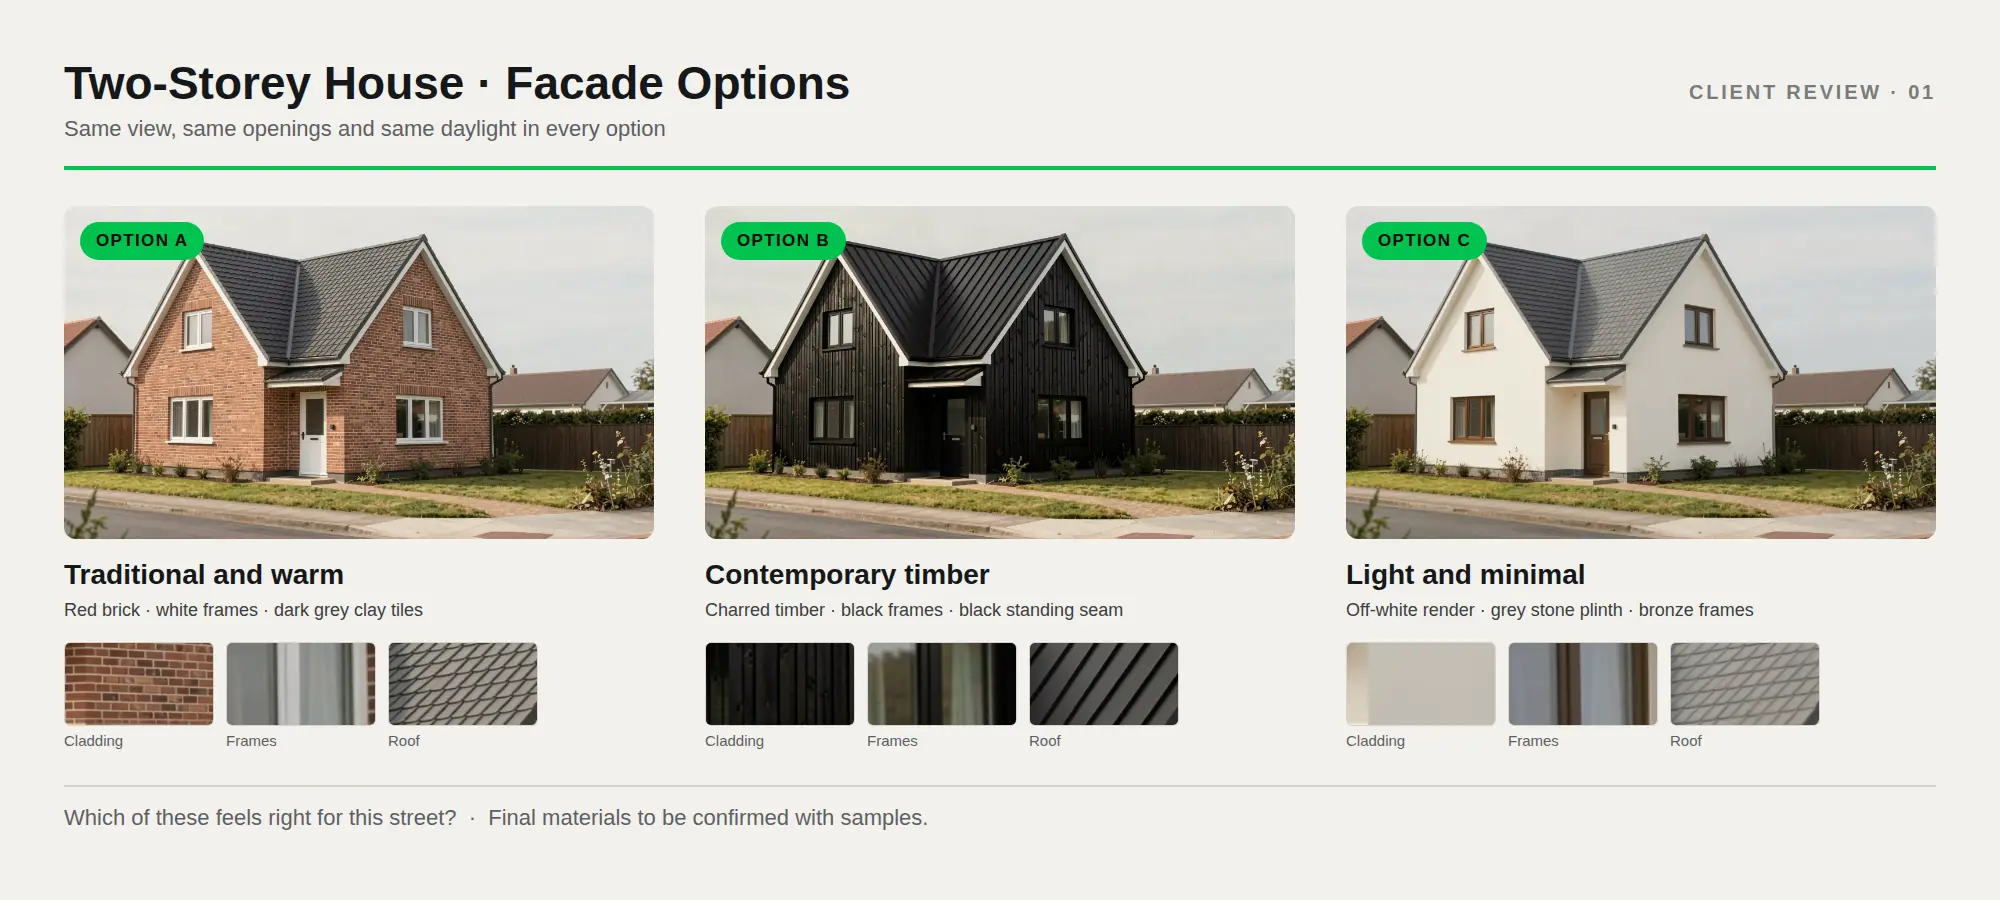
A simple table keeps everyone aligned. This is the plan behind the three options in this guide:
| Element | Option A · Traditional and warm | Option B · Contemporary timber | Option C · Light and minimal |
|---|---|---|---|
| Main cladding | Red brick | Vertical charred timber | Off-white smooth render |
| Base / plinth | Same brick | Same timber | Grey stone |
| Window frames | White | Black | Bronze |
| Roof | Dark grey tiles | Black standing seam | Dark grey tiles |
Step 3: Change Exterior Materials One Element at a Time
QUVIAI’s AI render editing lets you change any element of an image, including facade and architectural elements, materials and colours. There are two ways to work. Our masked vs maskless editing guide explains the difference in detail.
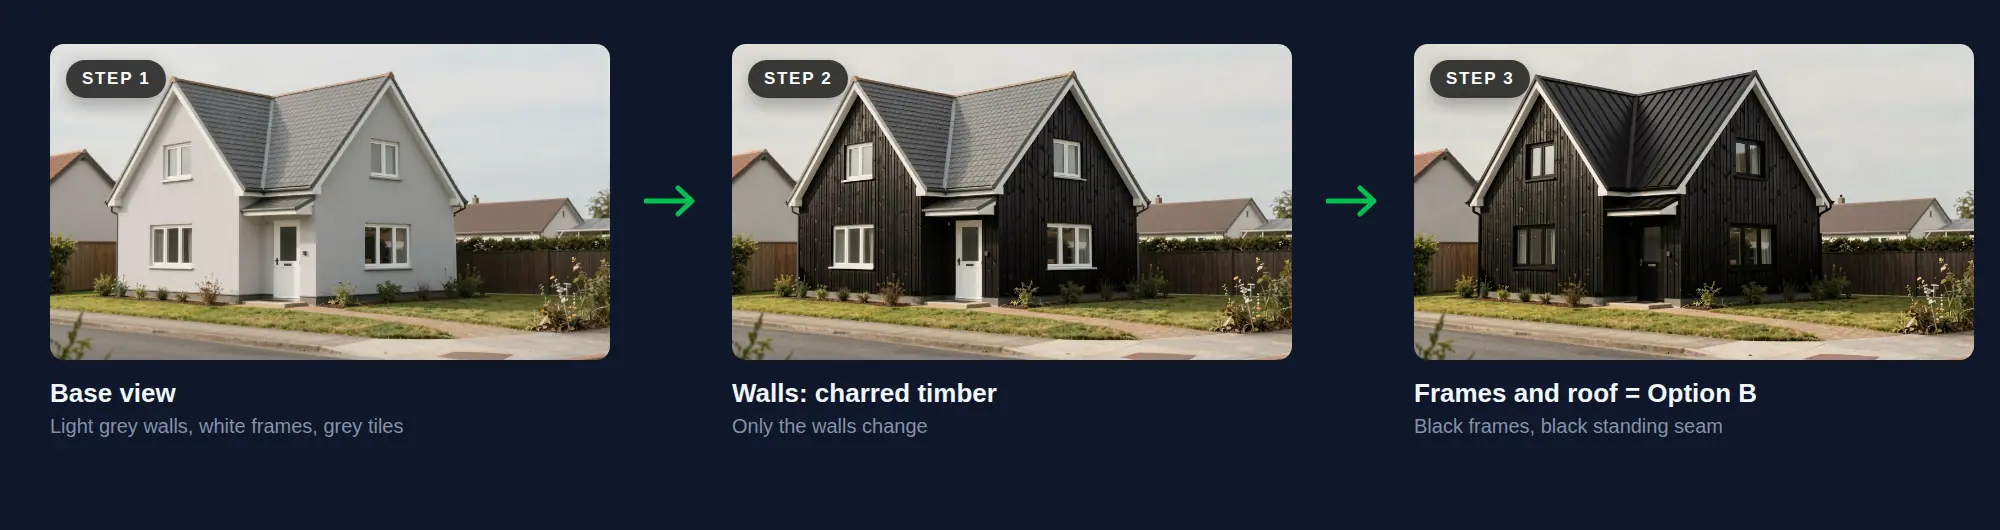
One element at a time. Change the main wall surface first, check it, then the frames and the roof. For large surfaces like a whole facade, a maskless edit that names one element works best; it keeps window reveals and corners clean without having to paint a large mask. This is exactly how Option B was built:
“Change only the main walls to vertical charred timber cladding, narrow boards, matte black finish, subtle grain. Keep the window frames, roof, front door, garden, neighbours, camera angle and daylight exactly the same. Photorealistic.”
“Change only the window and door frames to slim black aluminium frames with a matte finish, and the roof to a black standing seam metal roof. Keep the charred timber walls, openings, front door, garden, neighbours, camera angle and daylight exactly the same. Photorealistic.”
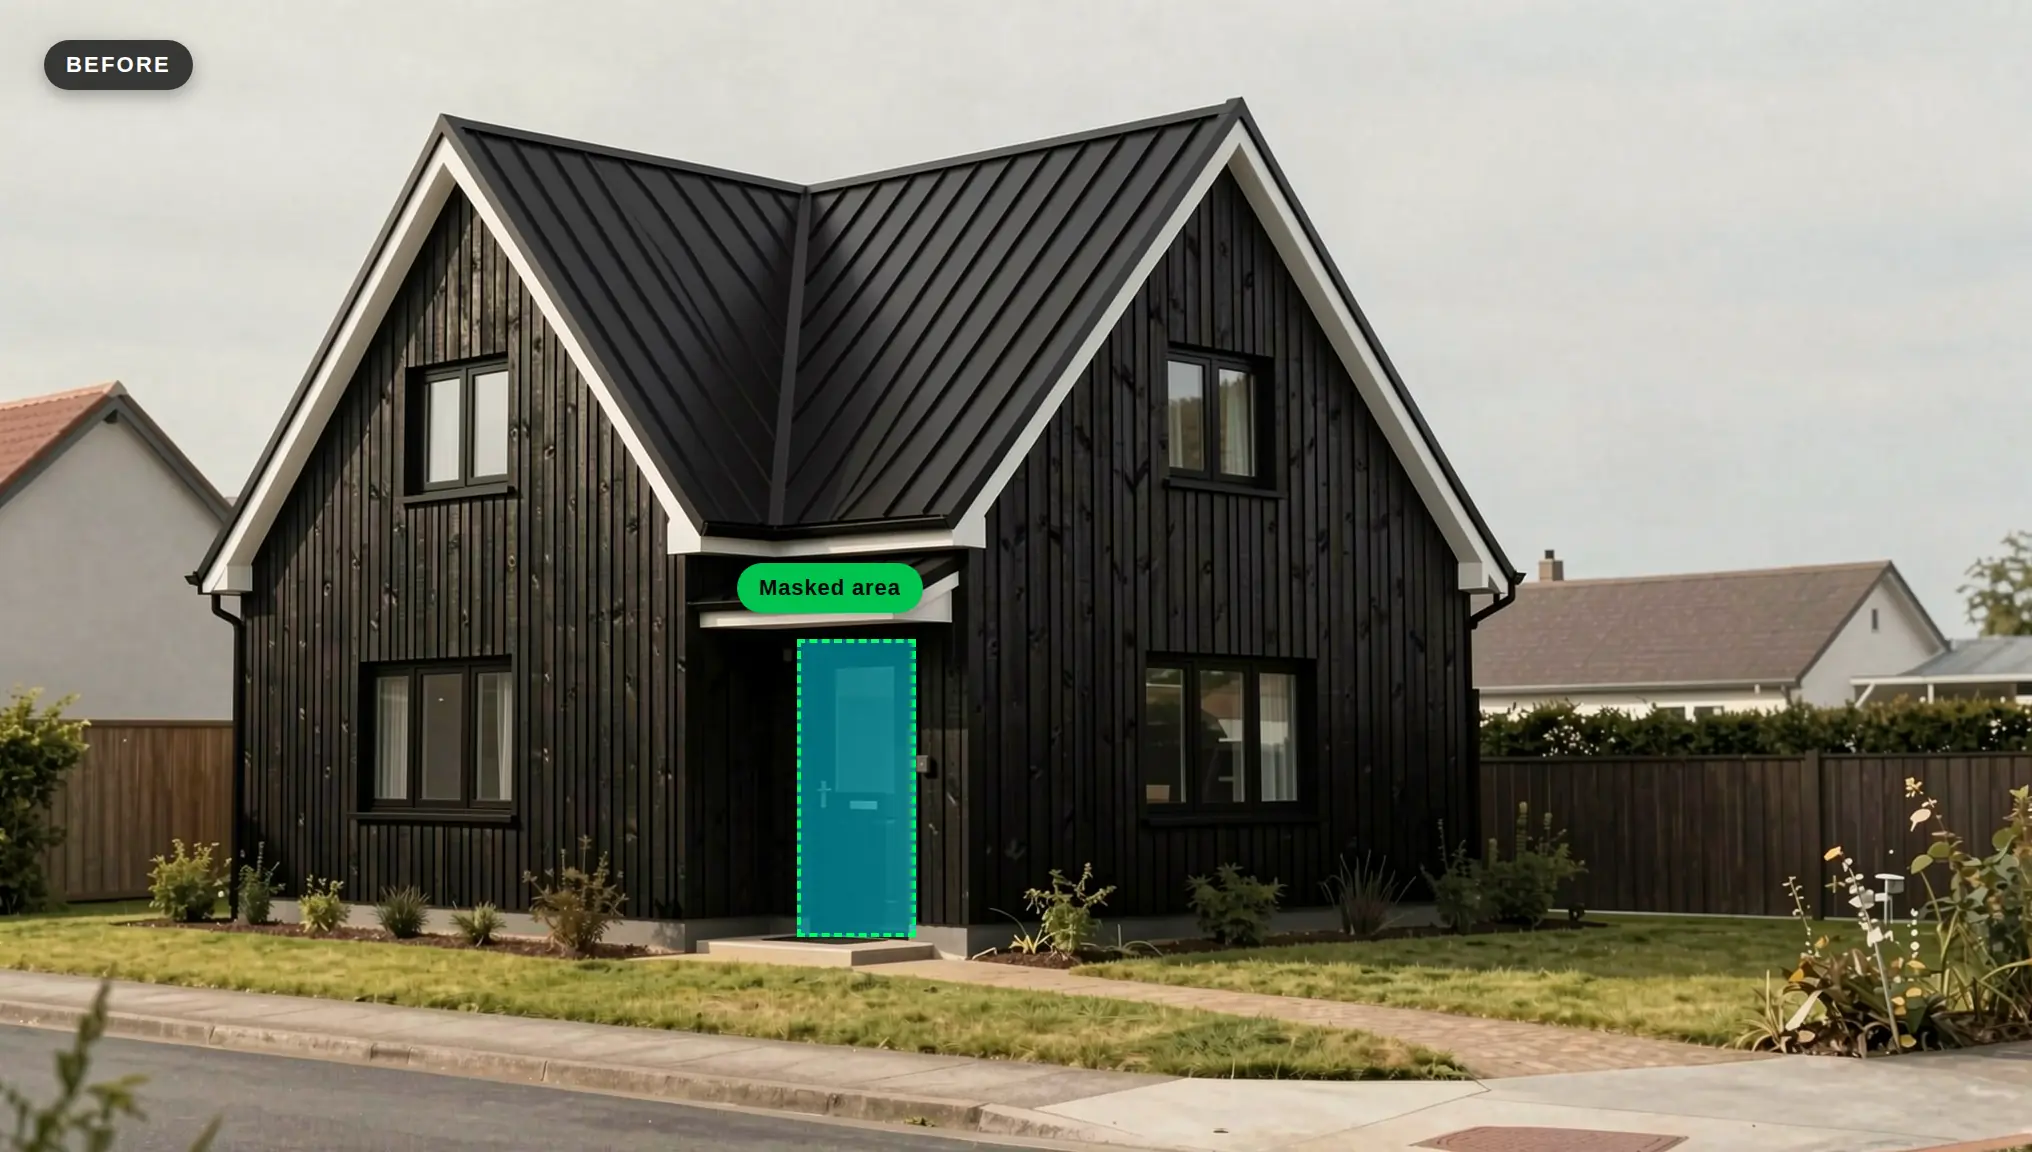
Masked editing for small elements. Select a small, clearly bounded element such as the front door, a fascia or a canopy, and describe what should be there. Keep the mask tight around that element.
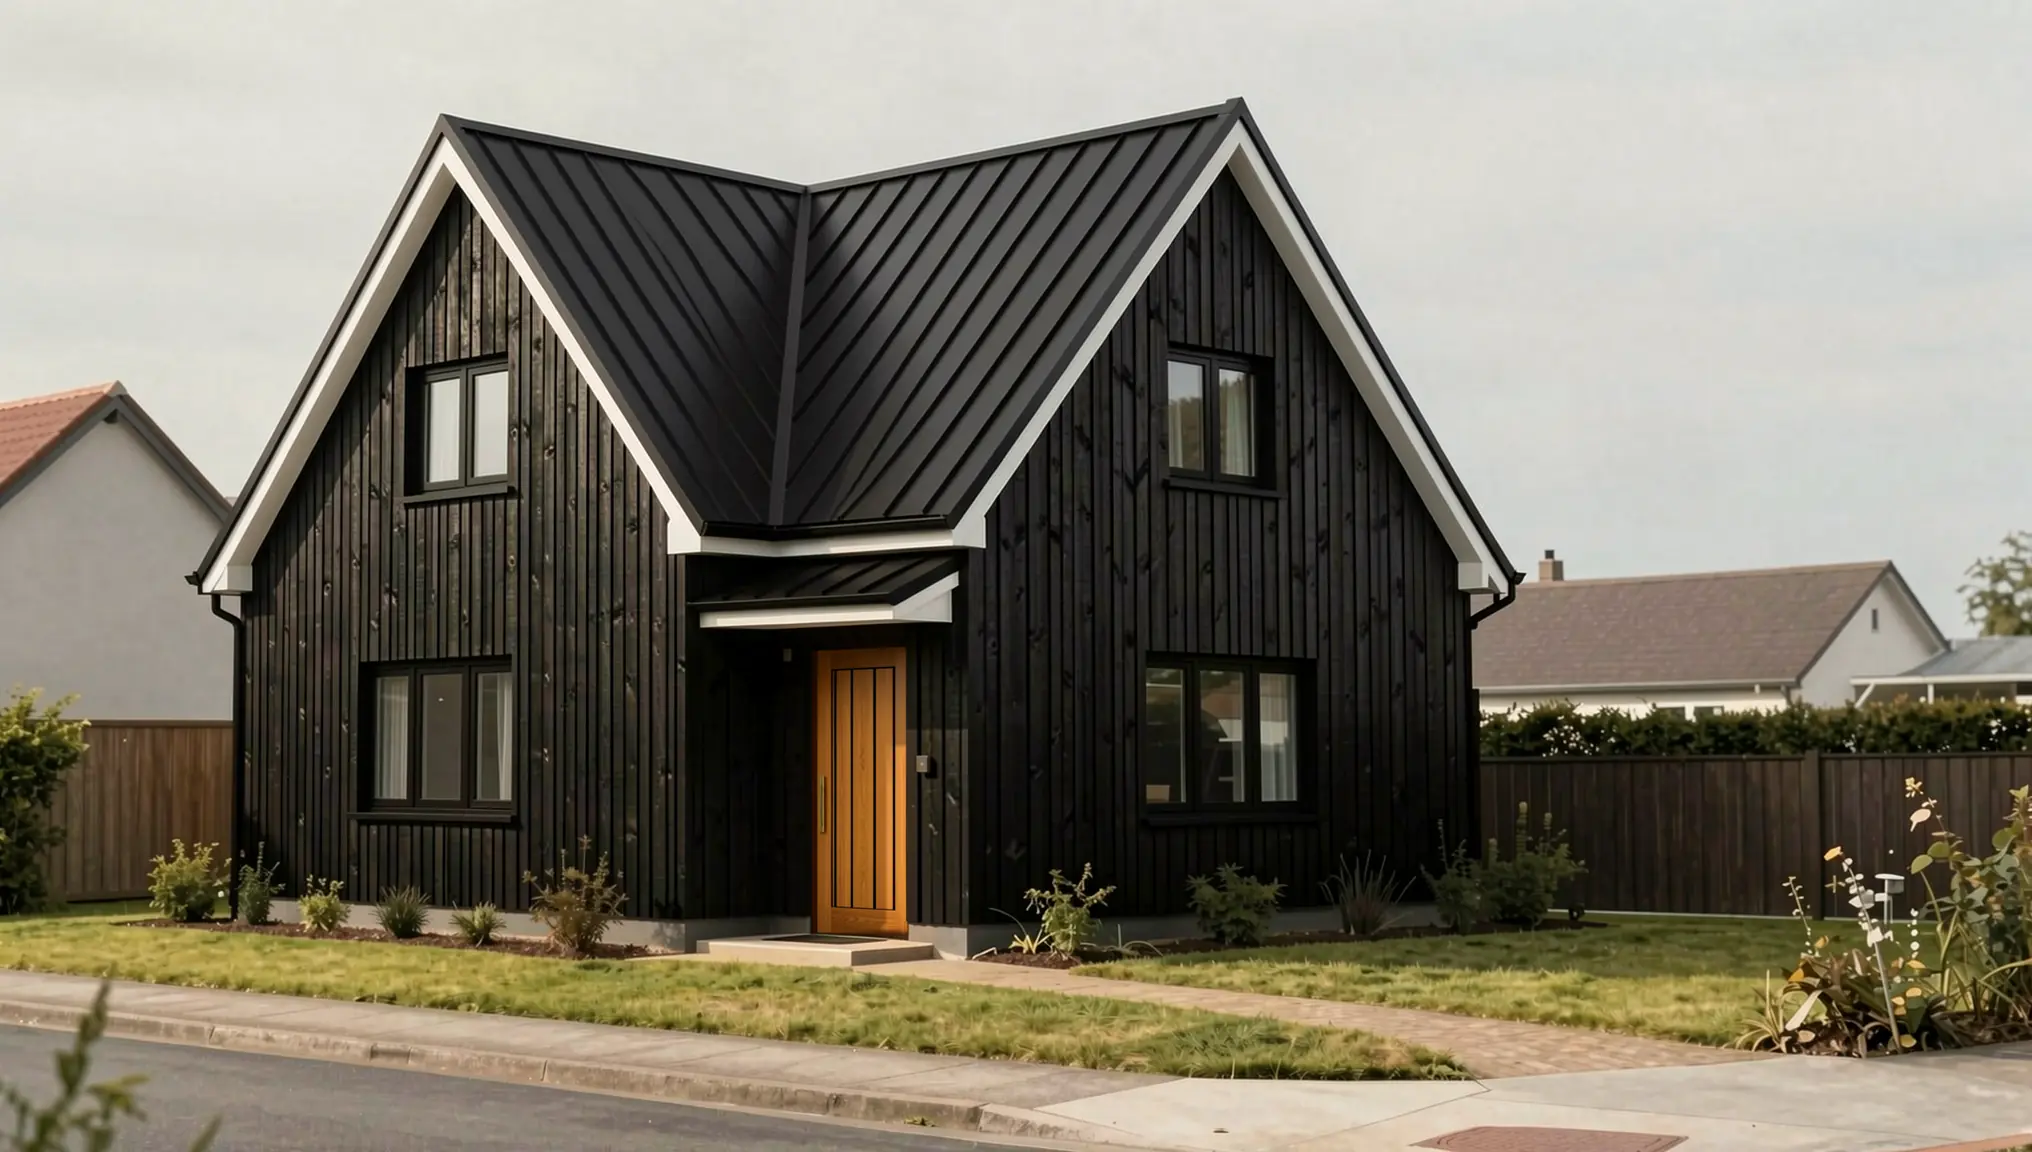
“Replace the black front door with a solid warm oak front door with vertical boards and a slim brass handle. Keep the frame, the canopy and the charred timber walls around it exactly as they are. Photorealistic.”
Maskless editing for an overall direction. When you want to test a complete look quickly, describe the whole scheme in one prompt. Options A and C were made this way:
“Option A, traditional and warm: change the walls to hand-made red brick in stretcher bond with flush light mortar joints and slight colour variation, keep the white window frames, change the roof to dark grey clay tiles. Keep the house shape, openings, front door position, garden, neighbours, camera angle and daylight exactly the same. Photorealistic.”
“Same building, same openings and roof shape. Off-white smooth render walls, grey stone plinth, bronze window frames, dark grey roof tiles.”
Tips for exterior materials:
- Describe bond, joints and orientation. Stretcher bond, flush or recessed joints, vertical or horizontal boards all change the character of a facade.
- Mention scale. “Narrow boards”, “large-format panels” or “small hand-made bricks” help the AI get proportions right.
- Include finish. Matte, weathered, brushed or glazed surfaces read very differently in sunlight.
- Repeat what must not change. “Same building, same openings” keeps the focus on materials.
Our prompt guide for architectural renders has more examples.
Step 4: Test Options in Different Light
Exterior materials change with light more than interior ones. A dark timber that looks elegant at midday can look heavy in the evening, and a white render can look very bright in full sun. With QUVIAI you can produce the same view in different lighting conditions, for example day and night. See our day to night guide.
“Change the scene to dusk: deep blue evening sky, warm light glowing from the windows, a lit front door, low garden lights along the path. Keep the charred timber walls, black frames, black roof, garden, neighbours and camera angle exactly the same. Photorealistic.”
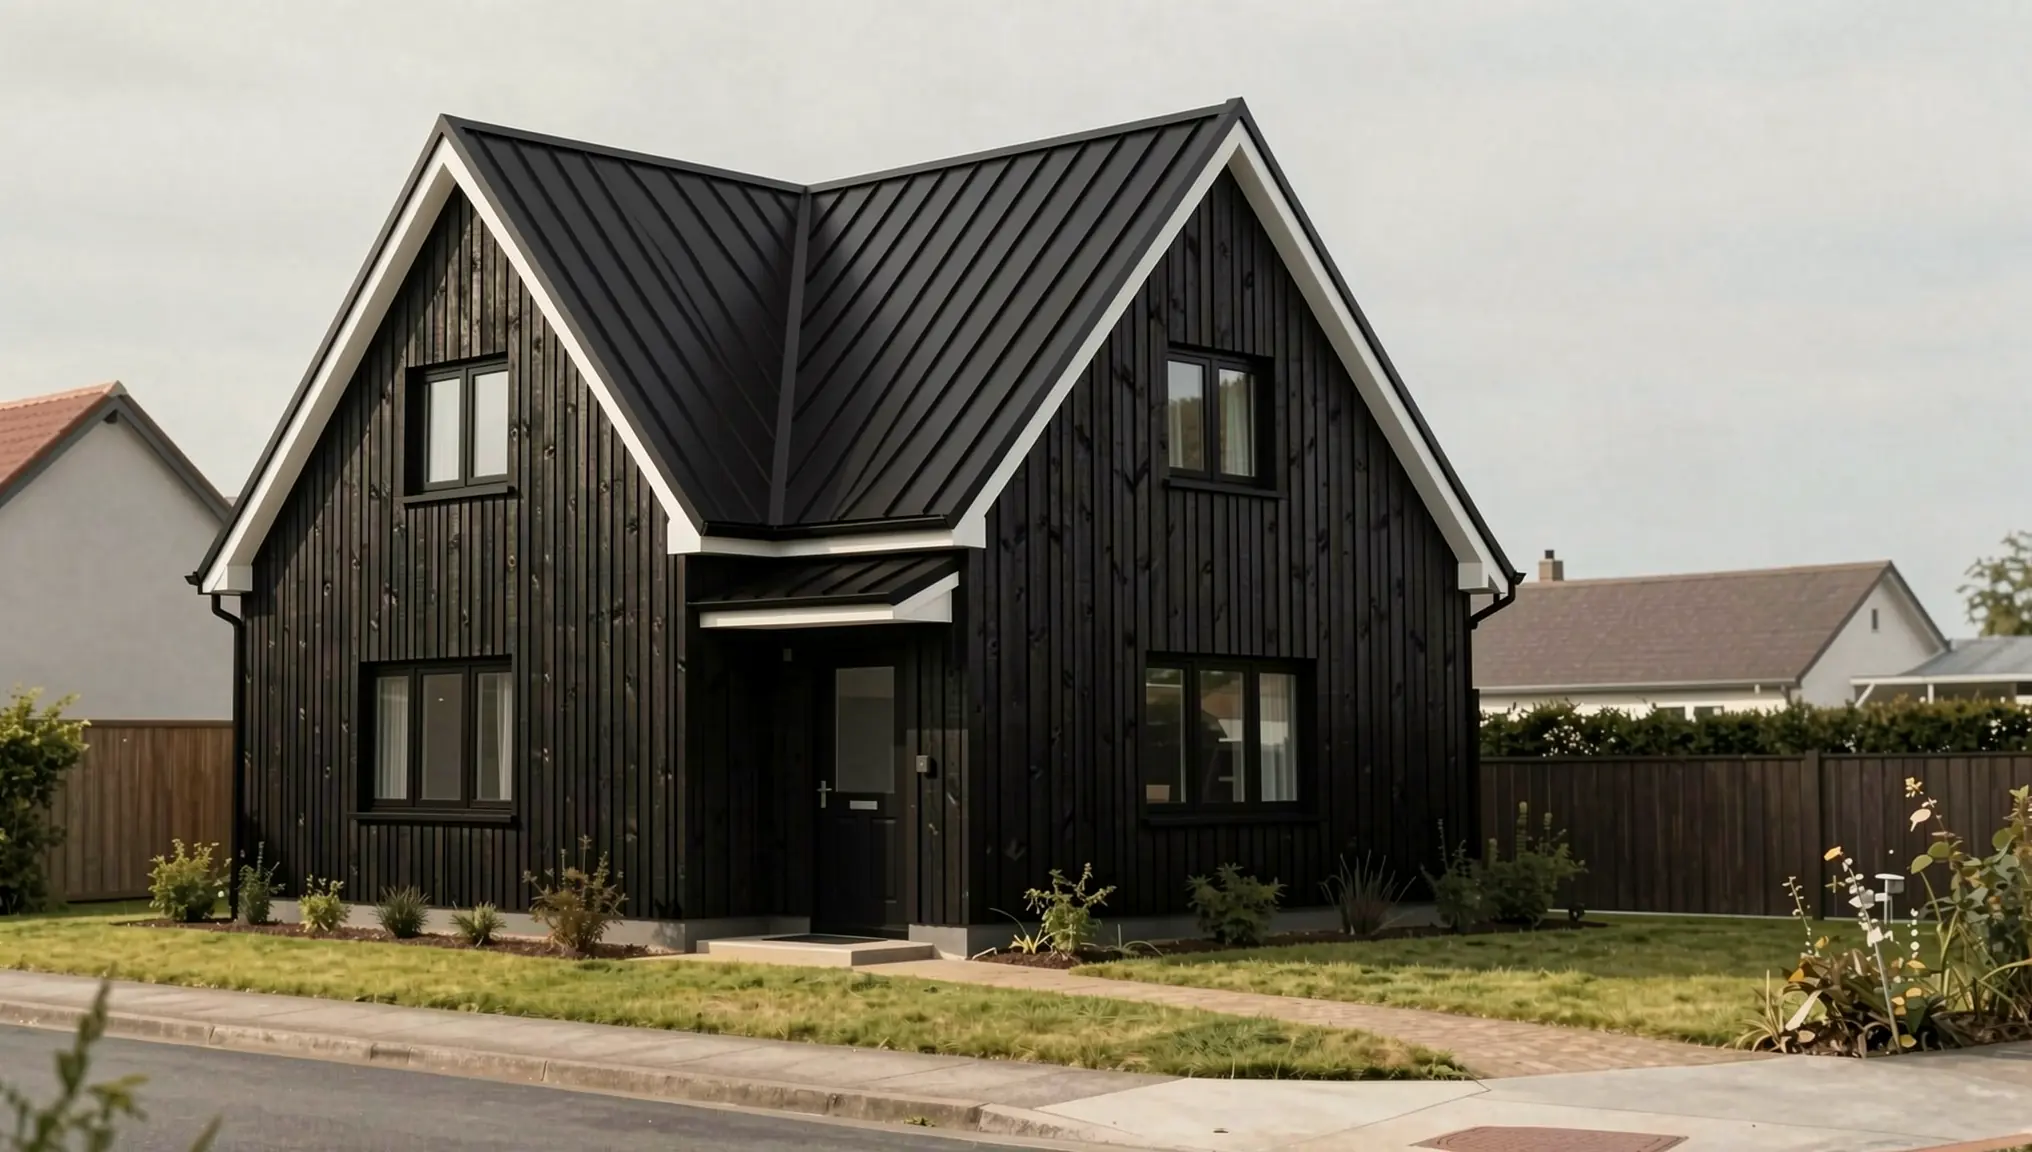
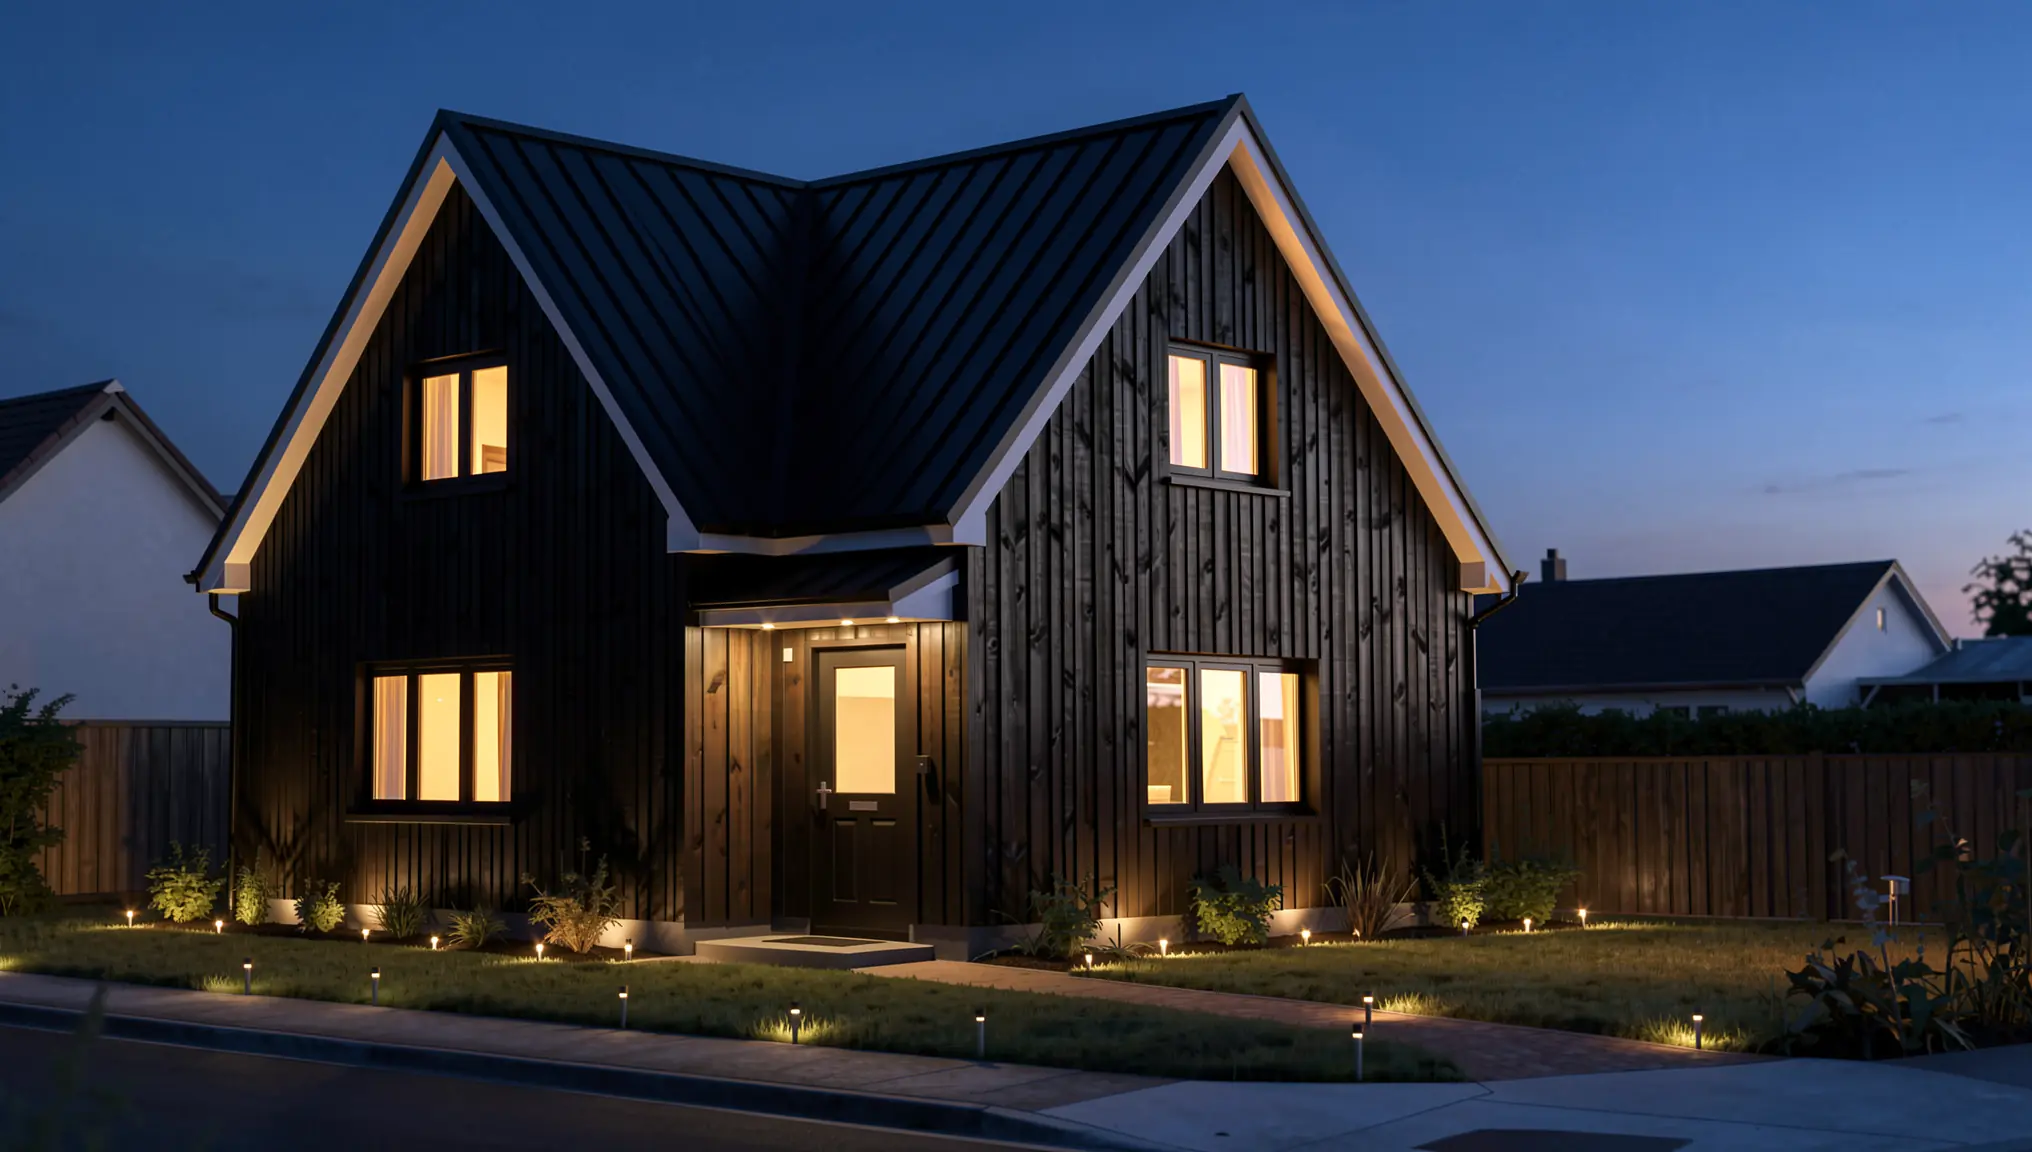
Keep the comparison fair: if you show one option at dusk, show all of them at dusk.
You can also adjust landscape and surroundings, such as planting, paving or a front garden, when the client wants to see the whole frontage. Use this carefully, so the comparison stays about the facade.
Step 5: Check Every Option Before You Present
AI edits can sometimes change more than you asked for. Compare each option with the base render:
- Geometry: Same number and size of windows, same roof line, same door position.
- Consistency: Same camera angle and lighting across all options.
- Believability: Joint patterns, board widths and corners should look buildable. Regenerate any area that does not.
- Honesty: AI renders show a design direction, not an exact product. Tell the client that final materials will be confirmed with samples, specifications and any planning requirements.
Step 6: Present the Options So the Client Can Decide
- Side by side, same size. One row or a grid on a single board.
- Label each option. Use the names from Step 2 and list the main materials underneath.
- Add real samples. A brick, a timber offcut or a frame colour chip next to each render connects image and material.
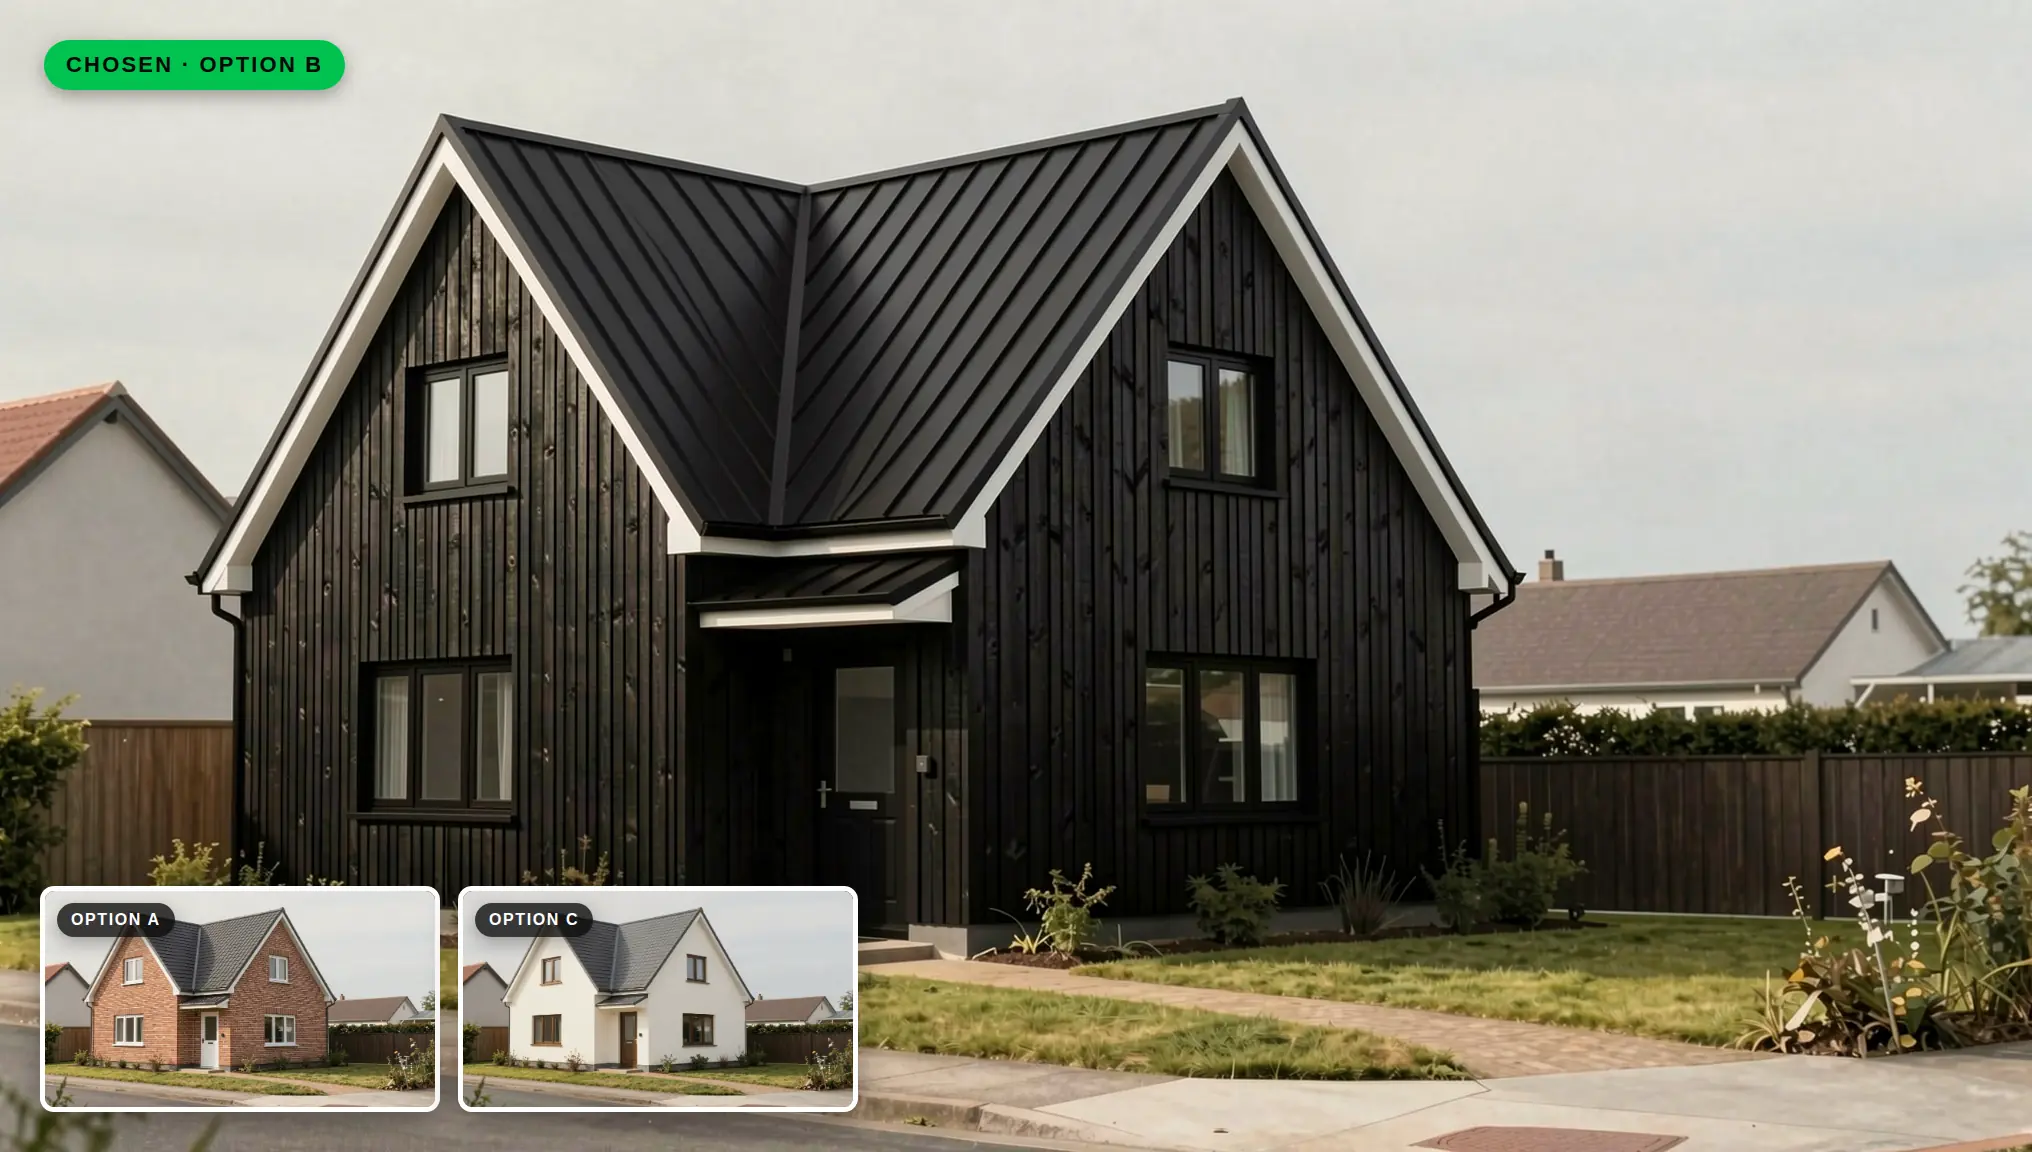
- Show the street. If you have a wider view with neighbours, include it for the preferred option.
- Ask a focused question. “Which of these feels right for this street?” leads to a better discussion than “Which do you like?”
- Add motion for the final choice. Once the client picks a direction, Render → Video can turn the image into a short clip.
Quick Checklist
- Massing and openings agreed before material options
- One clear base view with context and neutral materials
- Two to four named options with a short material table
- Cladding, frames and roof changed one element at a time
- Options checked against the base render
- Same angle and light across all options
- Presented side by side with samples
Conclusion
Facade materials are a long-term decision, and clients make better ones when they can see the whole building in each option. AI render editing makes those options quick to produce from a single base view. Plan a small set of clear schemes, change one element at a time, check every result and present them side by side.
You can try this workflow in QUVIAI with free daily credits, and no credit card is required. Take an exterior view from your current project and build your first set of facade options.