AI RENDERING GUIDE
How to Show Clients Material Options With AI Renders
Published 9 min read
“Can I see it in walnut instead?” Every architect and interior designer has heard some version of this question. A client looks at a render, likes the space, and then asks what it would look like with a lighter floor, a different wall finish or another sofa fabric. With a traditional rendering pipeline, each answer means changing materials in the 3D model, re-rendering and waiting. So designers often limit the options they show, and clients end up choosing from samples and imagination.
AI render editing changes that. You can take one approved view of a space and produce several versions of it, each with a different material scheme, then put them side by side. In this guide you will learn how to prepare a base render, how to change materials one area at a time, how to keep the options consistent, and how to present them so the client can actually decide.
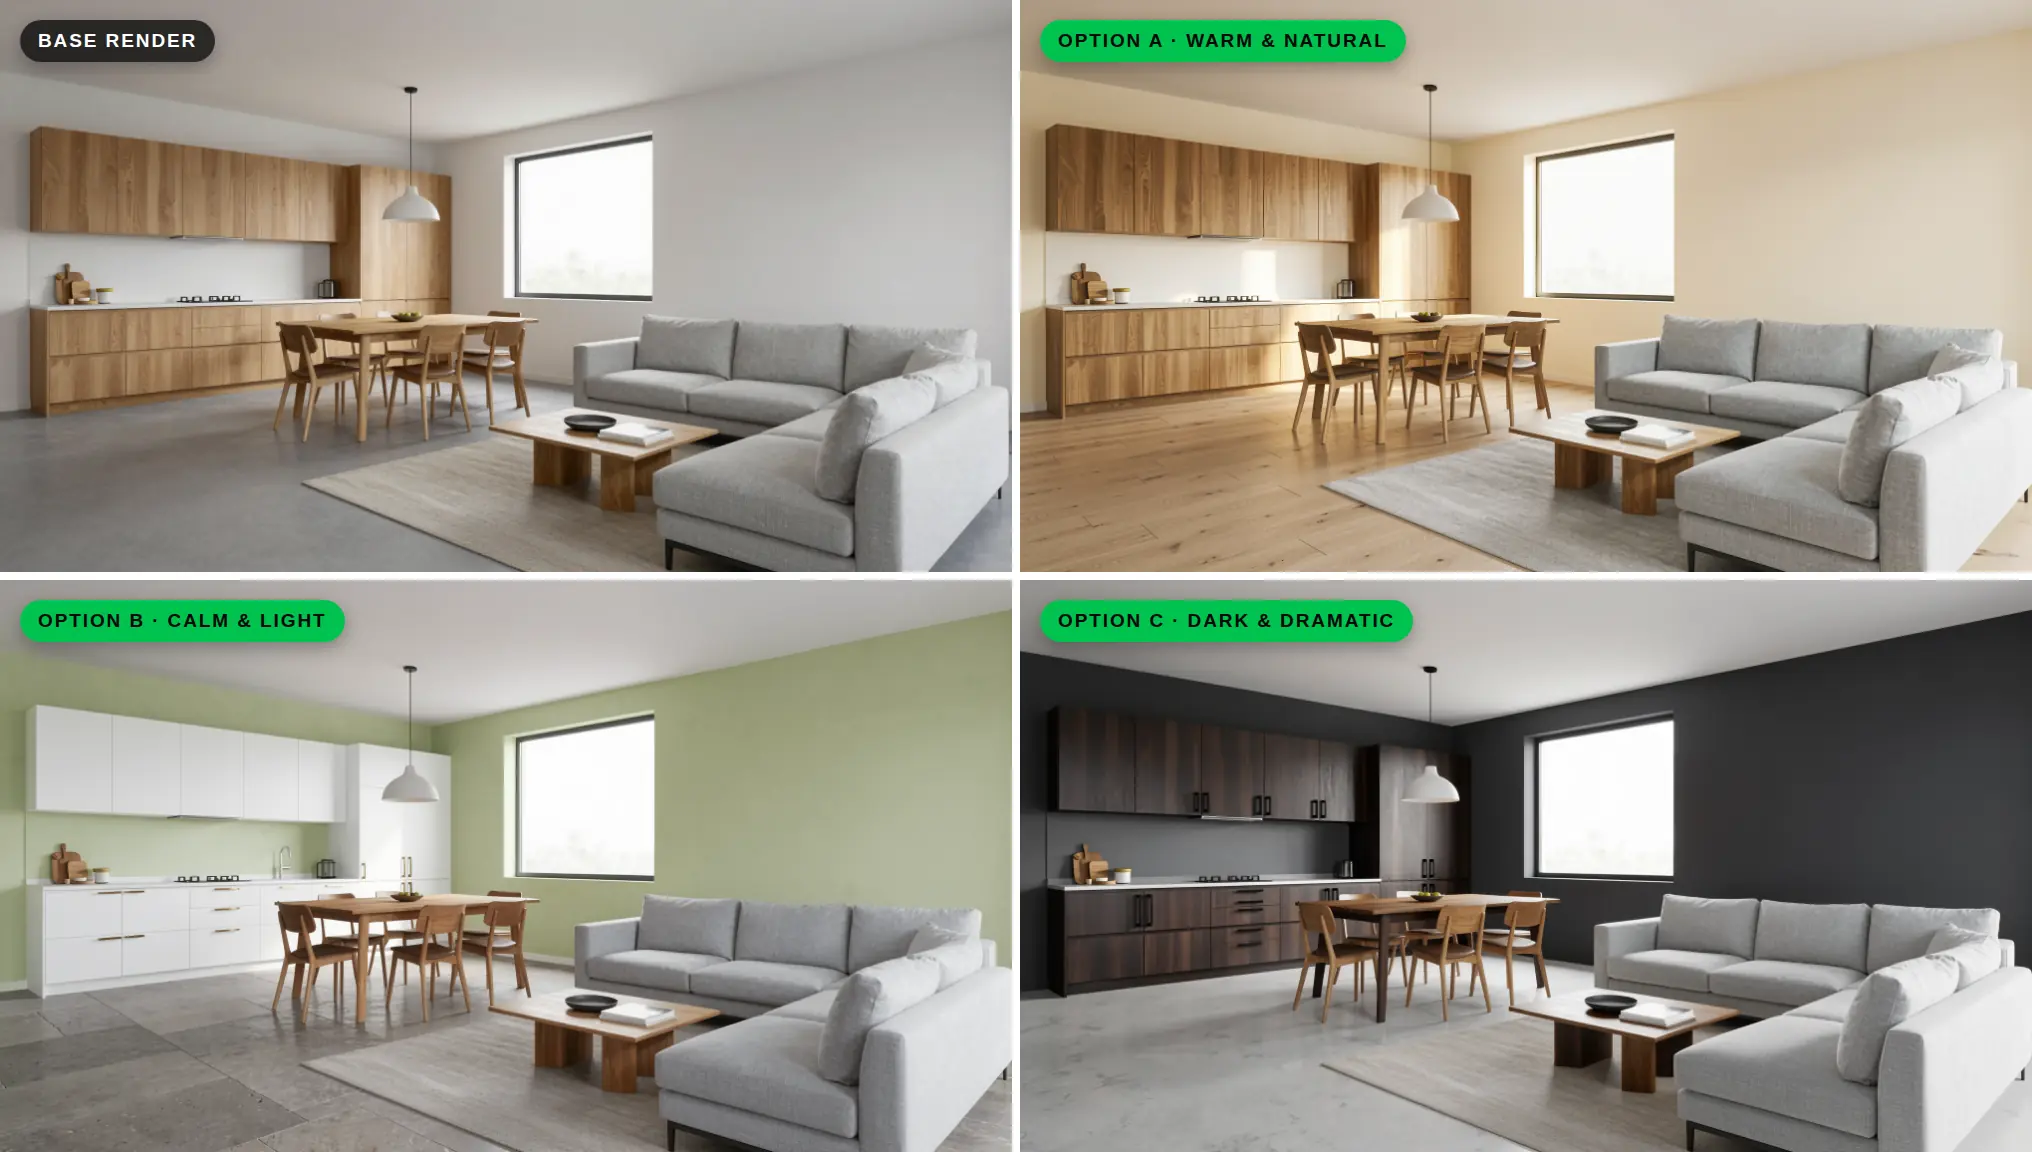
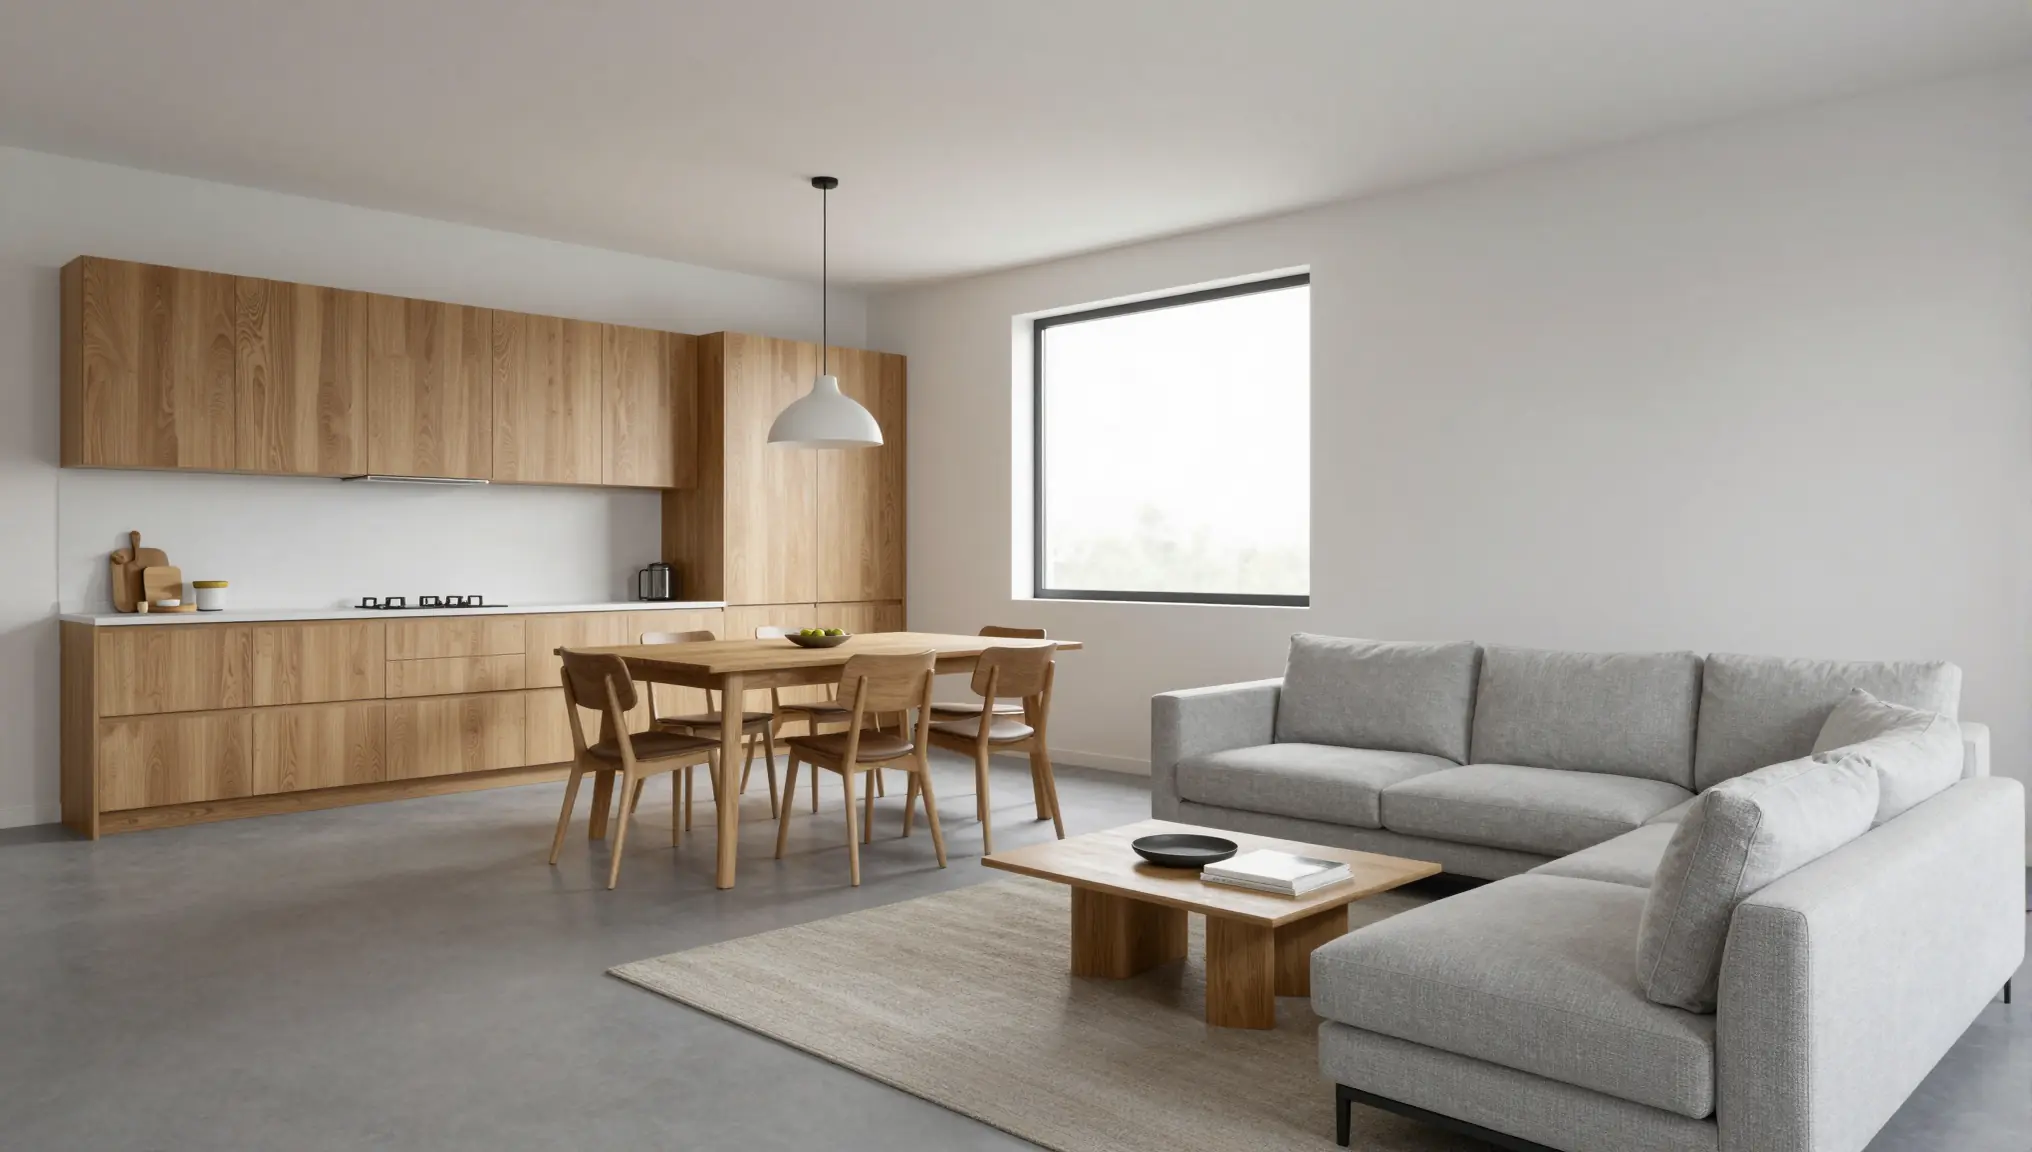
Every image in this guide was made in QUVIAI. The neutral base render was generated with the text-to-image tool; each option was then created from it with AI render editing, using the prompts shown below.
Why Show Material Options as Renders?
- Clients decide faster when they can compare. Seeing two or three finished options next to each other is easier than imagining how a small sample will look across a whole room.
- Fewer surprises later. A floor that looked warm as a 10 cm sample can feel very different across 40 square metres. Showing the whole space early reduces late changes.
- Each option costs less time. Instead of rebuilding materials in your 3D software for every variation, you edit the existing image.
- Better conversations. Options shift the meeting from “Do you like it?” to “Which direction feels right?”, which is a more useful question.
Step 1: Start From One Strong Base Render
Every option will be built on the same image, so choose it carefully.
- Pick the view that shows the most finishes. A view that includes the floor, at least one full wall and the main furniture lets the client judge the whole scheme.
- Use neutral materials in the base. Mid-tone, simple finishes make it easier to see what changed in each option.
- Fix the design first. Geometry, layout and openings should be agreed before you start on materials. Material options work best when everything else stays the same.
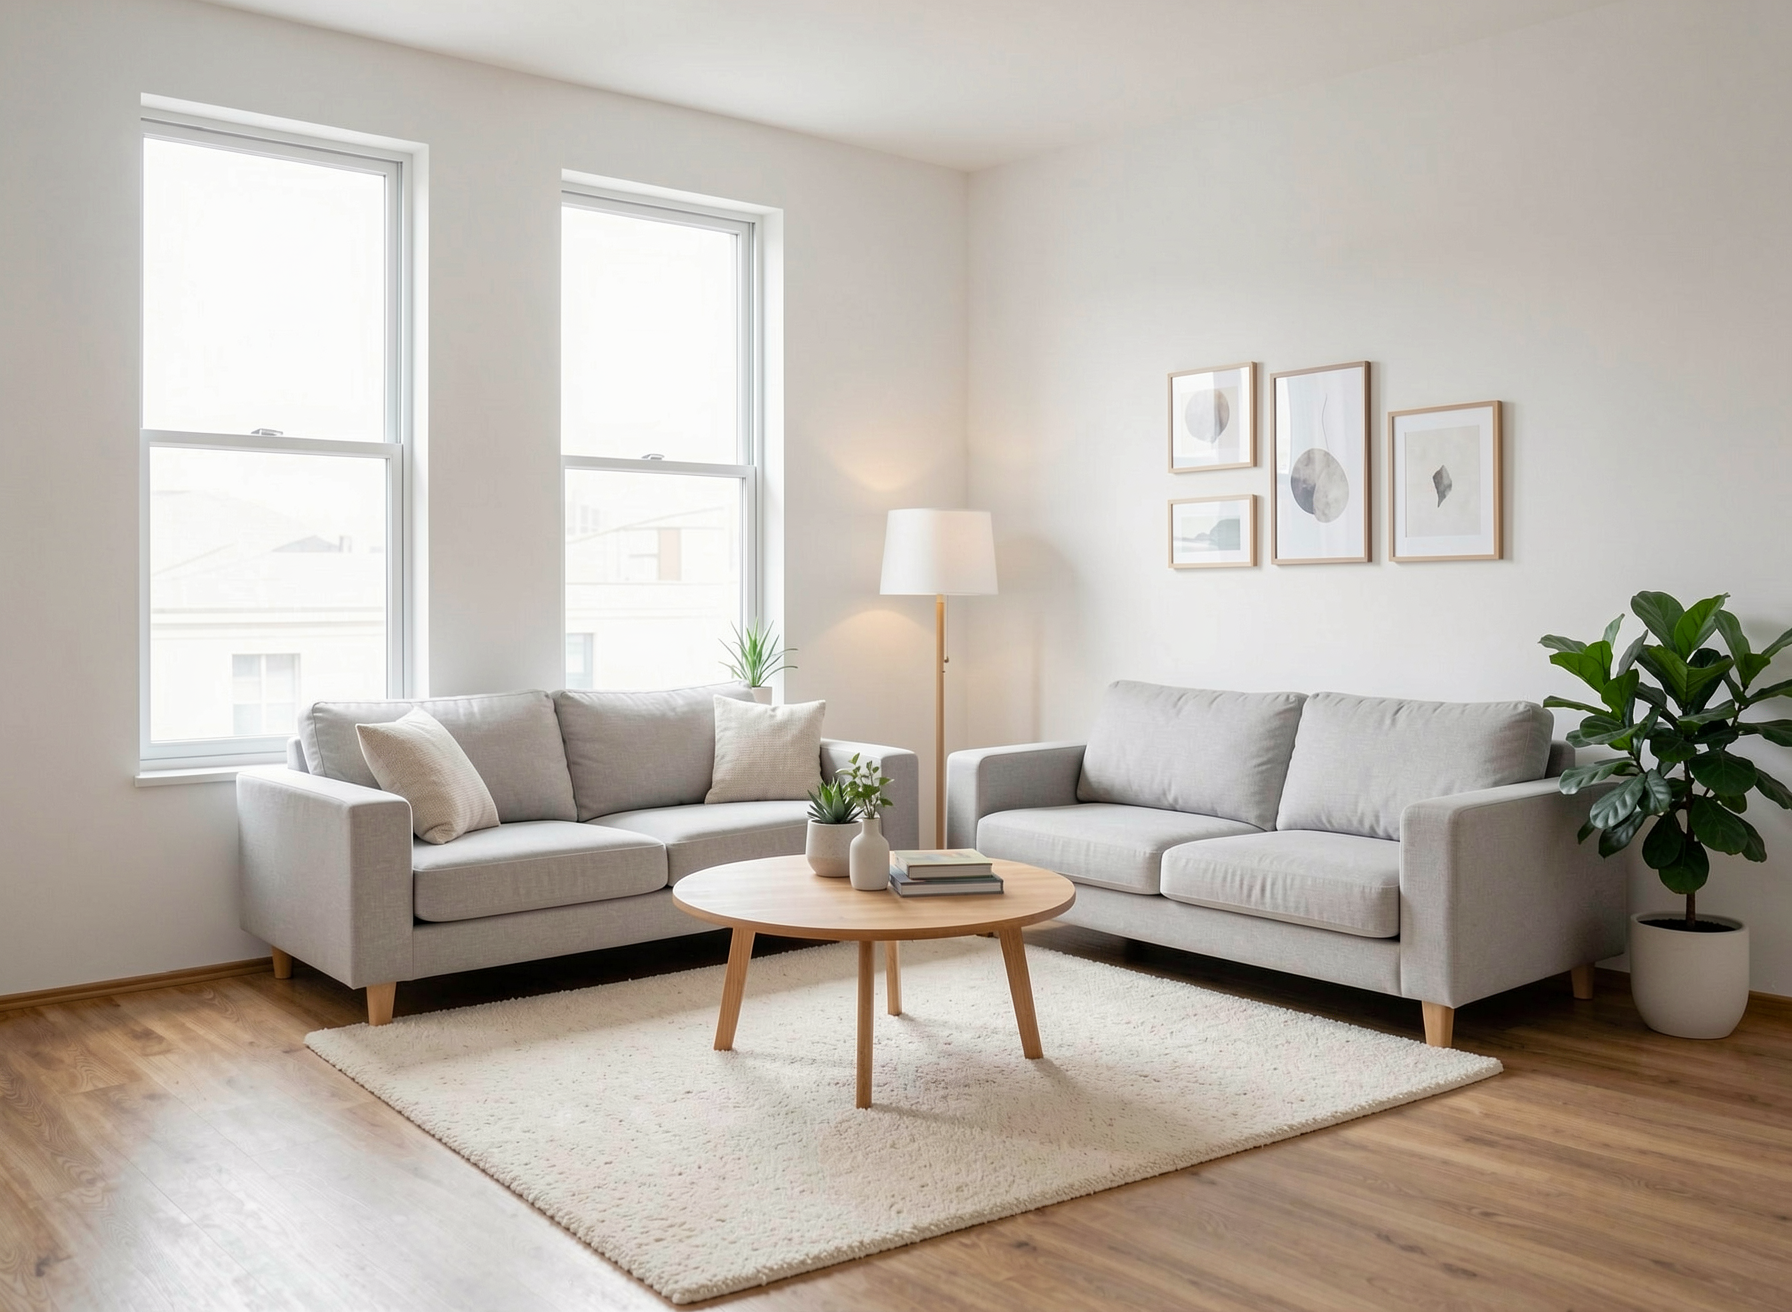
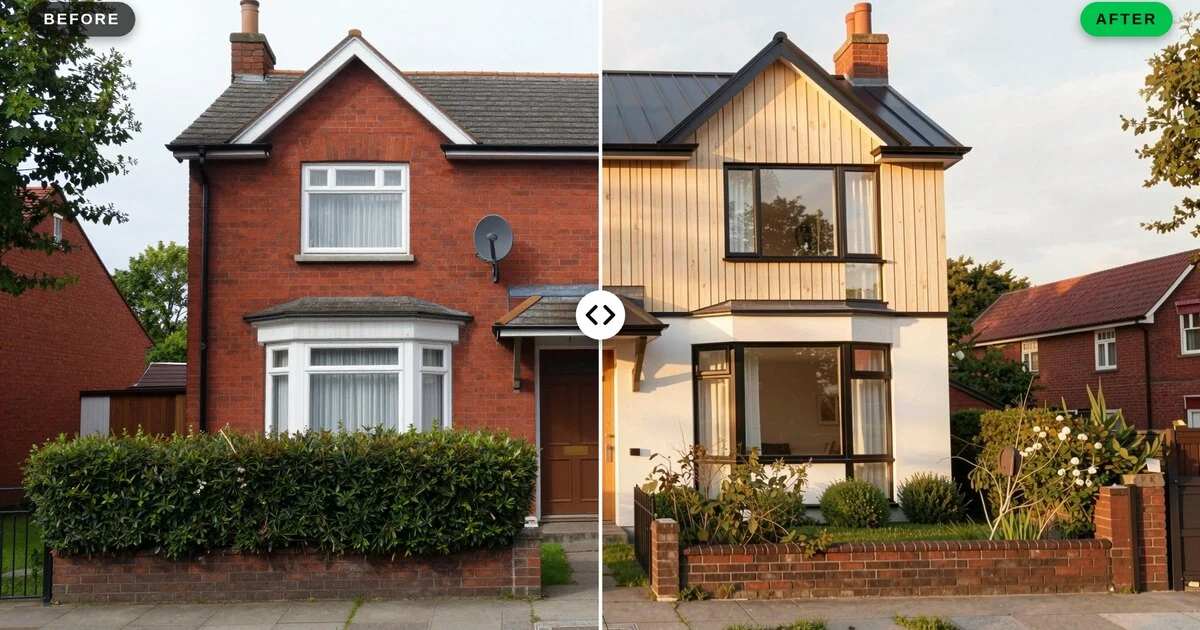
Your base image can come from almost anywhere. A screenshot of a model view works well: QUVIAI offers free AI render plugins for popular modelling tools, and our guide to rendering a 3D model or BIM view covers the rest. You can also start from a perspective sketch with Sketch → Render, or from a photo of an existing room if it is a refurbishment (renovation guide).
Step 2: Plan the Options Before You Generate
Random variations confuse clients. Decide in advance what you are comparing.
- Choose two to four options. More than four becomes hard to compare in a meeting.
- Give each option a clear idea. For example: “Warm and natural”, “Calm and light”, “Dark and dramatic”.
- List what changes in each option. Floor, walls, joinery, worktops, upholstery. Decide which surfaces stay fixed across all options.
- Write the materials down in words. “Wide-plank light oak, matte finish” is more useful to the AI and to the client than “wood floor”.
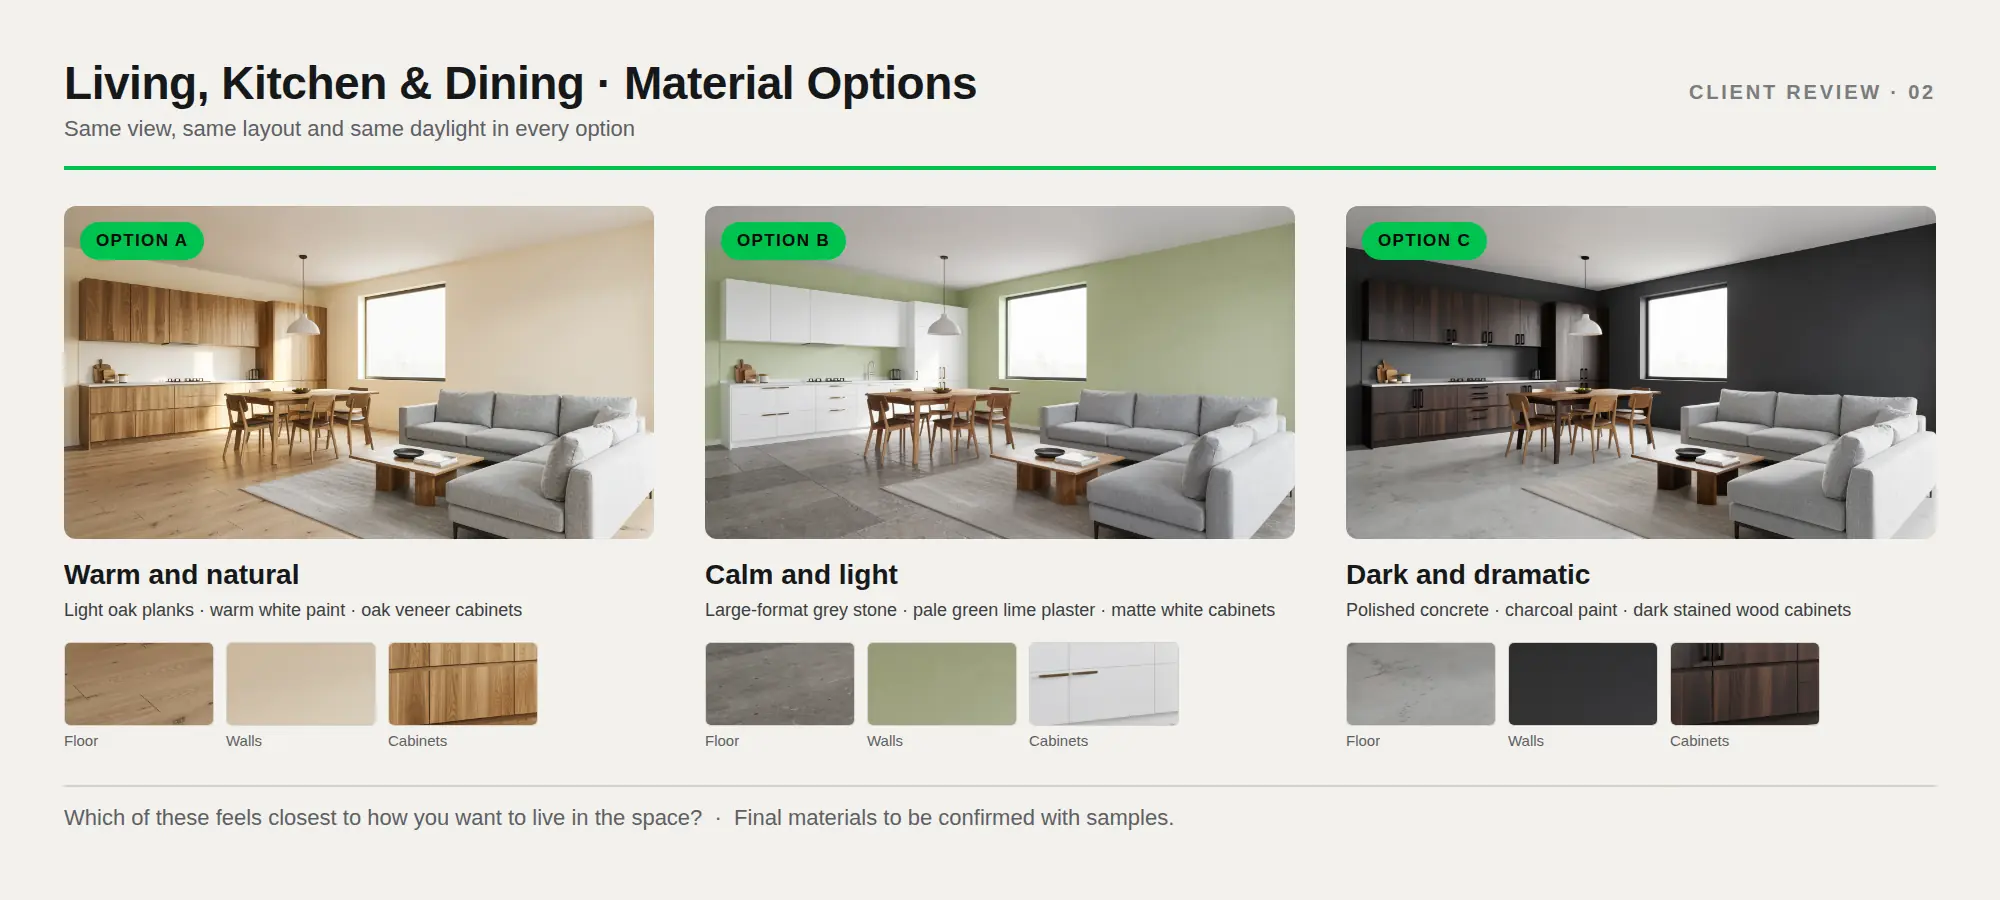
A simple table helps. This is the plan behind the three options in this guide; the sofa, dining furniture and layout stay the same in all of them:
| Surface | Option A · Warm and natural | Option B · Calm and light | Option C · Dark and dramatic |
|---|---|---|---|
| Floor | Light oak planks | Large-format grey stone | Polished concrete |
| Walls | Warm white paint | Pale green lime plaster | Charcoal paint |
| Cabinets | Oak veneer | Matte white | Dark stained wood |
Step 3: Change Materials One Area at a Time
QUVIAI’s AI render editing lets you change any element of an image, including materials and colours. There are two ways to work, and both are useful here. Our masked vs maskless editing guide explains them in detail.
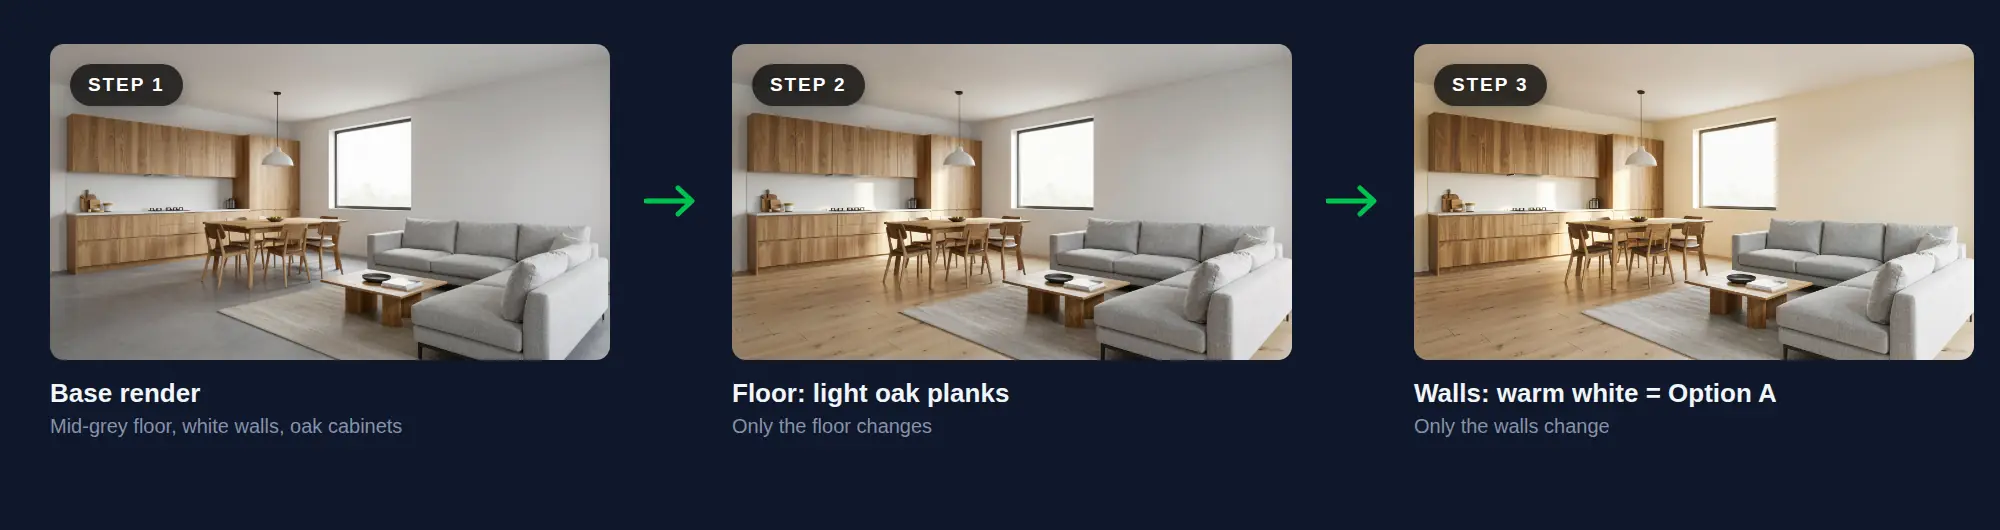
One surface at a time. Change the floor first, check it, then change the walls, and so on. For large surfaces like floors and walls, a maskless edit that names the one surface you want to change works well. This is exactly how Option A was built:
“Change only the floor to a wide-plank light oak floor, matte finish, natural grain, soft reflections. Keep the walls, kitchen cabinets, sofa, rug, coffee table, dining table, chairs, window, camera angle and daylight exactly the same. Photorealistic.”
“Change only the walls to a warm white matte paint with a soft creamy tone. Keep the light oak floor, kitchen cabinets, sofa, rug, coffee table, dining table, chairs, window, camera angle and daylight exactly the same. Photorealistic.”
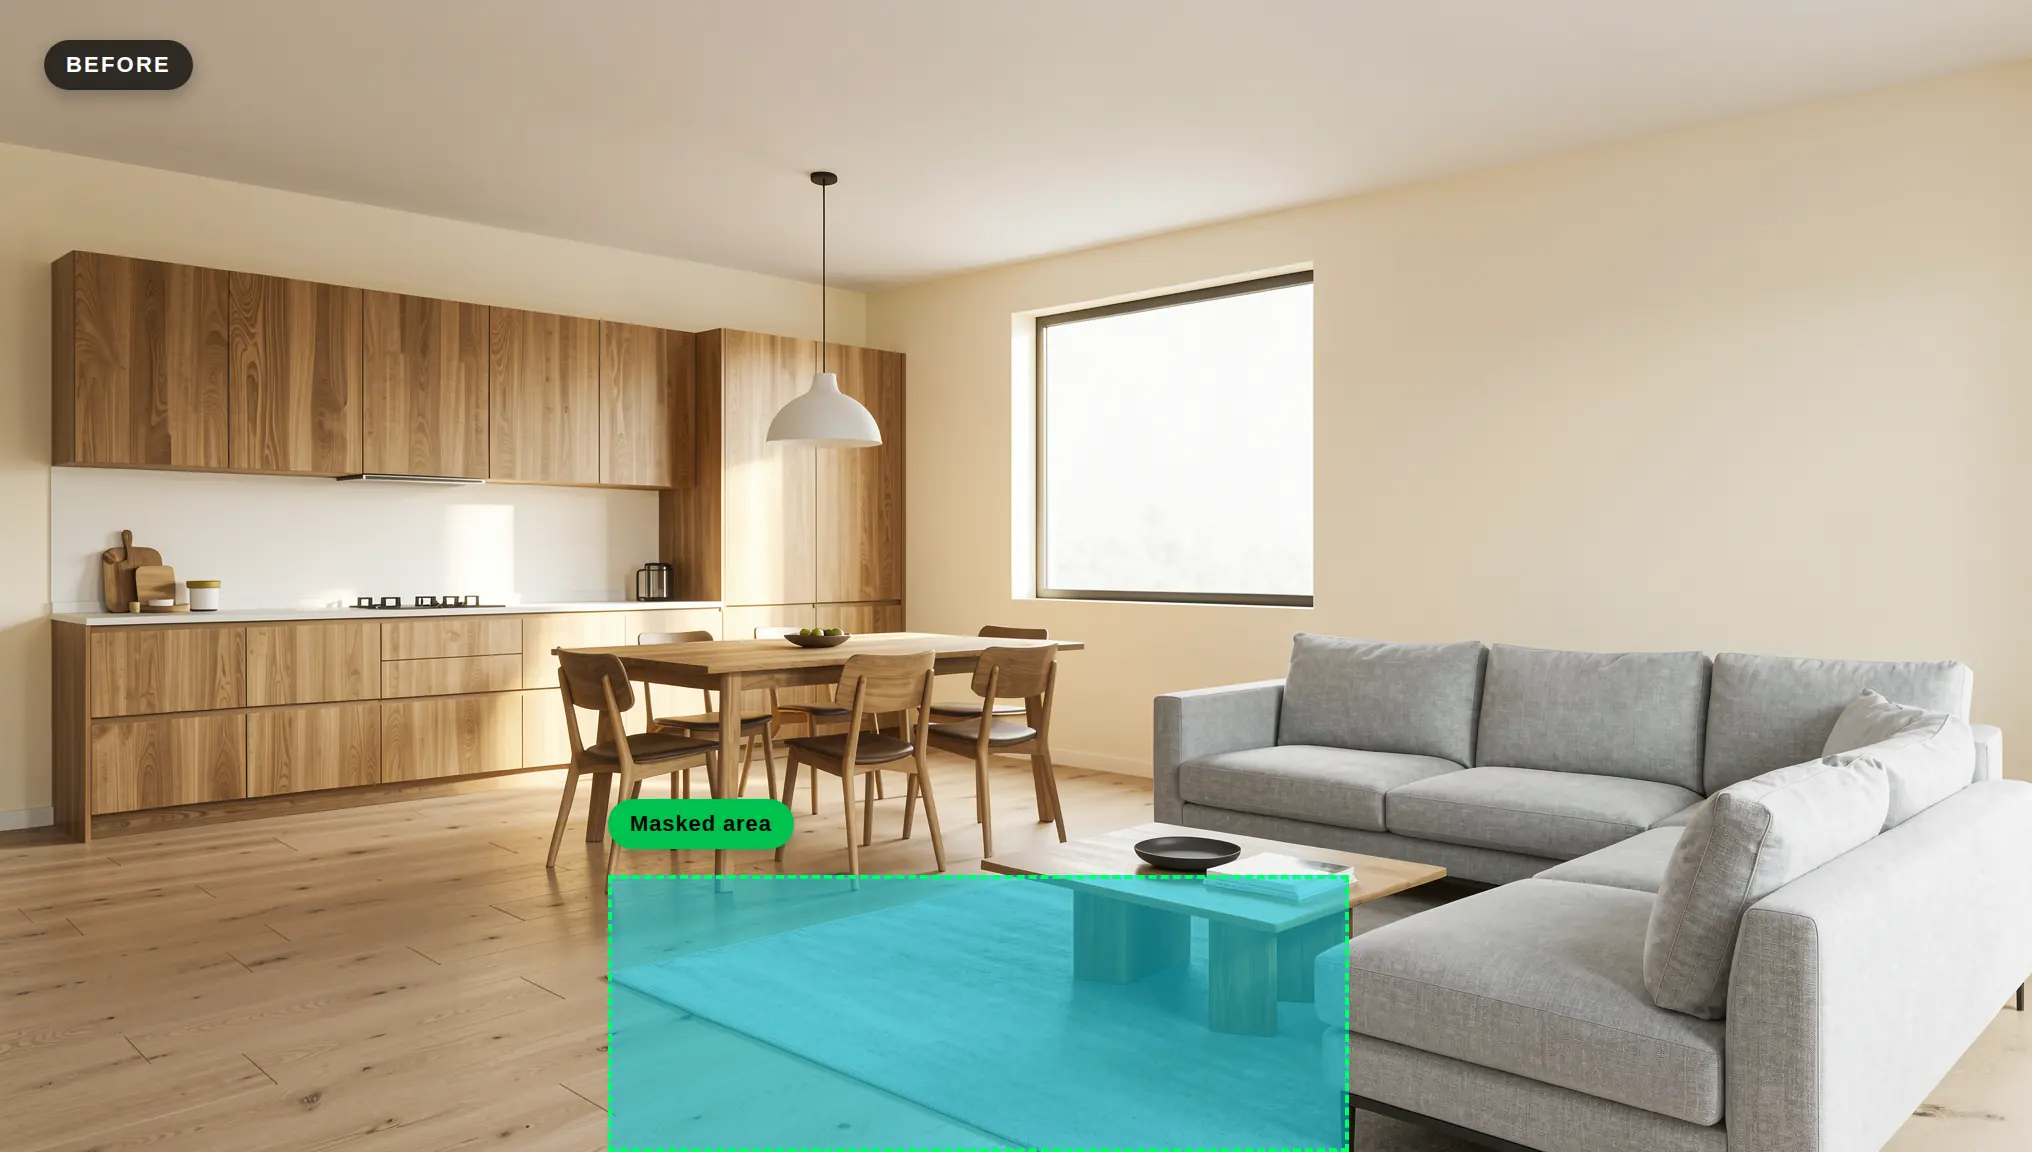
Masked editing for small, precise areas. Select the area with a mask and describe what should be there. Keep the mask tight around a clearly bounded element, such as a rug, a worktop or a single piece of furniture; you will see an example in Step 4.
Maskless editing for an overall direction. When you want to shift the whole mood of the room, describe the full scheme in one prompt. This is the prompt behind Option B:
“Same room and layout. Pale green lime-plaster walls, large-format warm grey stone floor, matte white cabinets, brushed brass handles.”
Tips for better results:
- Describe texture and finish, not just colour. Matte, satin, honed, brushed and polished all change how a material reads.
- Mention scale. “Wide planks”, “small hexagonal tiles” or “large-format slabs” give the AI a sense of size.
- Repeat what must stay the same. Phrases like “same room and layout” help keep the focus on materials.
Our prompt guide for architectural renders has more examples.
Step 4: Go Beyond Materials When It Helps
Materials are only one part of a scheme. The same editing tools can change furniture and decor, lighting and even landscape outside the window. Use this when the client’s question is about the overall feel rather than a single surface:
- Furniture and decor: Swap a fabric sofa for a leather one, or change rugs and cushions to match each scheme.
- Light: Show the preferred option in daylight and in the evening. A dark scheme that feels cosy at night may feel heavy at noon. See our day to night guide.
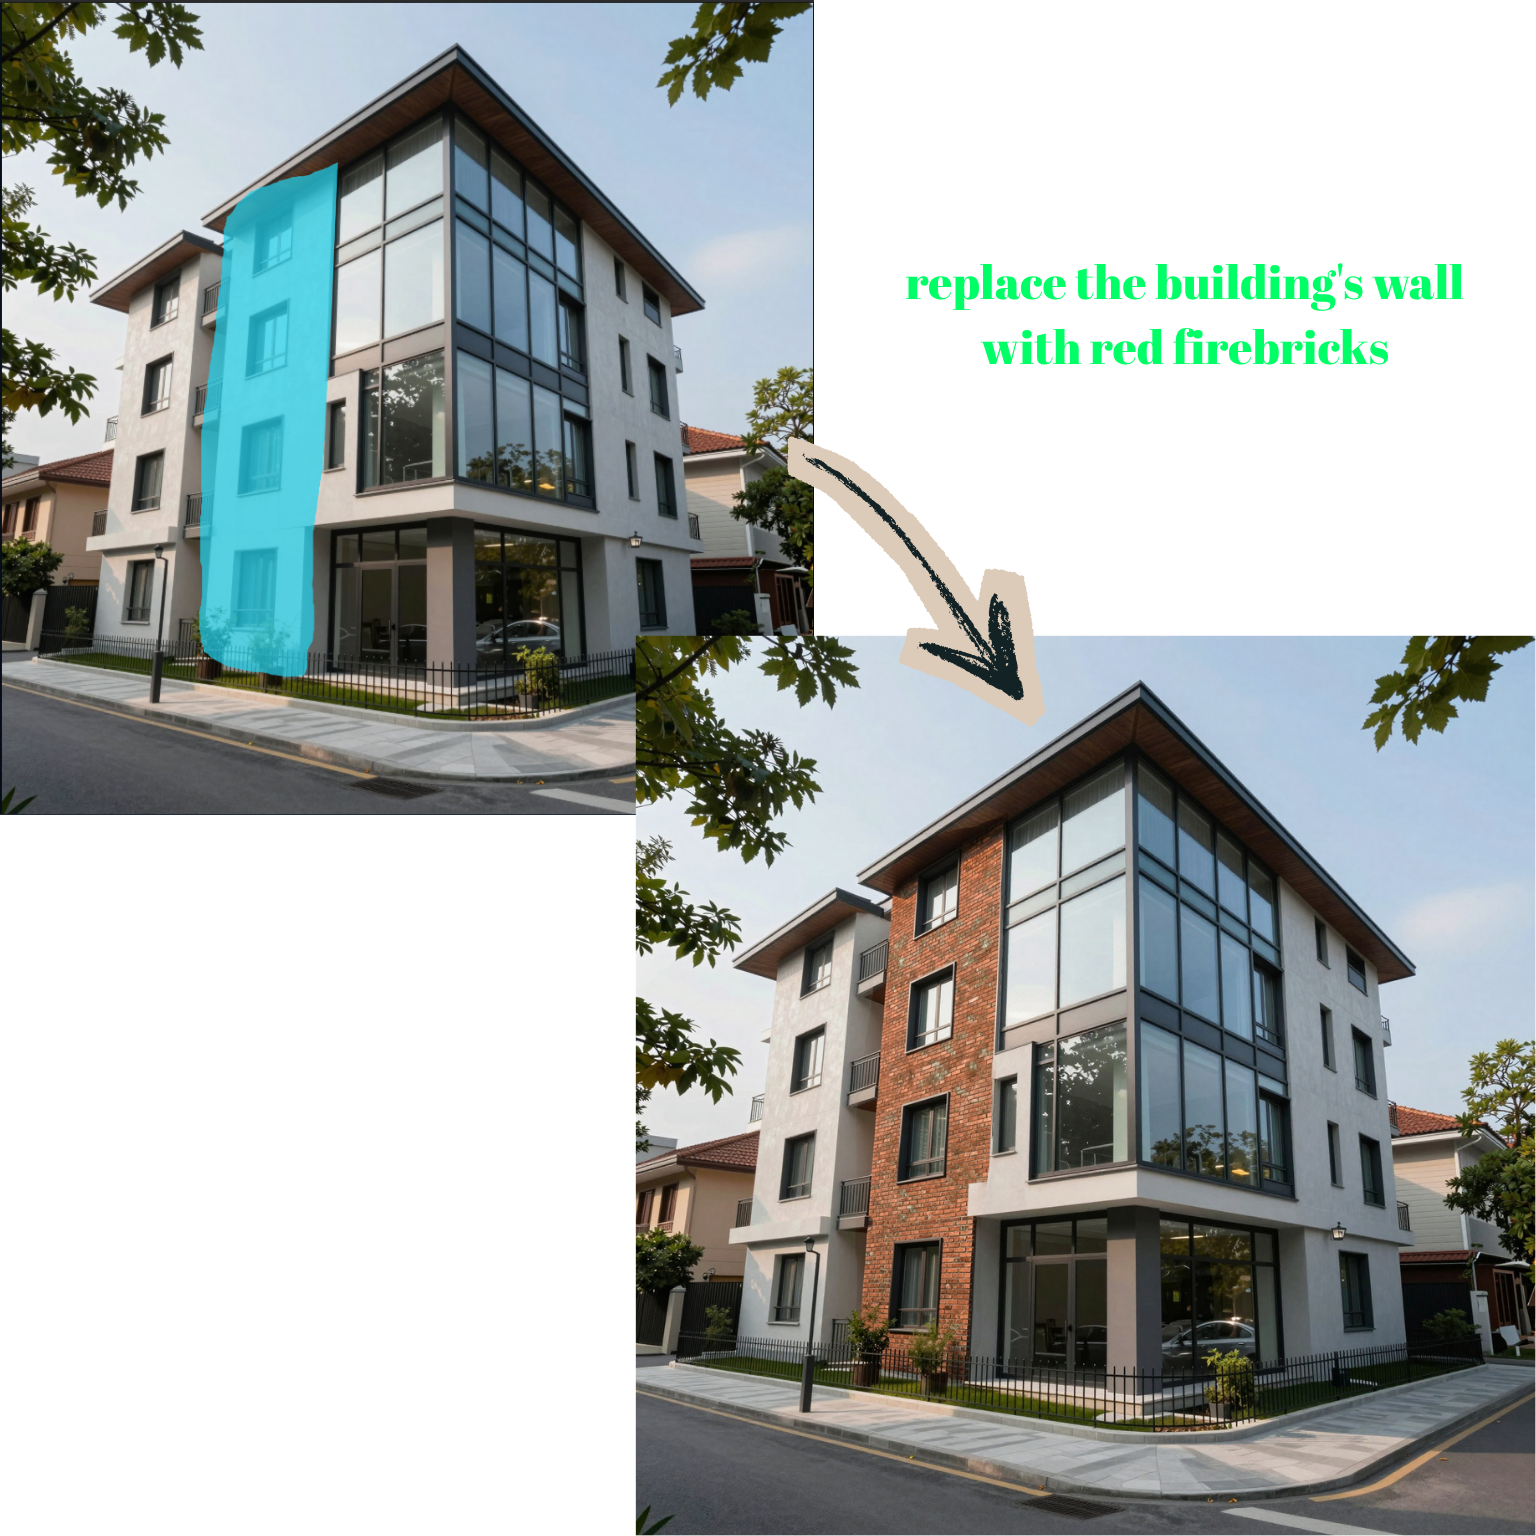
- Exterior views: The same approach works on facades: cladding, window frames or roof colour.
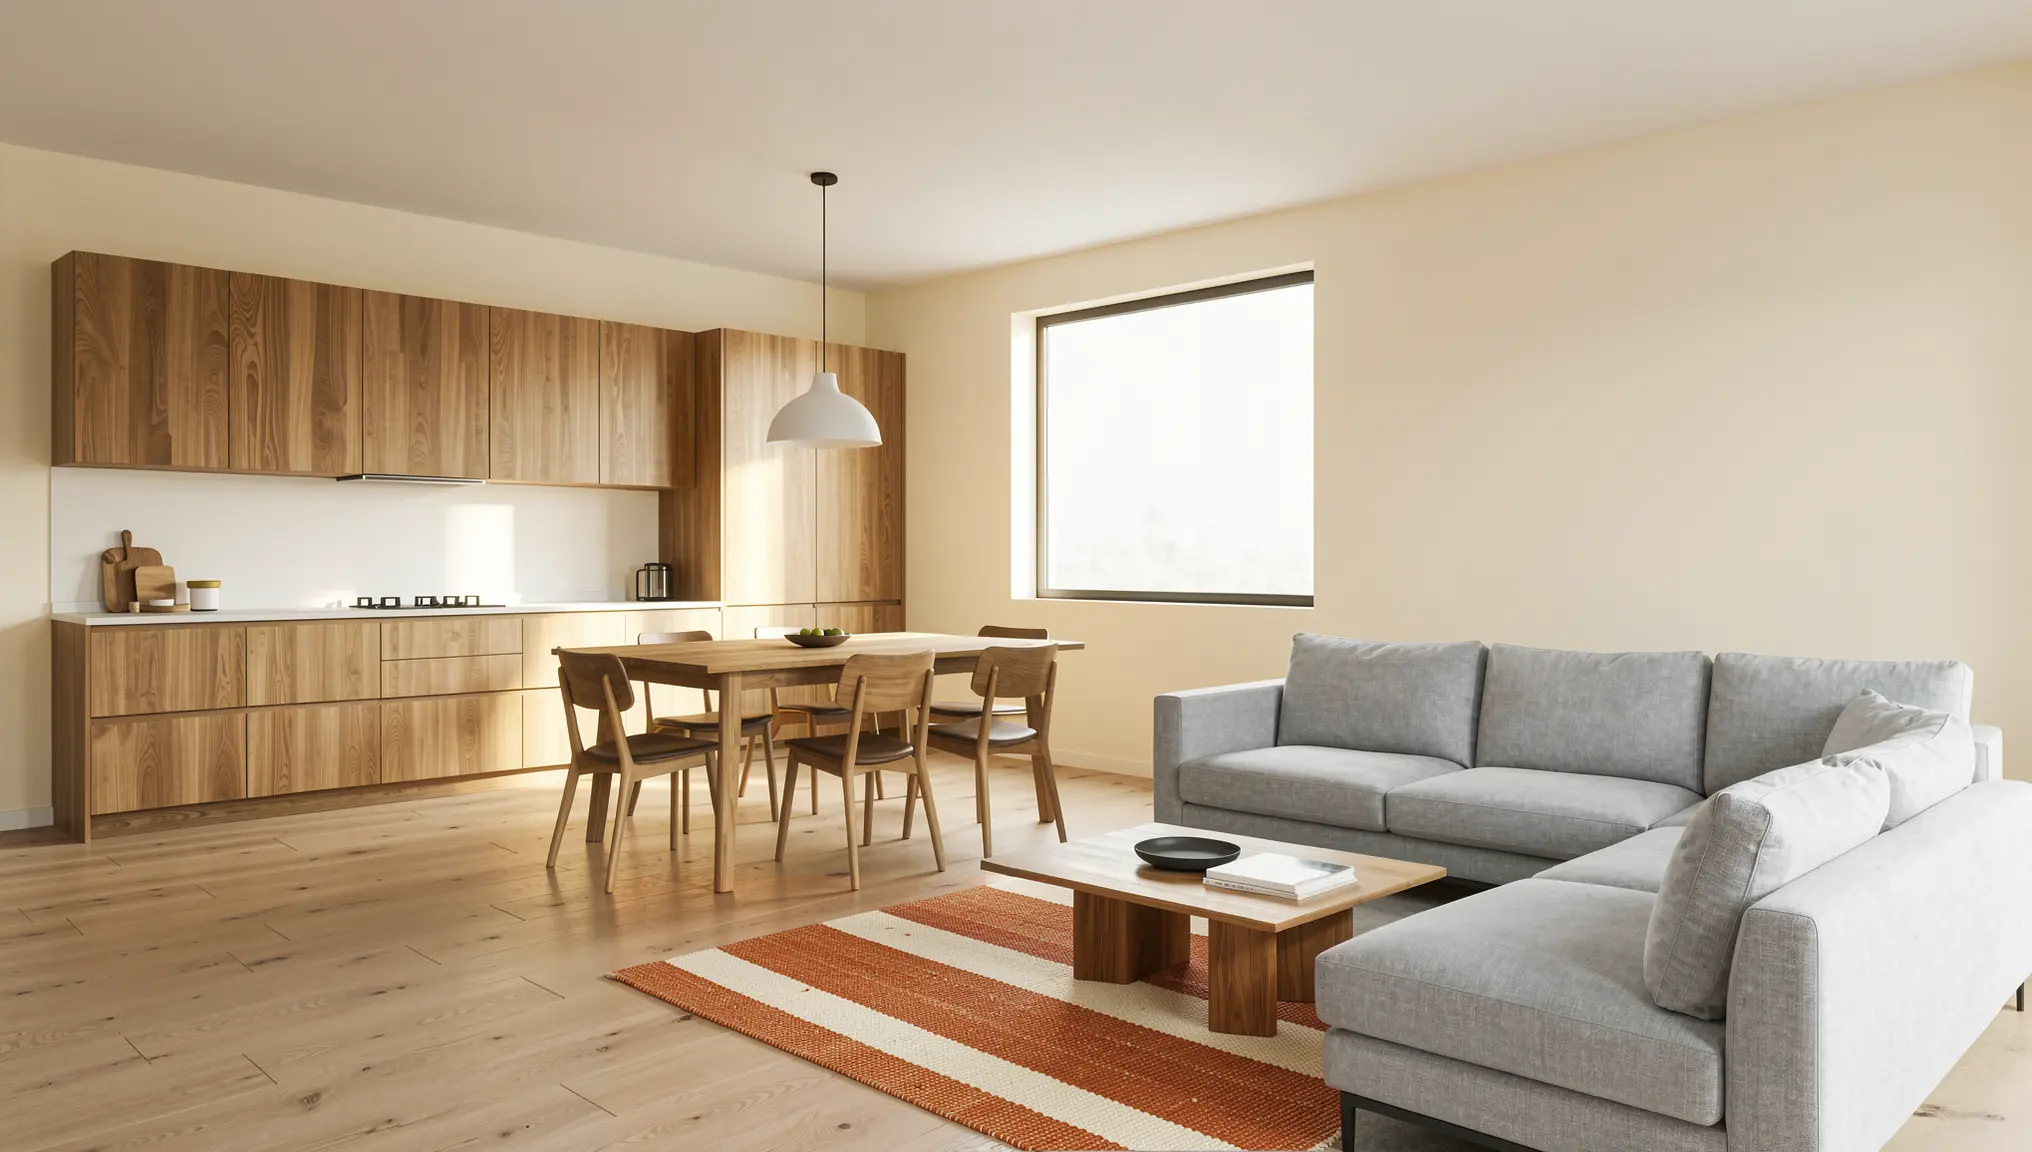
Here, a tight mask around the rug gives Option A a warmer accent without touching anything else:
“Replace the grey rug with a hand-woven wool rug in warm terracotta and cream stripes, flat weave, natural texture. Keep the oak coffee table, the floor and the sofa exactly as they are. Photorealistic.”
And Option C, the dark scheme, in daylight and in the evening:
“Change the scene to evening: dark blue dusk outside the window, the pendant lamp and warm wall lights switched on, soft warm under-cabinet lighting in the kitchen, a table lamp glowing by the sofa, cosy warm light pools on the floor. Keep the charcoal walls, dark cabinets, concrete floor, furniture and camera angle exactly the same. Photorealistic.”
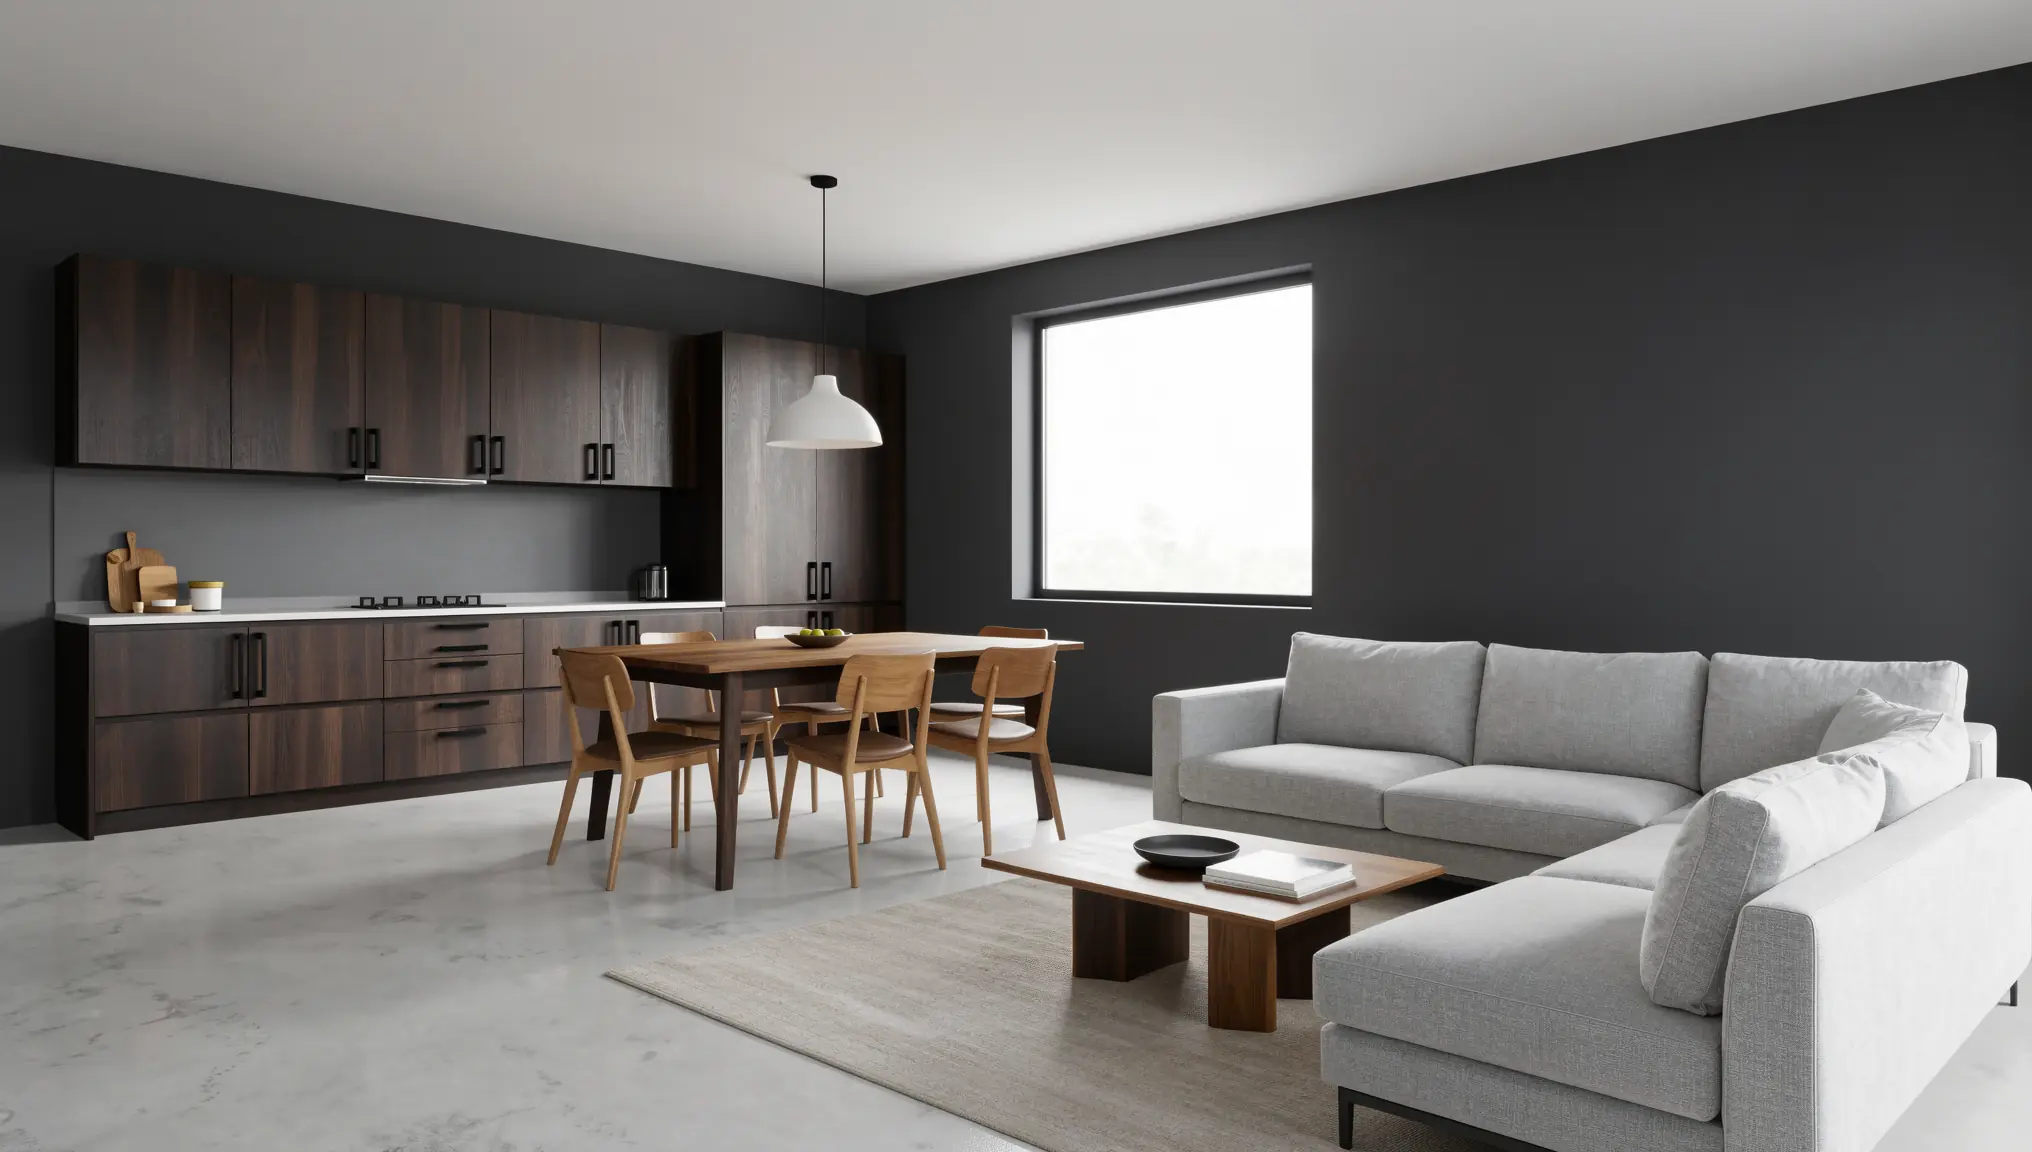
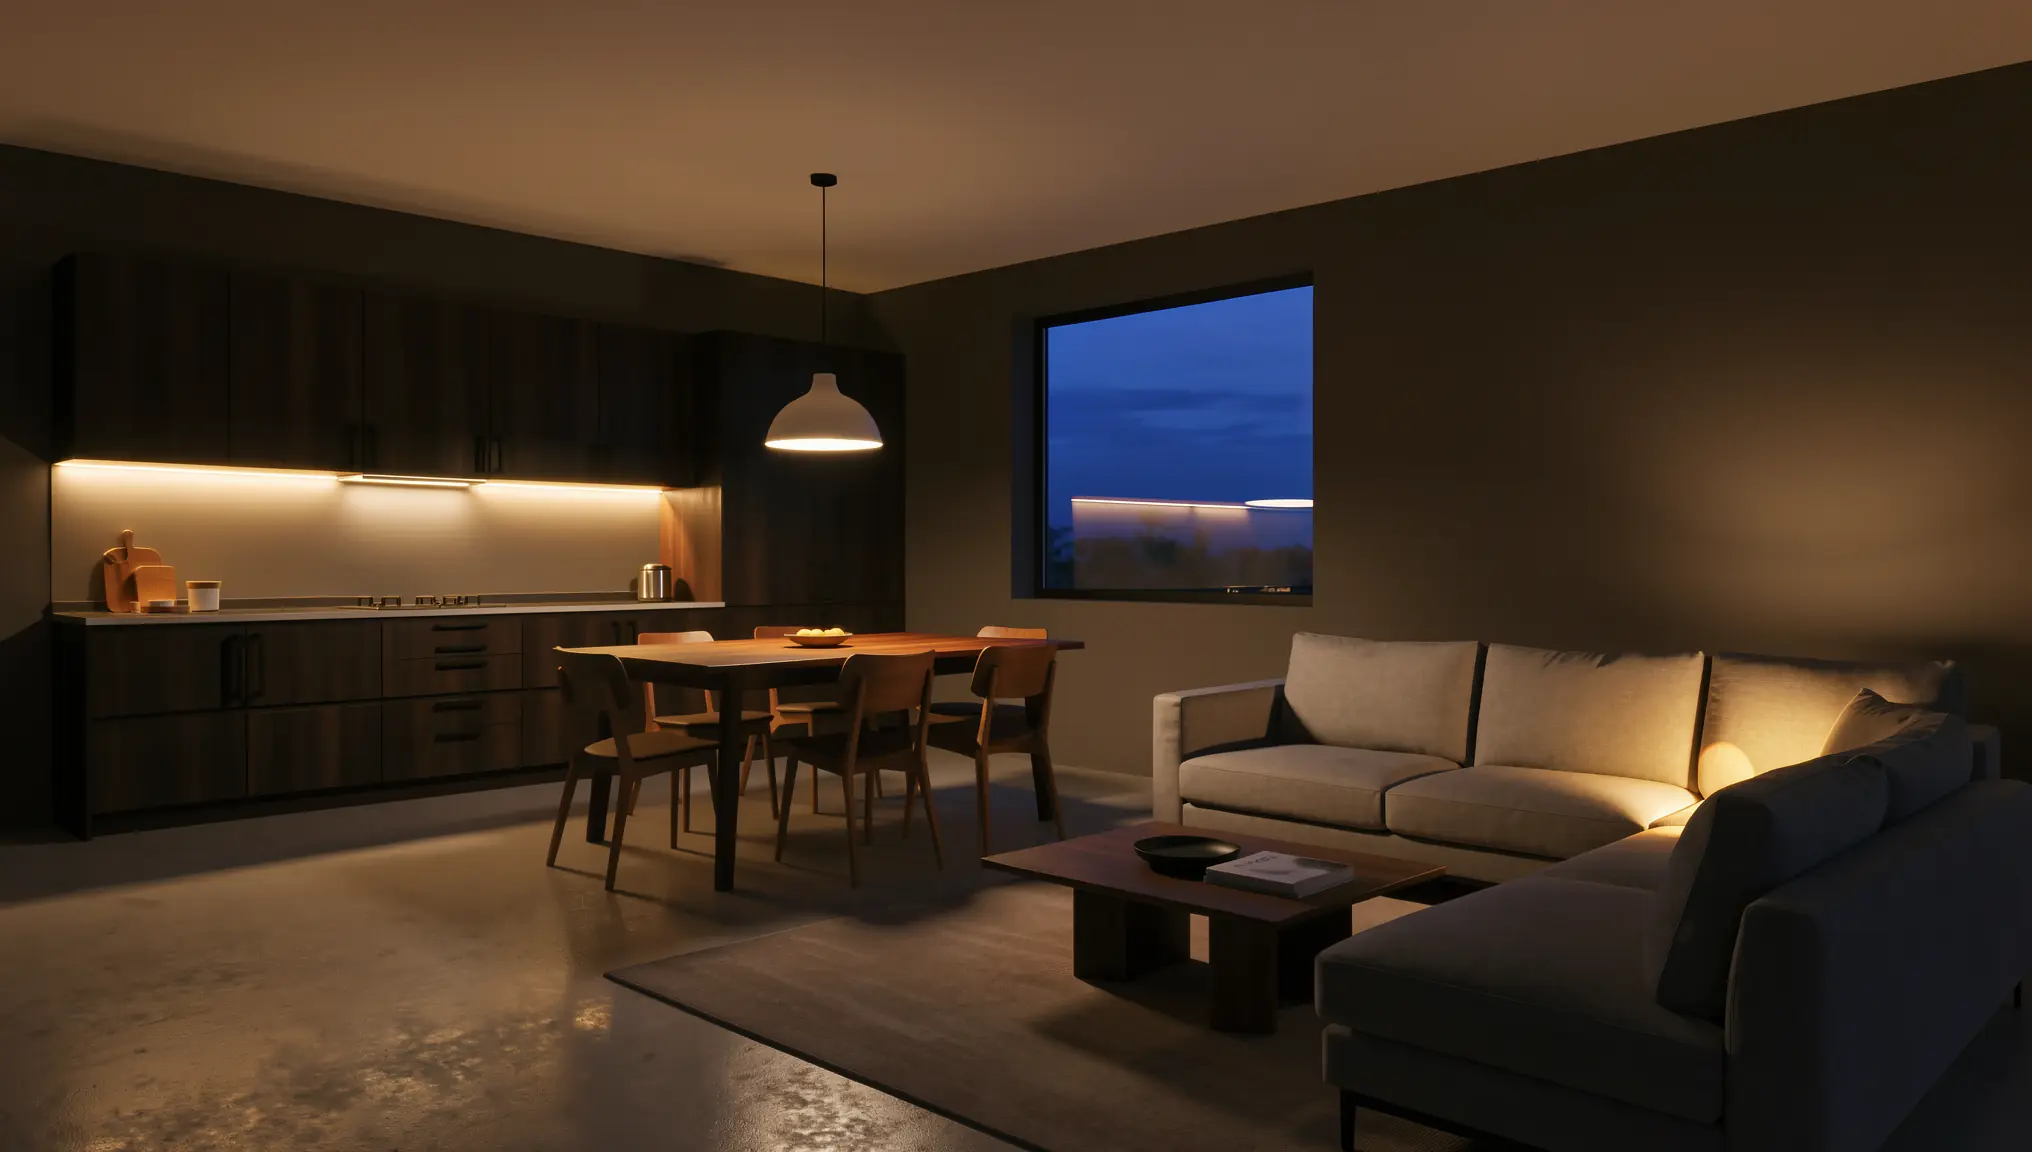
Keep the comparison fair: if you change the lighting in one option, change it in all of them.
Step 5: Check Every Option Before the Client Sees It
AI edits can sometimes change more than you asked for, or less. Before you present, compare each option with the base render:
- Geometry and layout: Same openings, same furniture positions, same proportions.
- Consistency: The same camera angle and lighting across all options, so the client compares materials, not images.
- Realism: Joints, reflections and pattern scale should look believable. Regenerate any area that looks wrong.
- Honesty: AI renders show a direction, not an exact product. Make clear to the client that final materials will be confirmed with real samples and specifications.
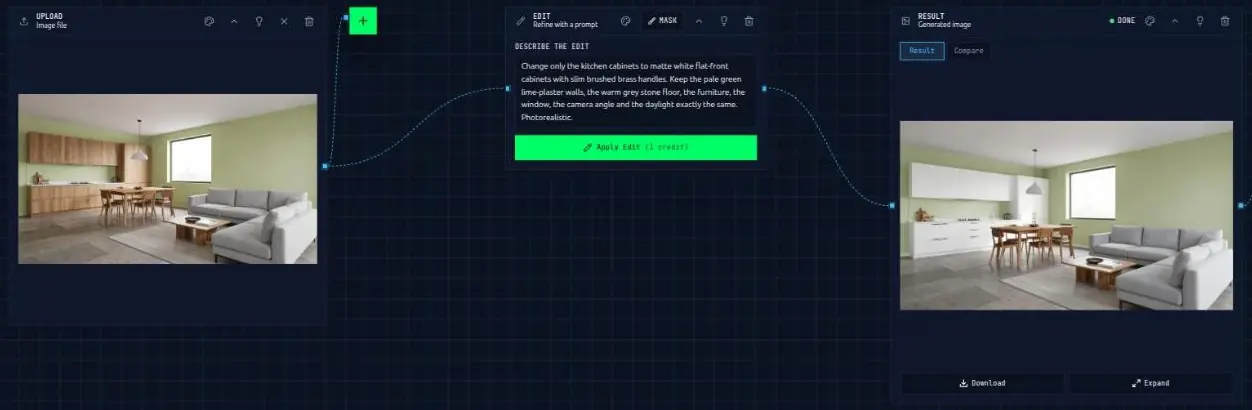
A real example from this guide: the first pass of Option B changed the walls and the floor, but kept the oak cabinets instead of matte white. A second, focused edit fixed only the cabinets:
“Change only the kitchen cabinets to matte white flat-front cabinets with slim brushed brass handles. Keep the pale green lime-plaster walls, the warm grey stone floor, the furniture, the window, the camera angle and the daylight exactly the same. Photorealistic.”
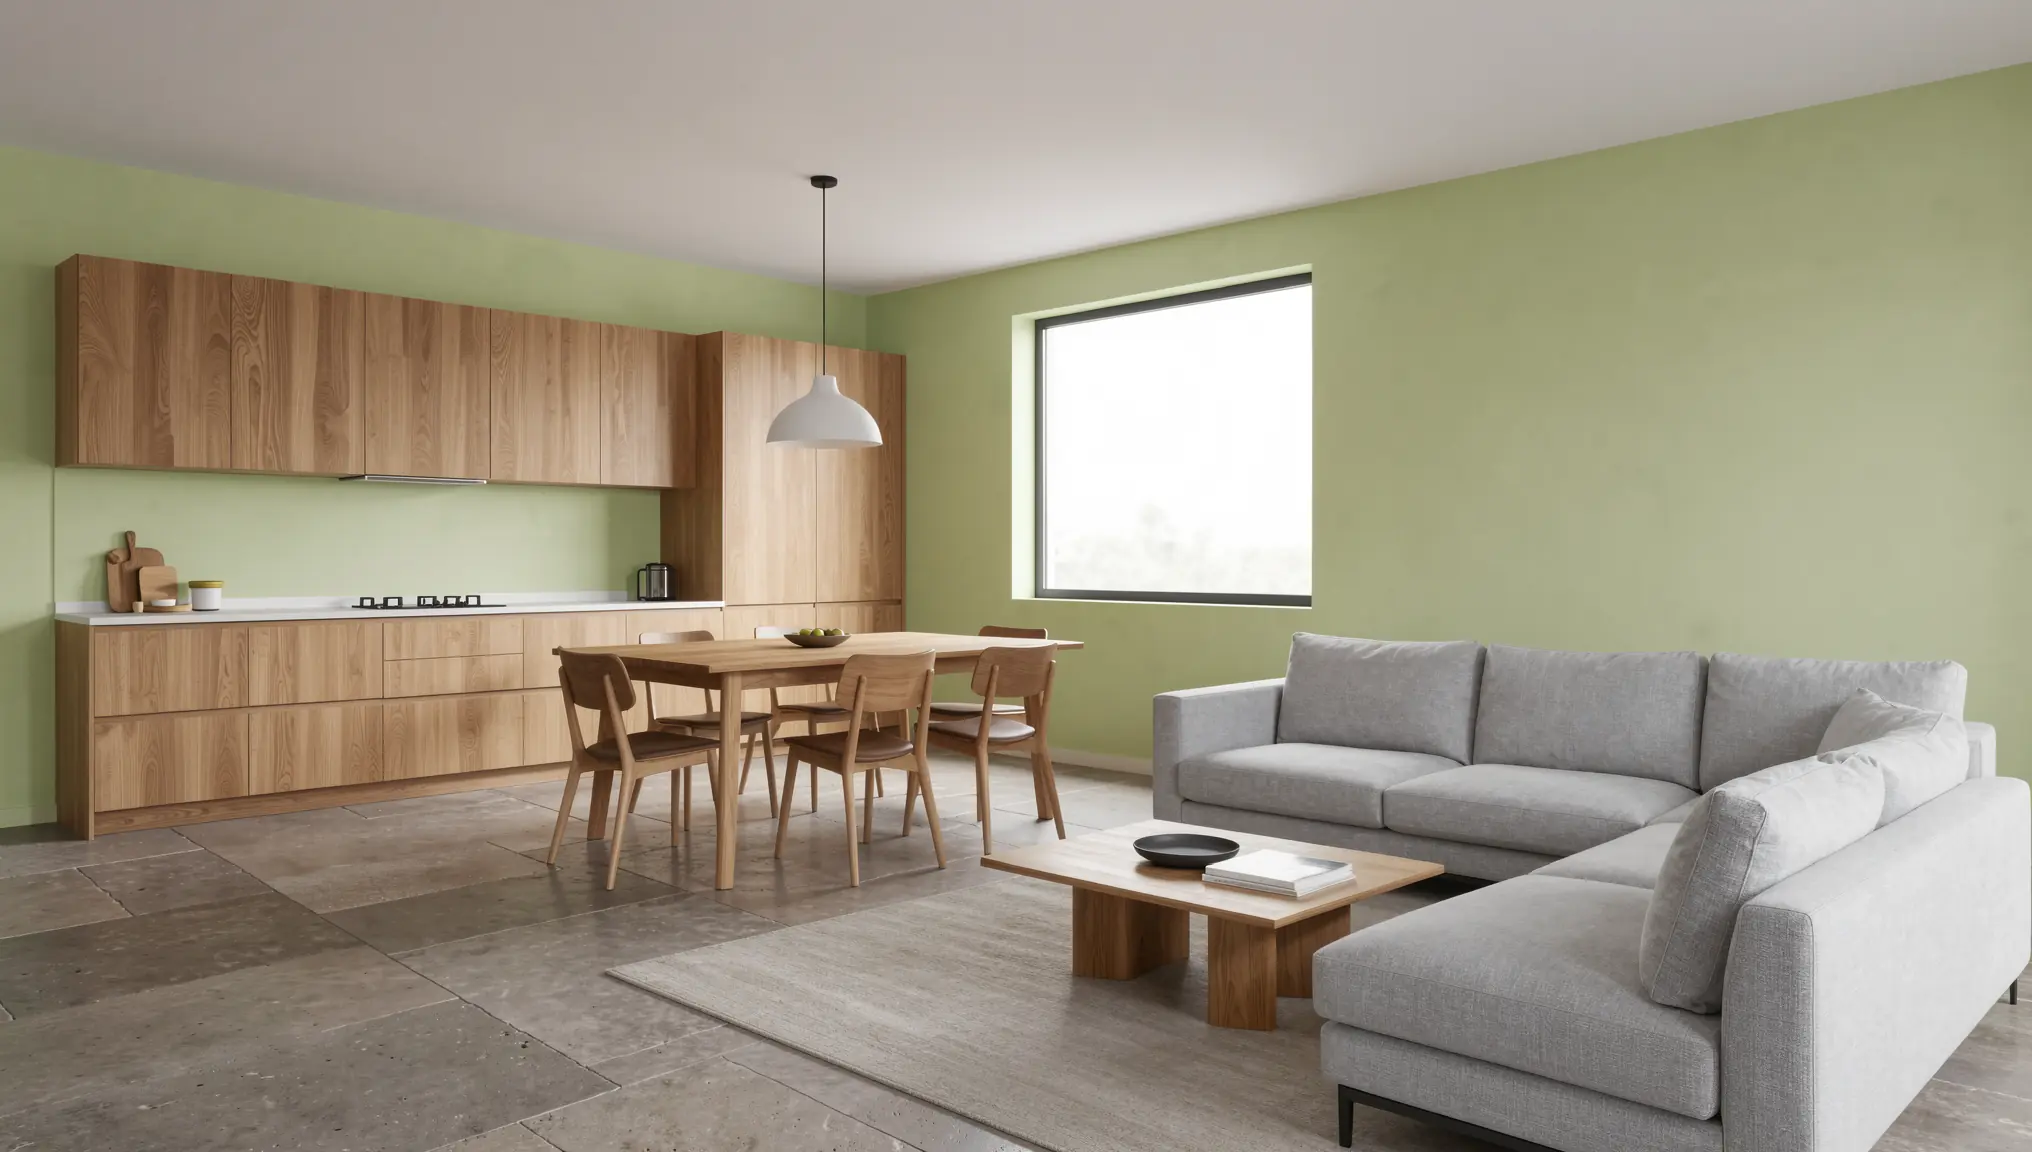
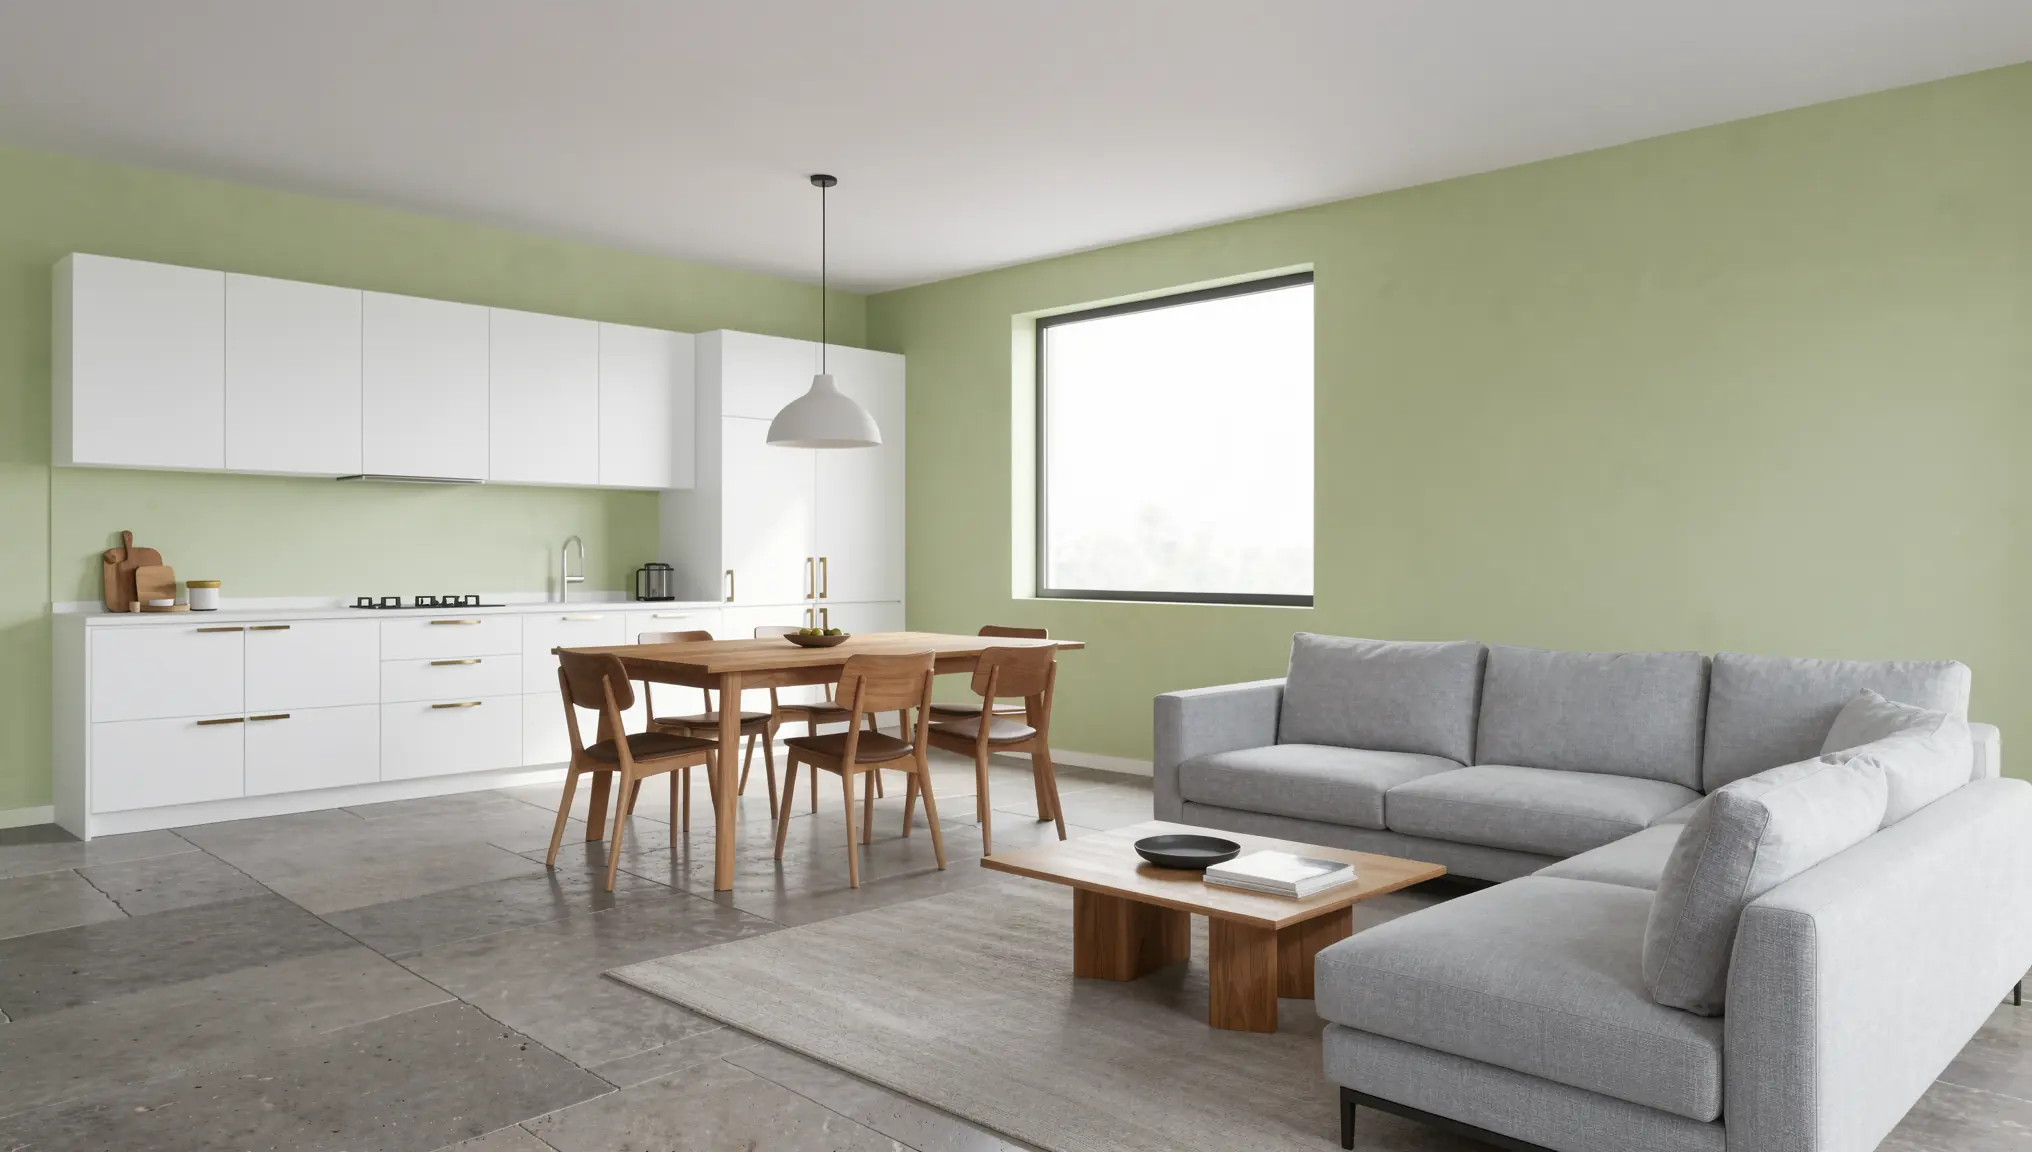
Step 6: Present the Options So the Client Can Decide
How you show the options matters as much as the images.
- Side by side, same size. Put the options in one row or a grid on a single slide or board.
- Label each option. Use the name you chose in Step 2 and list the main materials underneath.
- Add samples if you can. Physical or photographed samples next to each render connect the image to the real material.
- Ask a focused question. “Which of these feels closest to how you want to live in the space?” works better than “Which one do you like?”
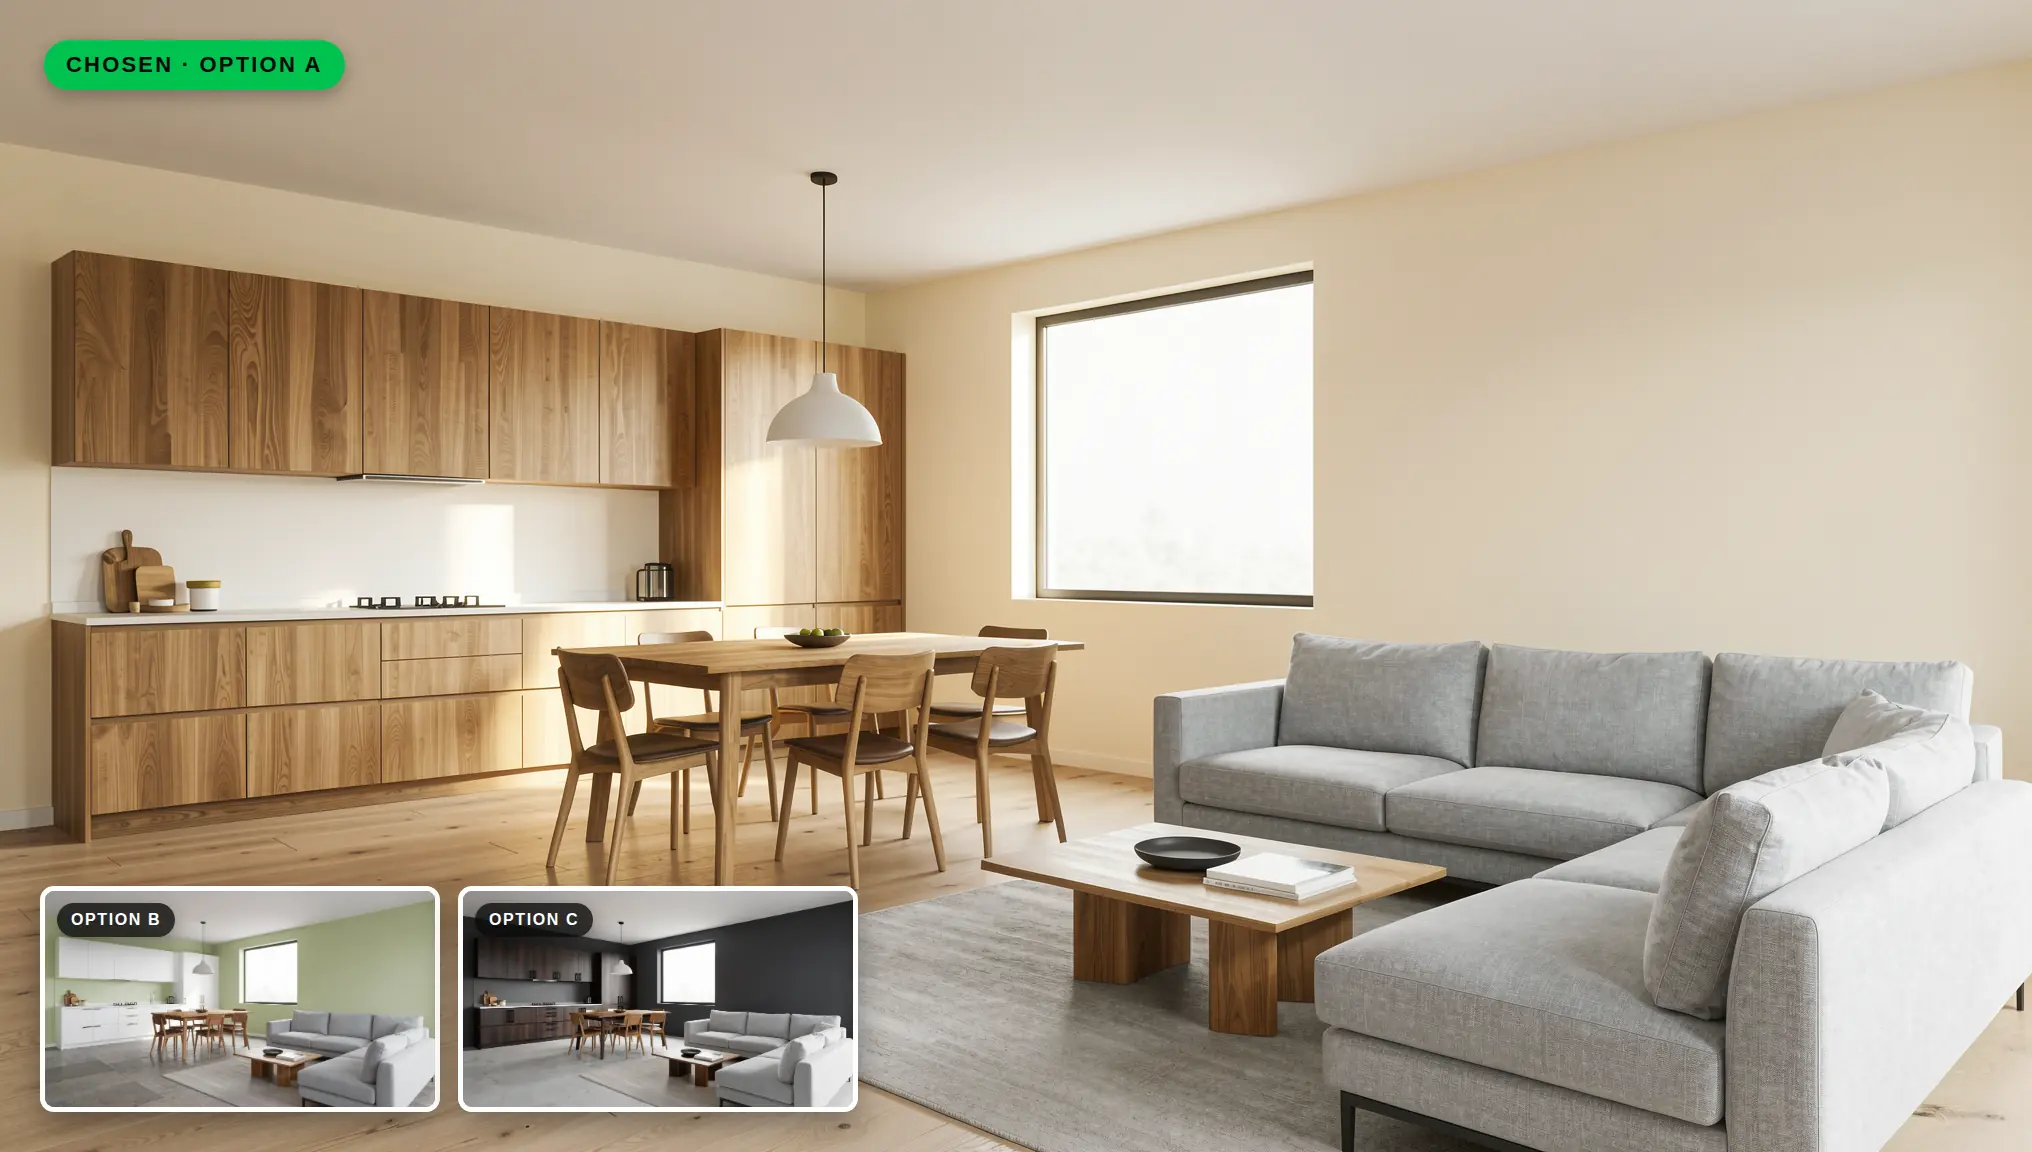
- Add motion for the final choice. Once the client picks a direction, Render → Video can turn that image into a short clip to share.
Quick Checklist
- One agreed base view with neutral materials
- Two to four clearly named options
- Materials described with finish and scale
- Each option checked against the base render
- Same angle and lighting across all options
- Options presented side by side, labelled, with samples
Conclusion
Material decisions are some of the hardest for clients because they have to imagine a whole room from small samples. Showing the same space in two or three finished schemes makes that decision easier, and AI render editing makes those options quick to produce. Start from one strong base render, change one surface at a time, check every result, and present the options side by side.
You can try this workflow in QUVIAI with free daily credits, and no credit card is required. Take a render from your current project and build your first set of material options.