AI 3D Object Generation: Text-to-3D and Image-to-3D Guide
When you want to place an object into a scene, show it from different angles, or build a 3D object library, a flat photo — or no image at all — isn't enough. You need an actual 3D model. Modeling one from scratch takes time and technical skill.
3D object generation offers two starting points here: if you have a photo, use image-to-3D. If you have no image at all, just an idea, use text-to-3D.
Image-to-3D: Starting From a Photo
You upload a single photo to the system — no need to shoot it from multiple angles. From that one image, the system generates both the geometry and the material/texture together, producing a ready-to-use 3D object in a single step. The original object's design, proportions, and details are preserved as closely as possible.
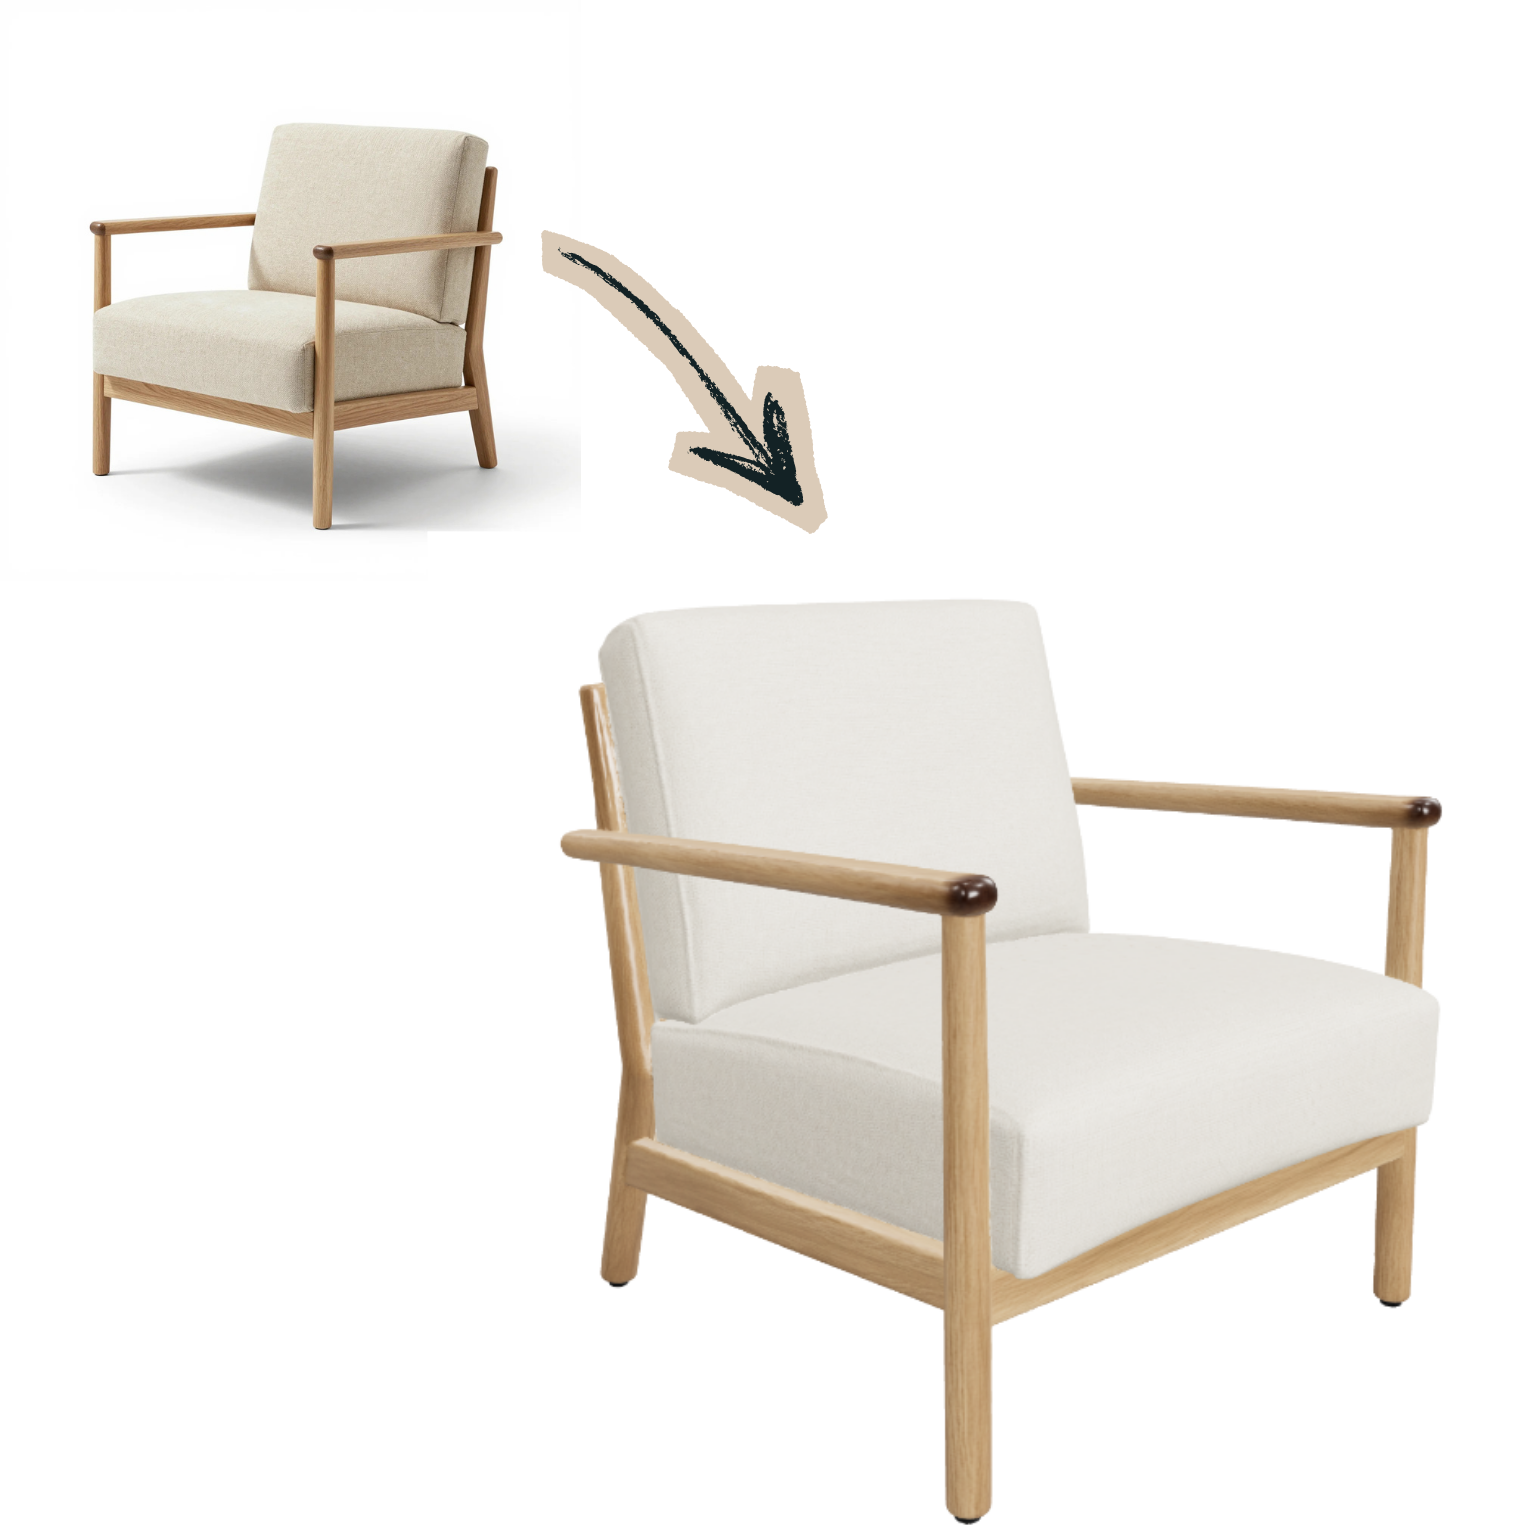
In this example, the original armchair's arm design, wooden frame, and cushion proportions are preserved almost exactly in the 3D object.
Text-to-3D: Starting From an Idea
You can generate a 3D object without any image at all — just a text description. You describe the object in a sentence (for example, "a brown leather coffee chair"), and the system produces a 3D model, complete with materials, that matches your description.
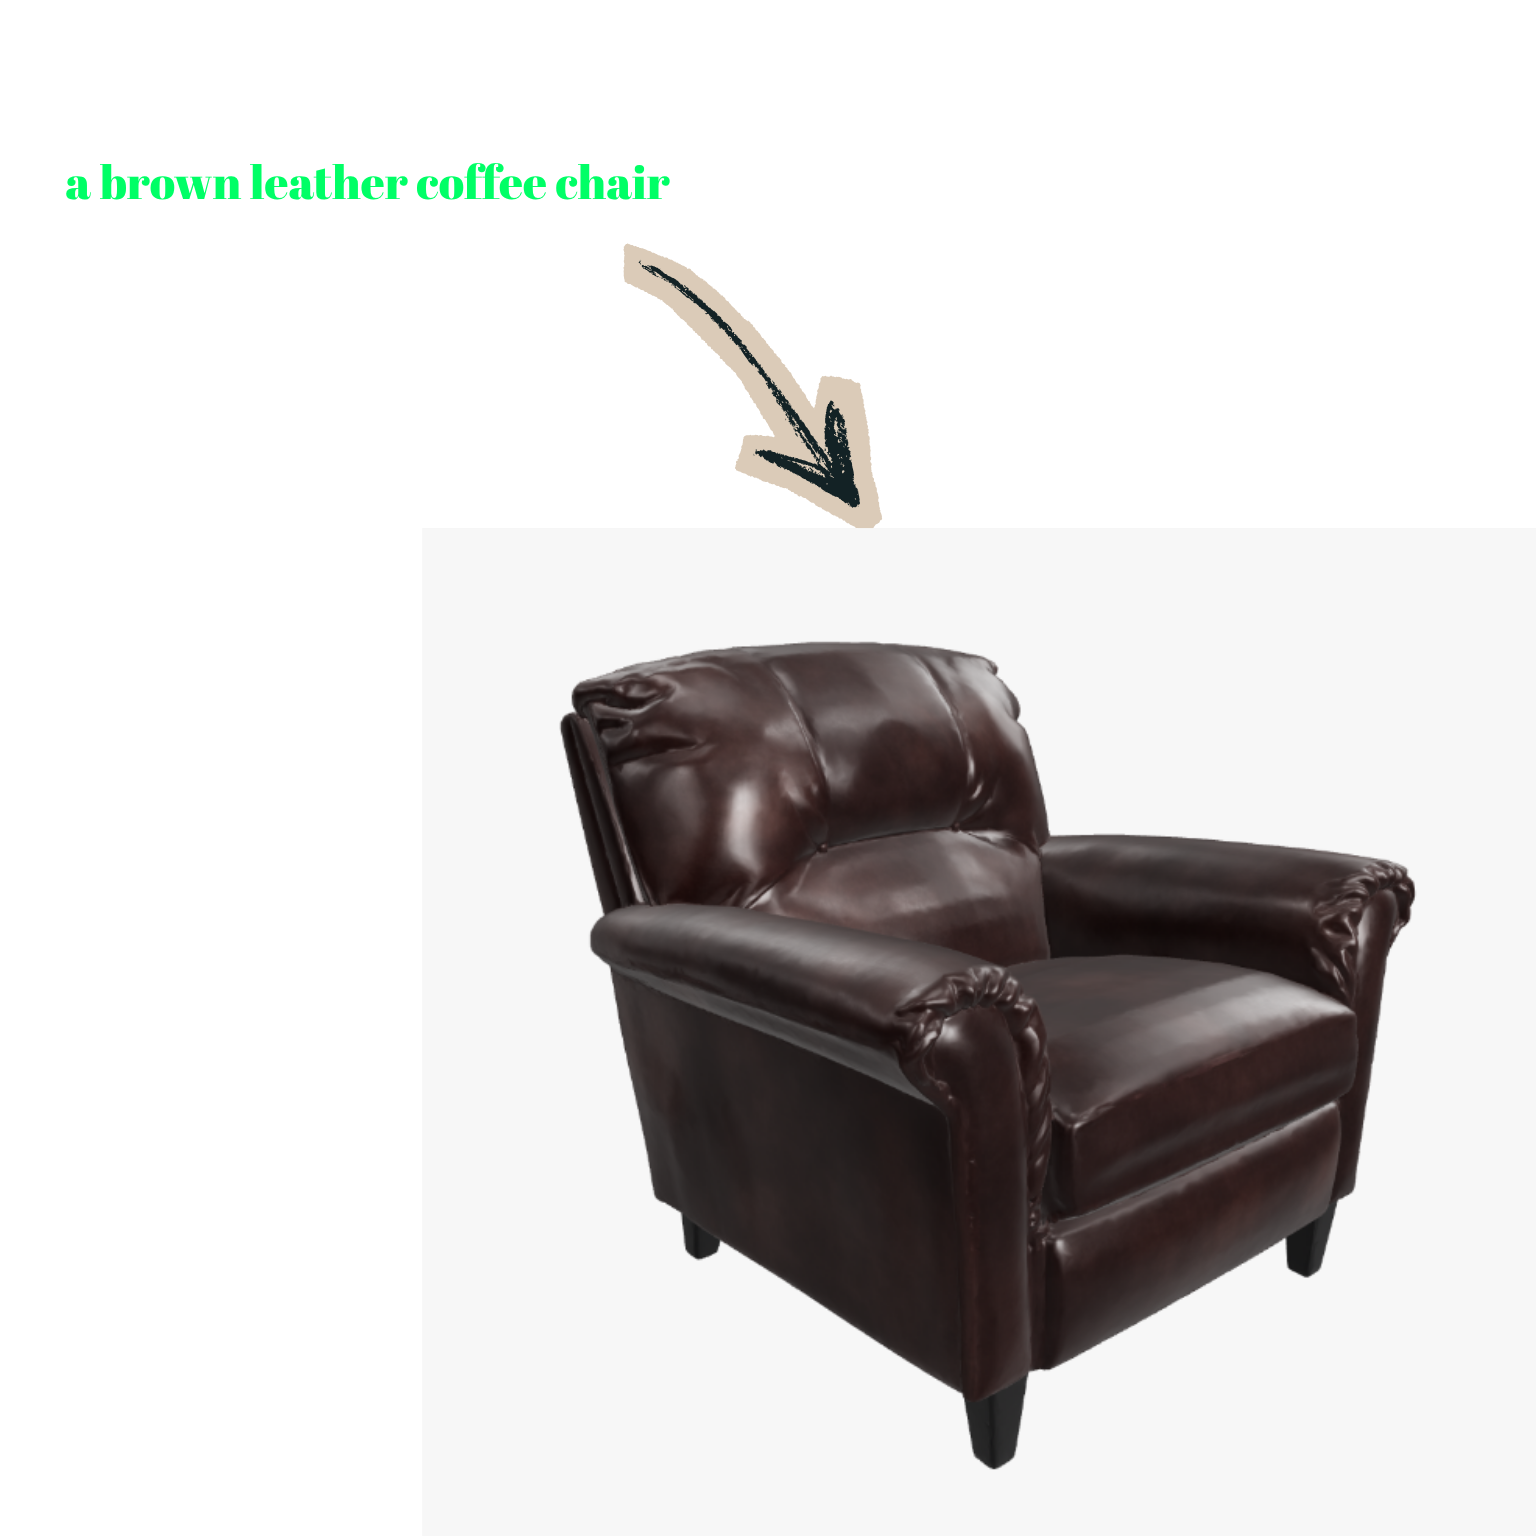
This method is useful when you have no reference at all and want to generate the object you have in mind directly in 3D.
Which One to Use, and When
You have a photo and want to preserve its design — Image-to-3D
You have no image, just an idea or description — Text-to-3D
Step by Step
- Choose your method. If you have a photo, use image-to-3D; if you only have an idea, use text-to-3D.
- Provide your input. Upload your photo, or describe the object in a sentence.
- Generate the 3D object. The system processes the geometry and material together to produce the model.
- Use your object. The generated 3D object can be downloaded or used directly in other tools — for object staging or in the 3D scene editor.
Who Is This For?
- Furniture and product sellers — turning their own product photos into a 3D object library
- Interior designers — reusing a piece of furniture across multiple scenes
- Architecture studios — integrating architectural elements into scenes as 3D objects
- E-commerce teams — using their products in 3D viewers or AR experiences
Once you have your 3D object, you can place it onto any background photo with object staging, or bring it directly into the browser-based 3D scene editor.
Conclusion
You no longer need modeling skills to generate a 3D object. If you have a photo, turn it into 3D. If you don't, just describe what you have in mind — the system handles the rest.
Ready to generate your own 3D object?
Try it free →