How to Stage a 3D Object on Any Background Image: A Step-by-Step Guide
As a furniture designer, product photographer, or interior designer, you usually end up with an object — a piece of furniture, a product, an architectural element — captured or modeled in isolation against a neutral background. But what you actually want to show a client or a buyer is how that object will look in a real space. Showing how a sofa looks, at the right scale and under the right light, inside an actual living room is far more convincing than an isolated product shot.
The traditional way to do this is either to arrange a real photo shoot or to rebuild the entire scene in 3D — both take time and resources. AI-powered object staging shortens this process: you can place the object you already have onto any background photo you choose, realistically.
What Is Object Staging, and How Does It Work?
Object staging combines two inputs: a background photo (a room, a space, a floor — wherever you want to place the object) and a 3D object (either one you upload yourself, or one you've already generated in QUVIAI). The two come together in the same 3D viewer, where you move the object with your mouse — panning, zooming, and rotating — until it's at exactly the position, angle, and scale you want. Once placed, the system renders the composition with light and shadow that matches the scene, producing a photorealistic result.
Step by Step: Placing Your Object Into a Scene
- Upload your background photo. The room, space, or surface where you want the object to appear.
- Choose your object. This can be a 3D model you upload yourself, or a 3D object you've already generated in QUVIAI.
- Place it in the 3D viewer. The background and the object open in the same view; using your mouse to pan, zoom, and rotate, you move the object into the exact position, angle, and scale you want.
- Generate the render. Your composition is rendered with matching light and shadow into a photorealistic result.
A Real Example
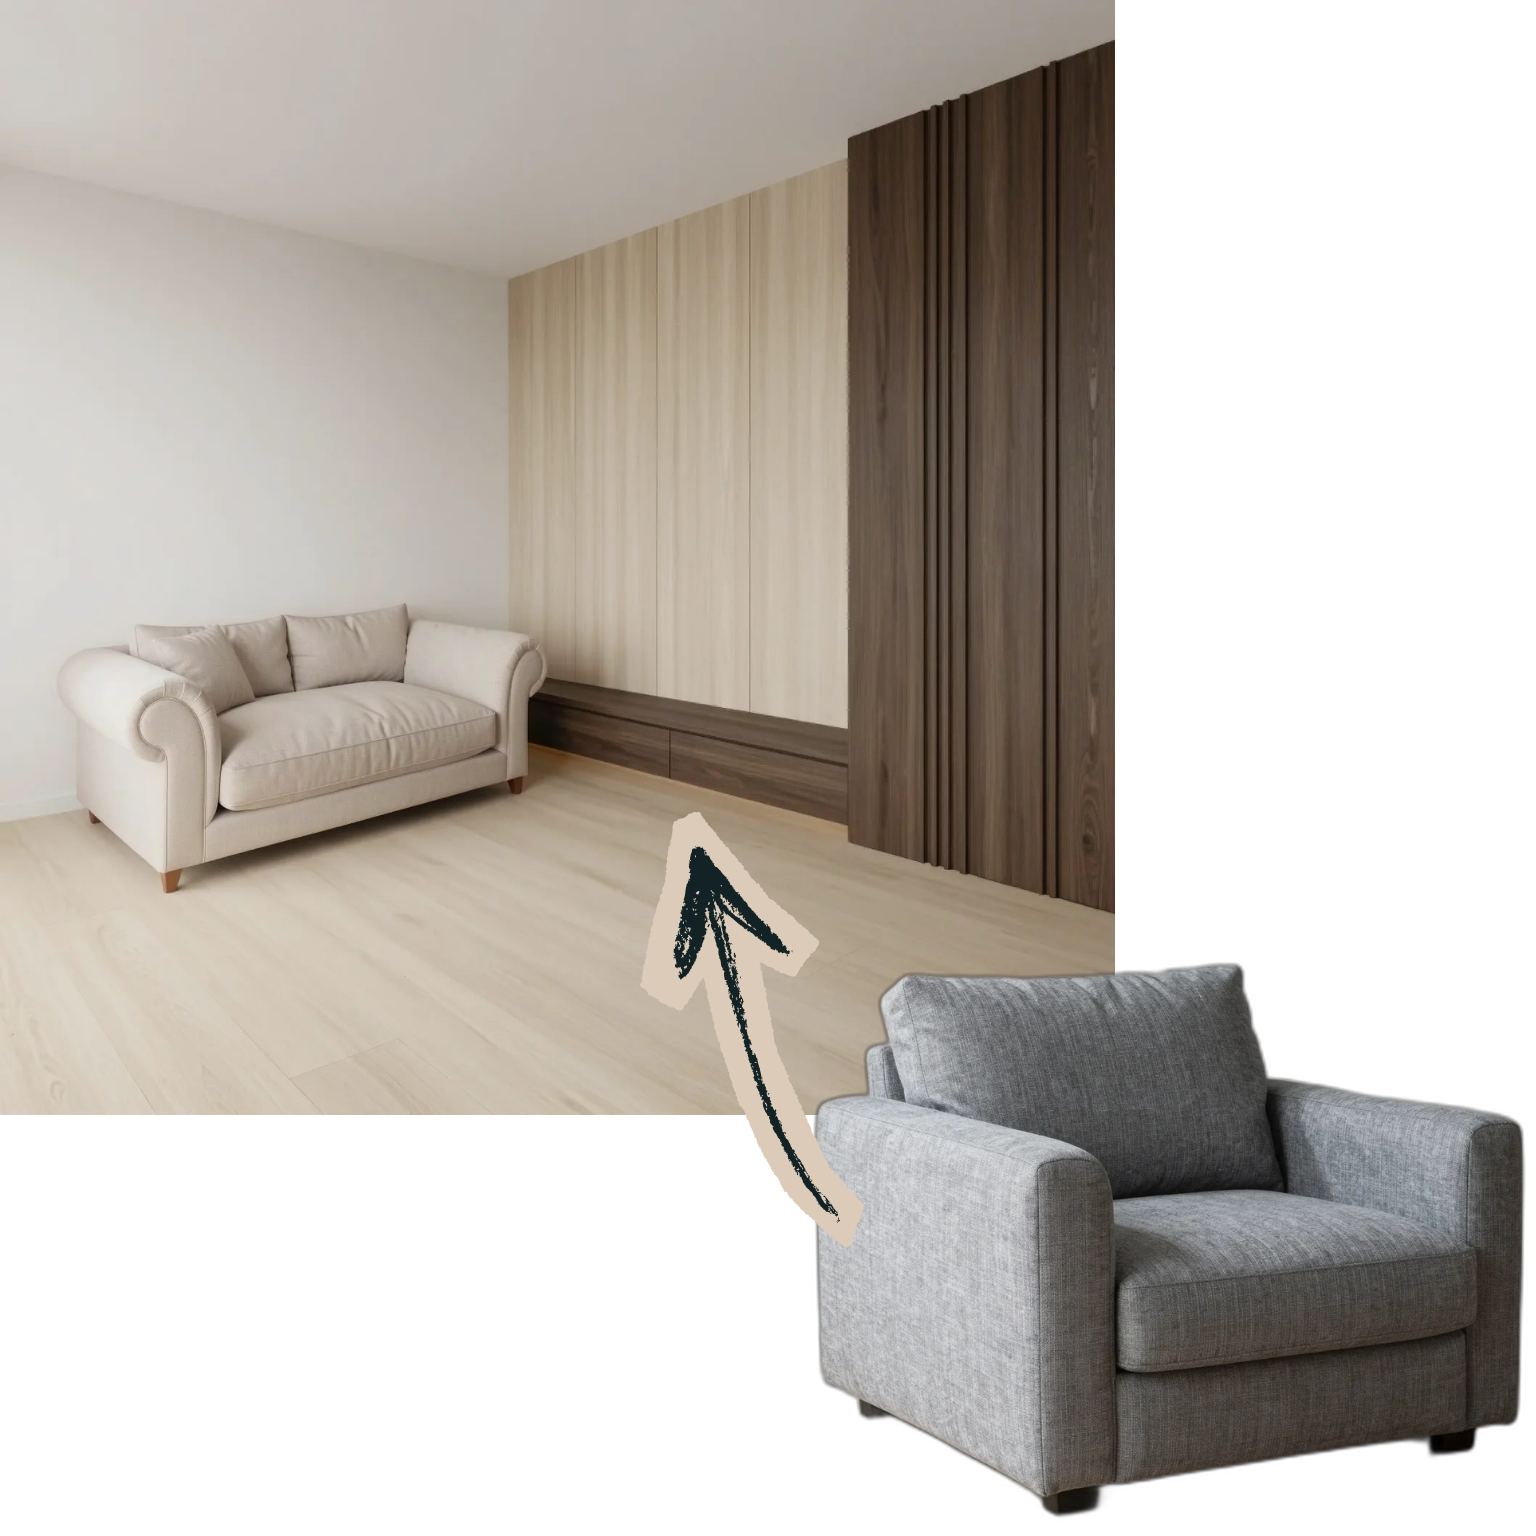
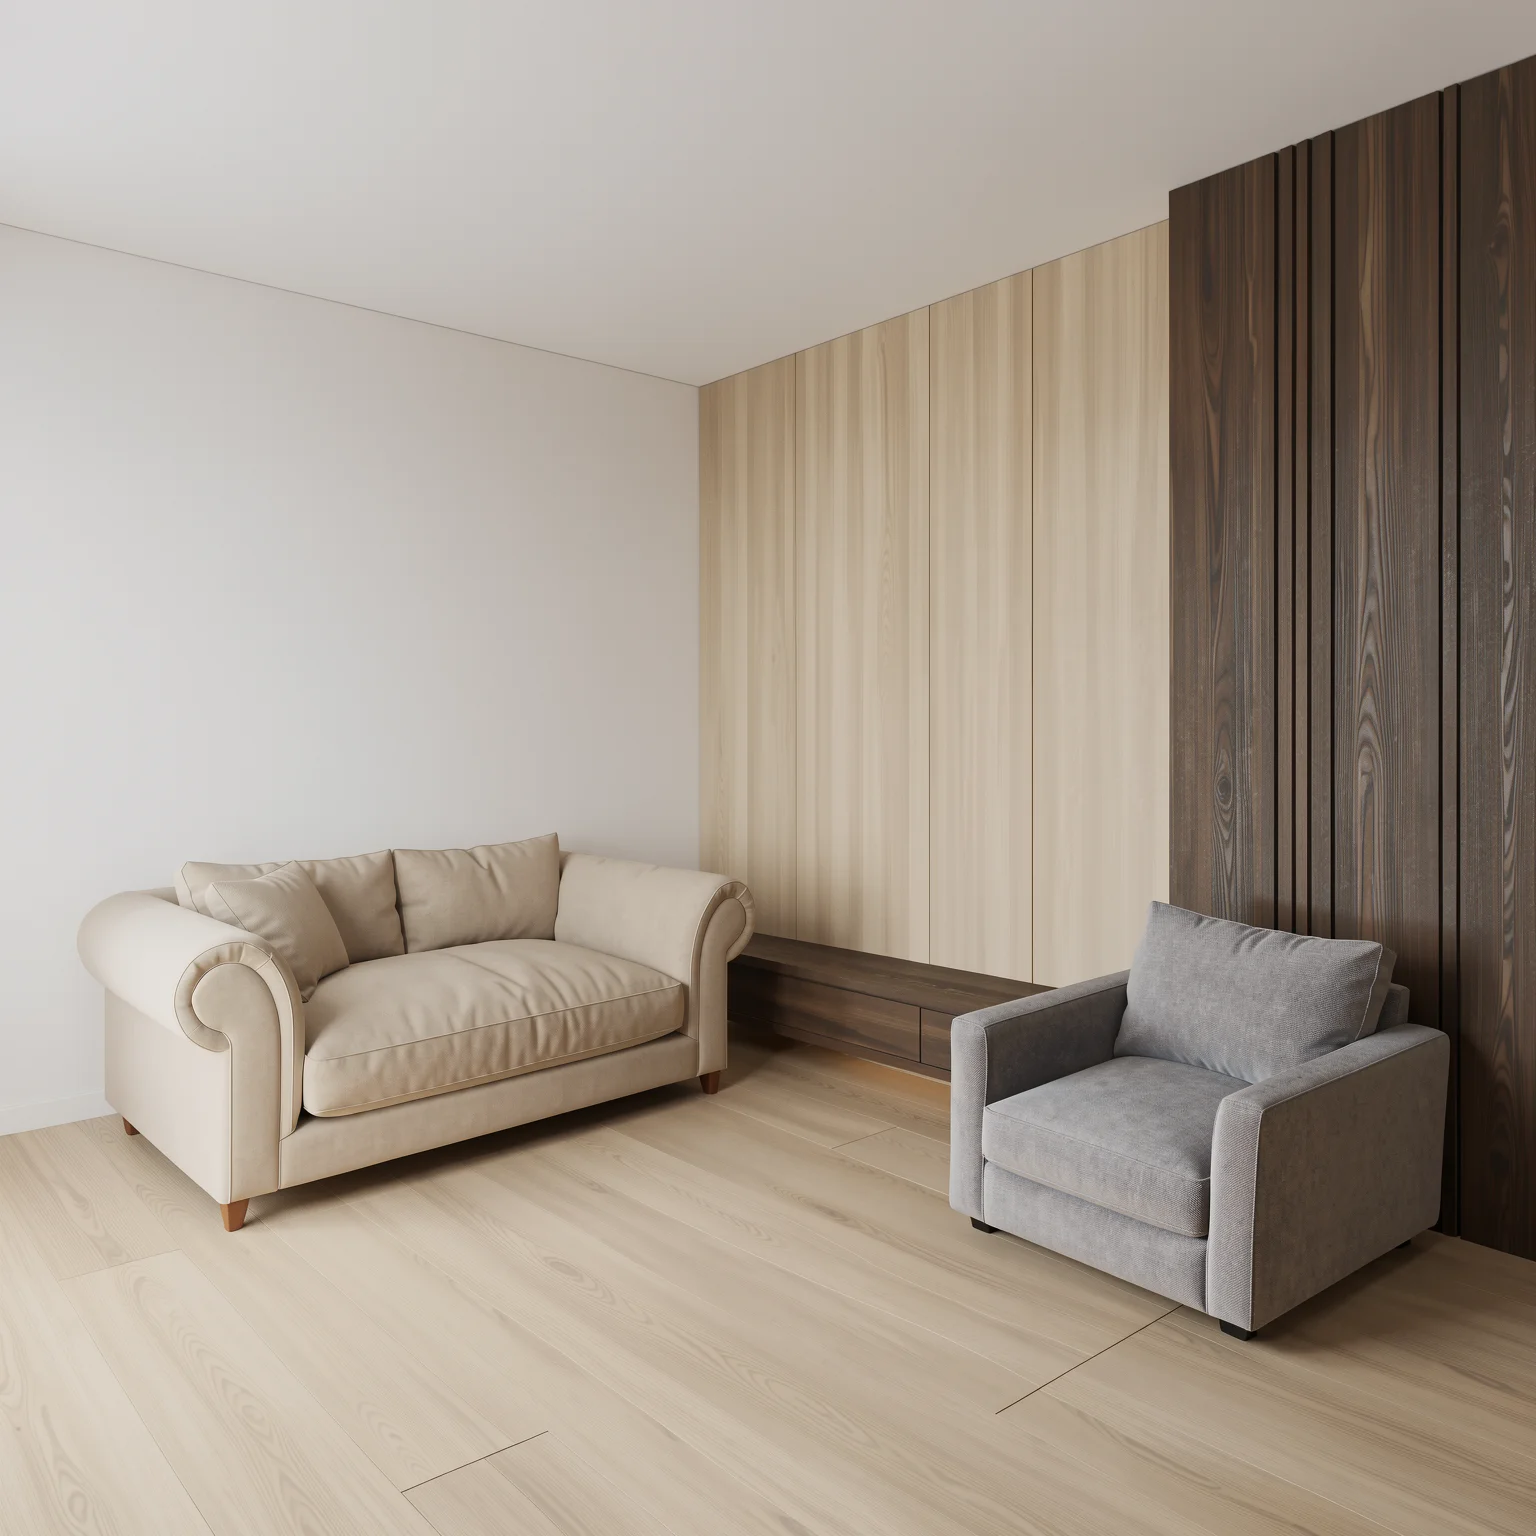
In this example, an empty room and a separate object — an armchair — are brought together into a single scene, with scale, perspective, and lighting realistically matched. The result is a presentation-ready image that shows exactly how the piece will look in a real space.
Practical Tips for Better Results
- Use a clear, well-lit background photo. A clean floor and wall line makes it easier to position the object correctly.
- Use existing reference points while placing the object. Furniture, doors, or windows already in the room help you judge scale accurately.
- Try a few different angles. Rotate the object in the 3D viewer and test a couple of placements before settling on the most realistic one.
Who Is This For?
- Furniture and product sellers — showing products in real, believable settings
- Interior designers — showing clients how a proposed piece will look in the actual space
- Architecture studios — placing architectural elements or objects into presentation scenes
- E-commerce teams — diversifying product photography with different environment shots
Conclusion
Showing an object in a real setting no longer requires a new photo shoot or building a scene from scratch in 3D. With the object you already have and any background photo you choose, you can get a realistic, presentation-ready result in minutes.
Ready to stage your own object?
Try it free →