Building a 3D Scene in Your Browser: From Objects to Photorealistic Render
Published July 24, 2026 · 5 min read
Presenting an architectural idea realistically usually means switching between several tools: one program for modeling, a separate source for real terrain data, and another engine for rendering. Getting all of these to work together consistently takes time.
A browser-based 3D editor brings this entire process into a single tab — add your objects, bring in real terrain data if you need it, set the environment, and render from the same place.
What Does the Editor Offer?
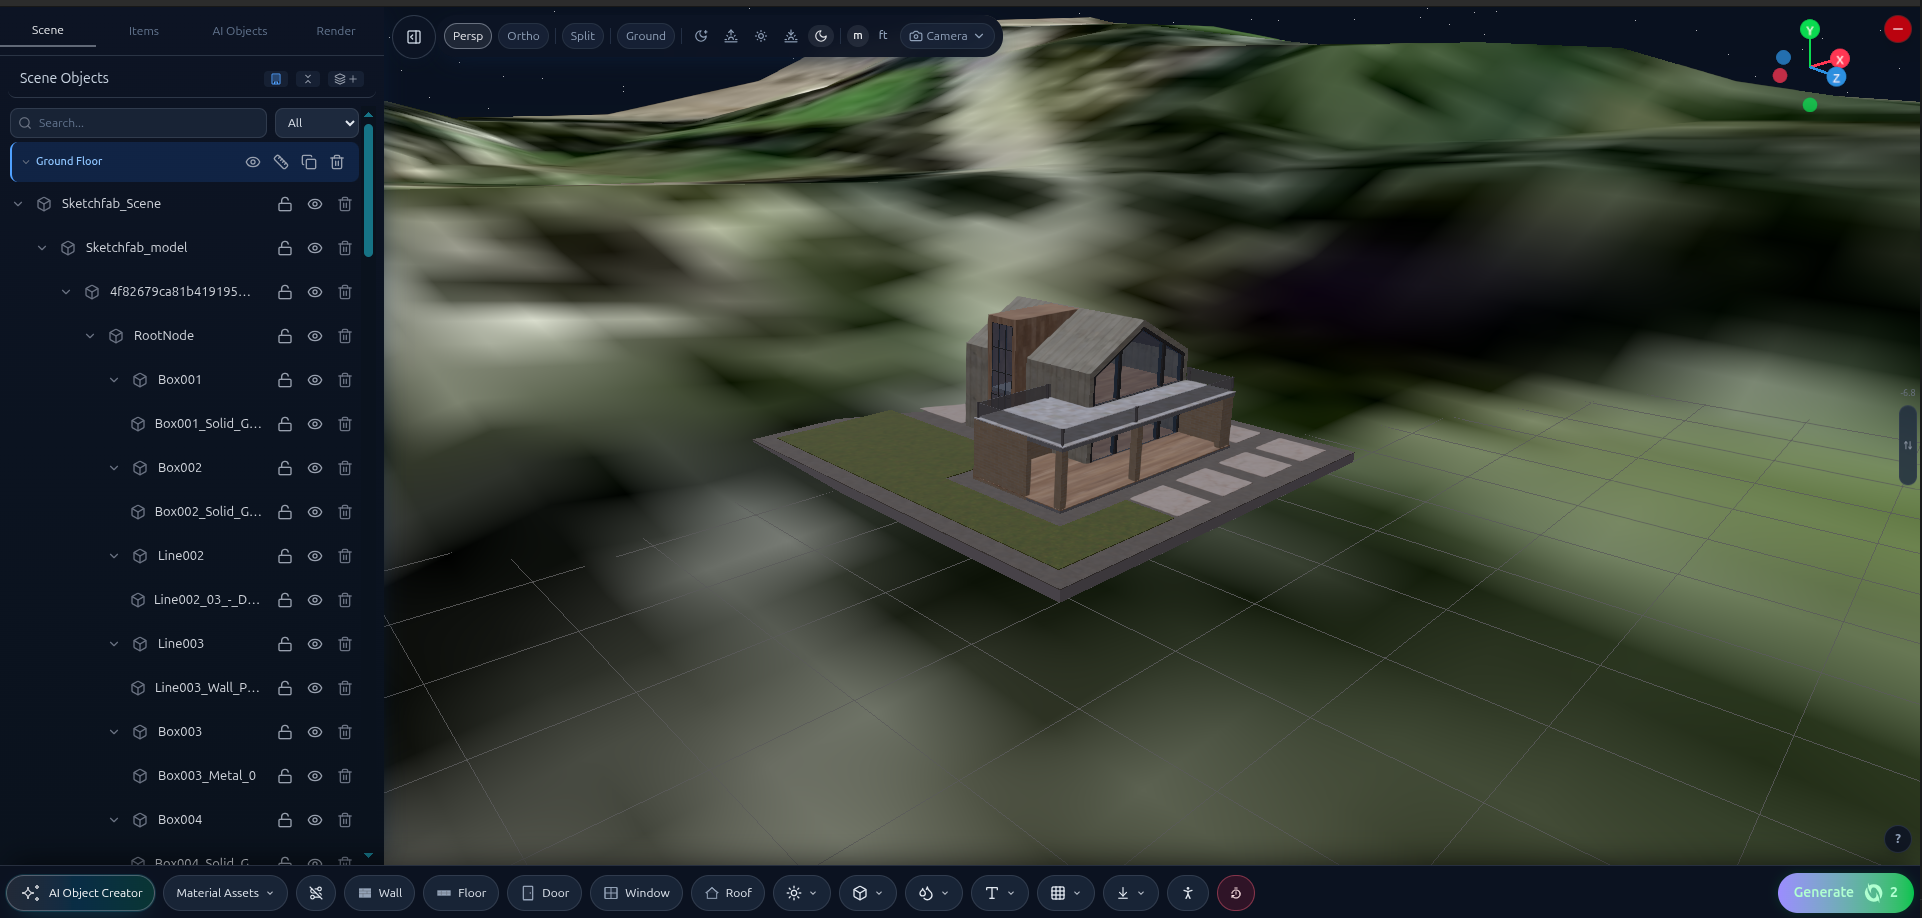
Objects: Import your own 3D model from outside, use 3D objects you've already generated in QUVIAI, or use the editor's built-in objects (walls, floors, doors, windows, roofs, and more).
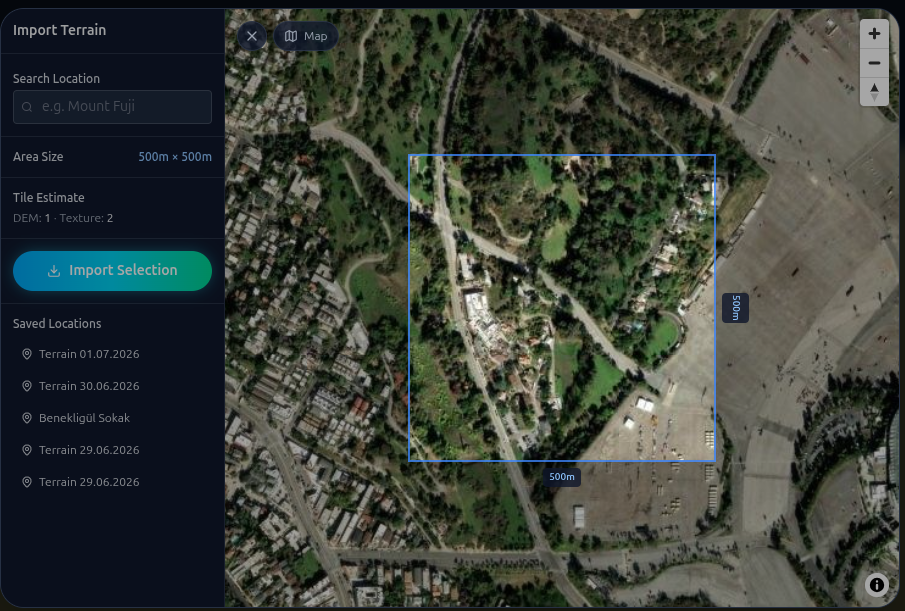
Terrain (optional): Pick a real location on a map and bring that area's actual terrain model directly into your scene.
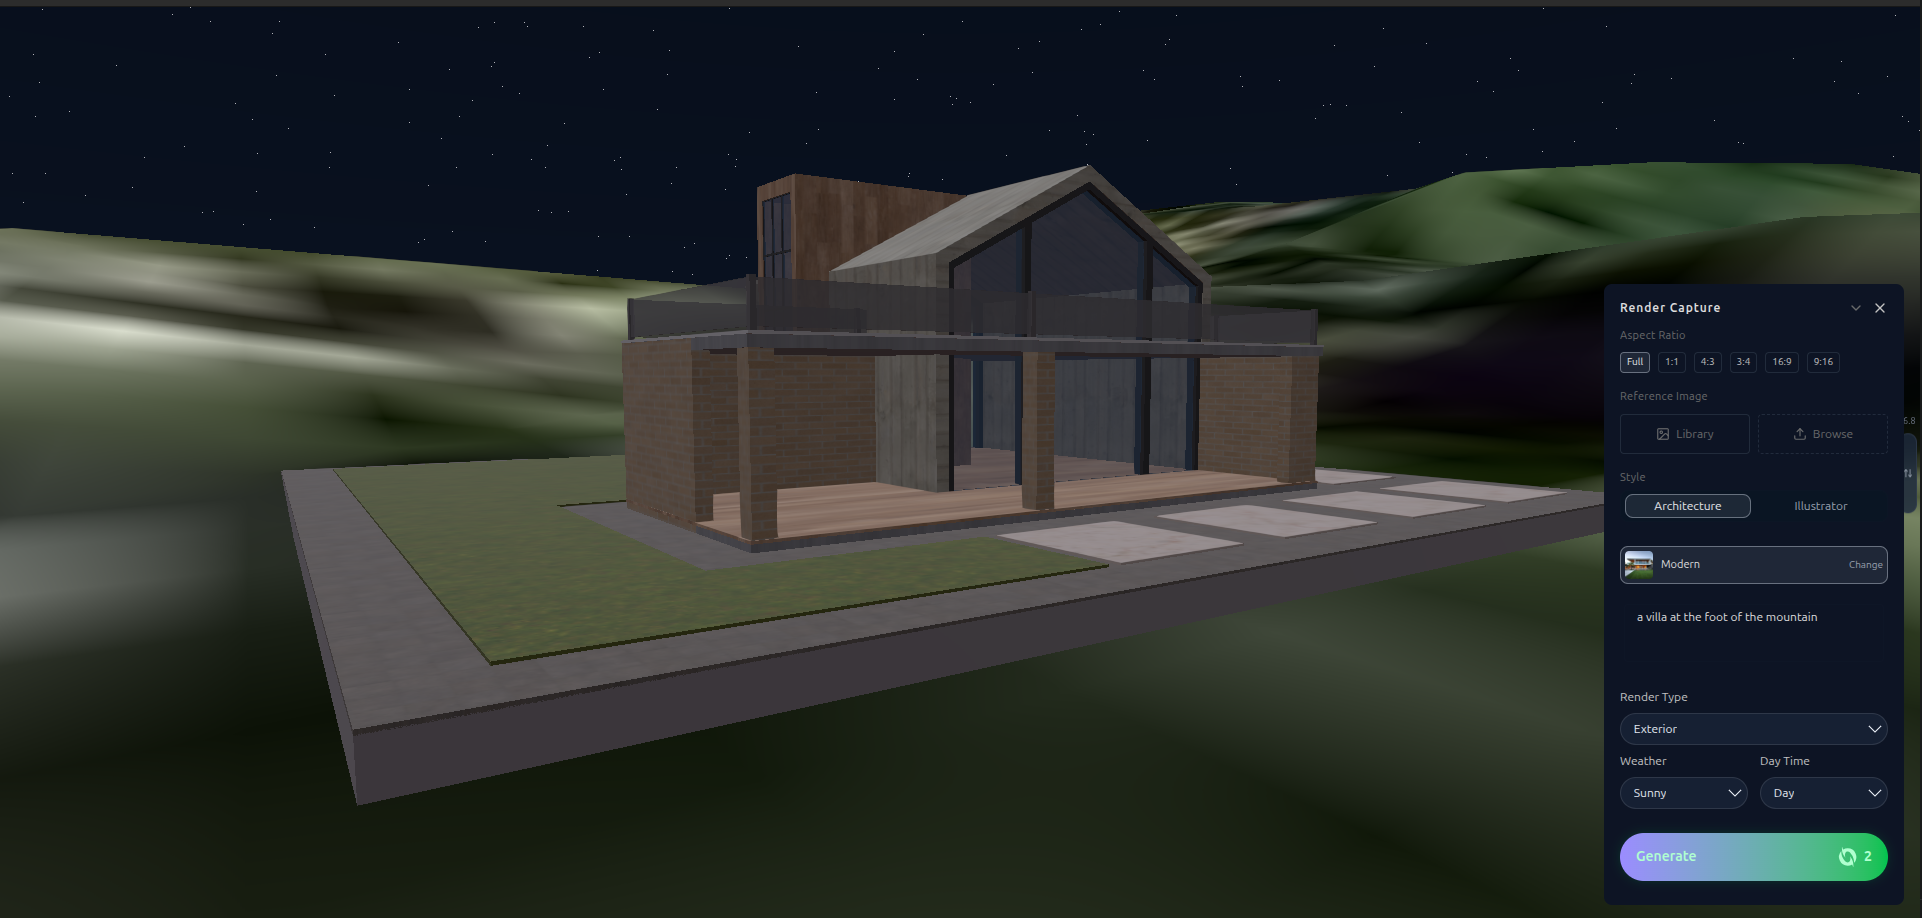
Render panel: Once your scene is ready, choose a style, render type, weather, and time of day, then generate your render.
Step by Step: Building Your Scene
The scene editor — objects, materials, and terrain all in the same view.
There's no fixed order here — you can build in whichever sequence suits your project. That said, a natural flow is to start with the ground, then add your building, and finish with the render setup:
(Optional) Start with real terrain.Search for a real location, select the area, and import its terrain model directly into the scene.Search for a location on the map (by address or place name), mark the area you want to bring into your scene, and select "Import Selection" to add that area's real terrain model. You can also skip this step and work with flat ground instead.
Build your scene. Import your own 3D model (for example, a file exported from another modeling program), use 3D objects you've already generated in QUVIAI, or model directly in the scene using the editor's built-in objects. It's entirely up to you — you can combine all three, in whatever order works for your project.
Open the render panel and set the environment.Choose your style, render type, weather, and time of day before generating.Once your scene is ready, choose your style (for example, "Architecture"), render type (exterior or interior), weather, and time of day from the render panel. You can also add a short description of the scene if you'd like (for example, "a villa at the foot of the mountain").
Generate the render. Your scene turns into a photorealistic image based on your selections.
A Real Example
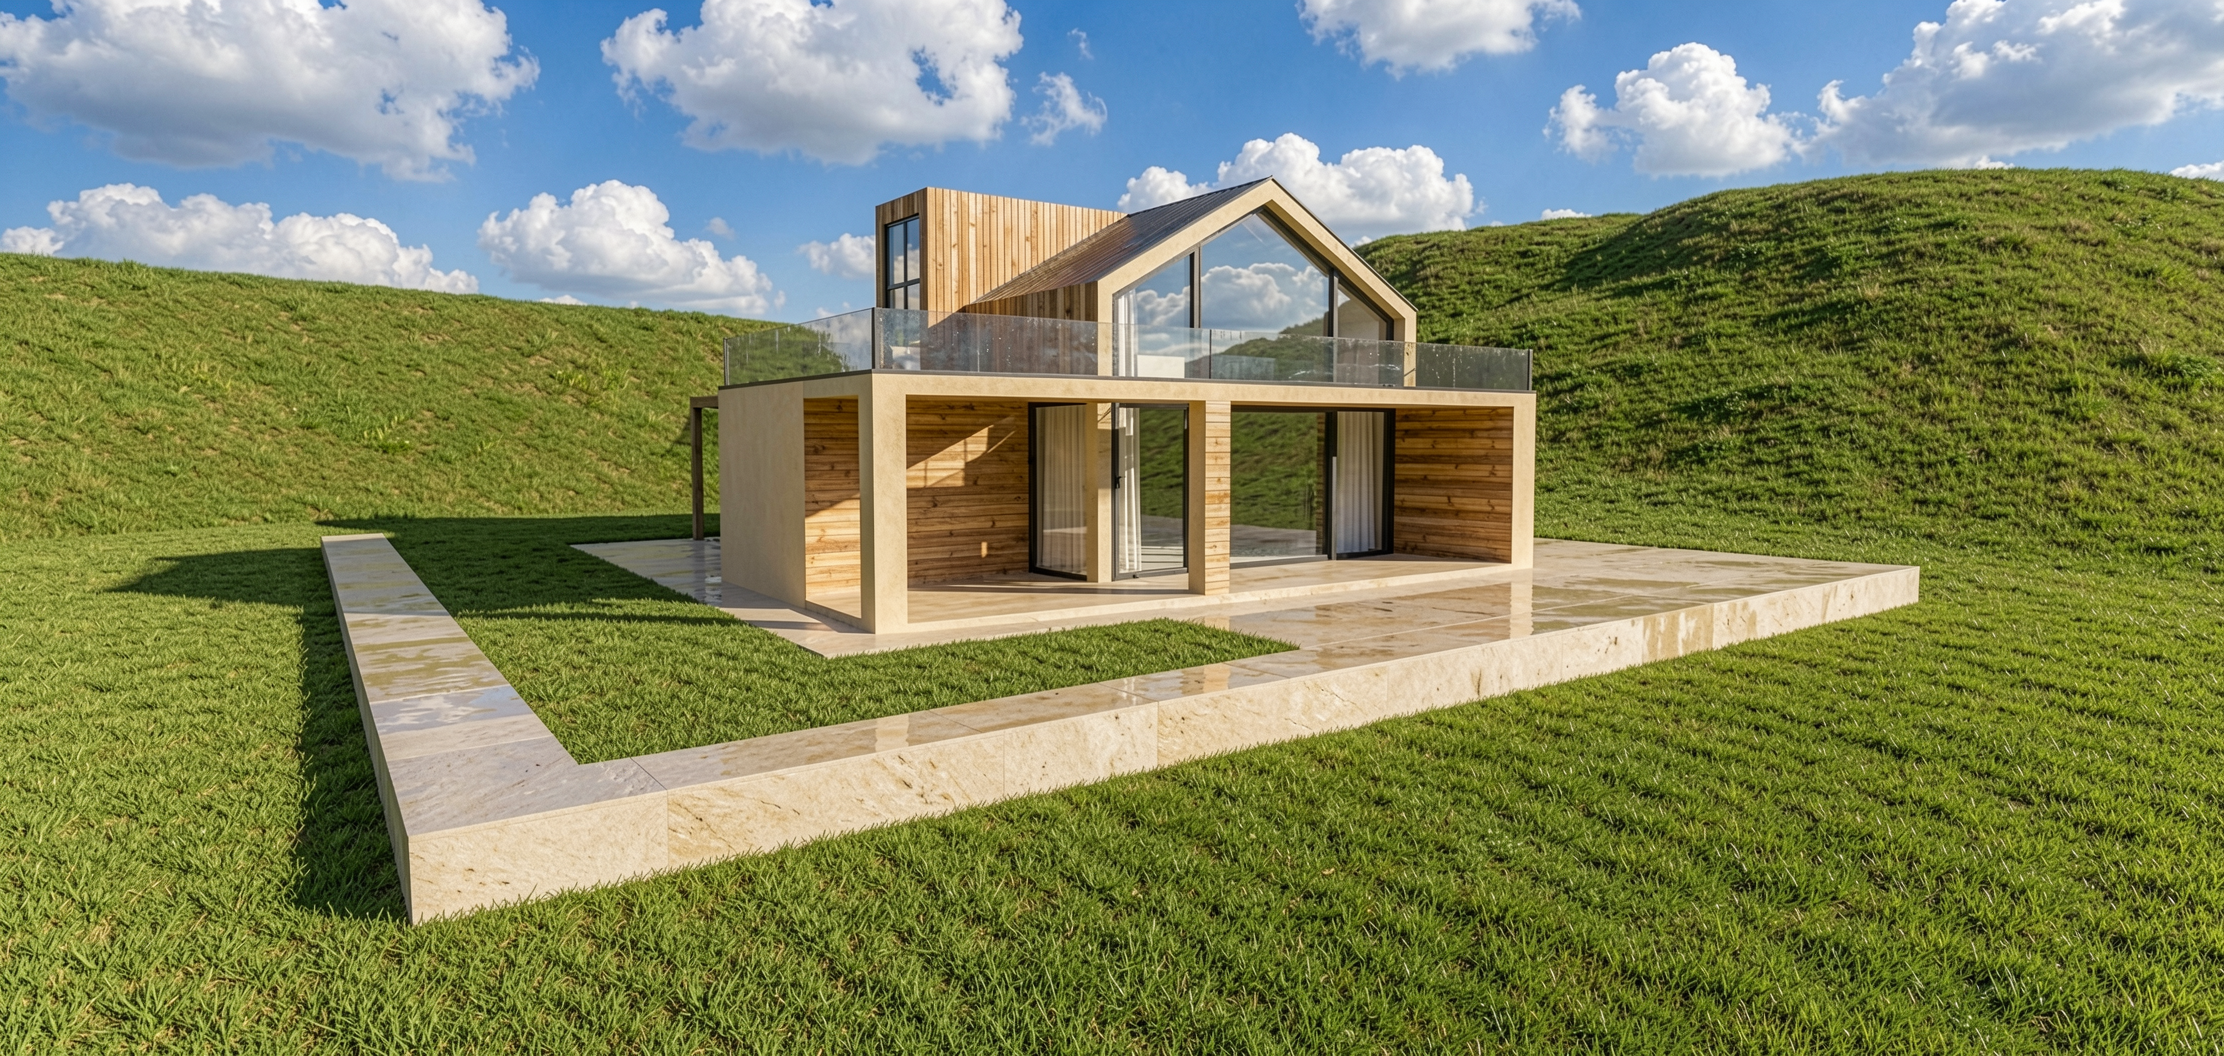
The building, real terrain data, and the chosen "Sunny / Day" environment come together in a single render.
In this example, the scene built in the editor — the building, real terrain data, and the selected "Sunny / Day" environment conditions — all come together in a single render.
Who Is This For?
Architecture studios — presenting a project alongside its real terrain data
Interior/exterior designers — testing a scene under different lighting and weather conditions
Real estate developers — showing how a project will sit on its actual site
Architecture students — modeling and rendering in a single tool, without extra software
Conclusion
Building an architectural scene no longer means switching between multiple tools. Add your objects, bring in real terrain if you need it, set the environment — all in a single browser tab.